Product Overview
The Sunco 6 Inch LED Slim Recessed Lighting fixture is designed for efficient and versatile illumination. This canless ceiling light features a slim profile and includes a junction box for simplified installation. It provides 1200 lumens of 4000K Cool White light at 14W, equivalent to a 100W incandescent bulb, and is dimmable from 10% to 100%. With a rated lifetime of 50,000 hours, it offers long-lasting performance. The fixture is IC rated, ensuring safe direct contact with insulation, and is ETL certified for safety and quality.
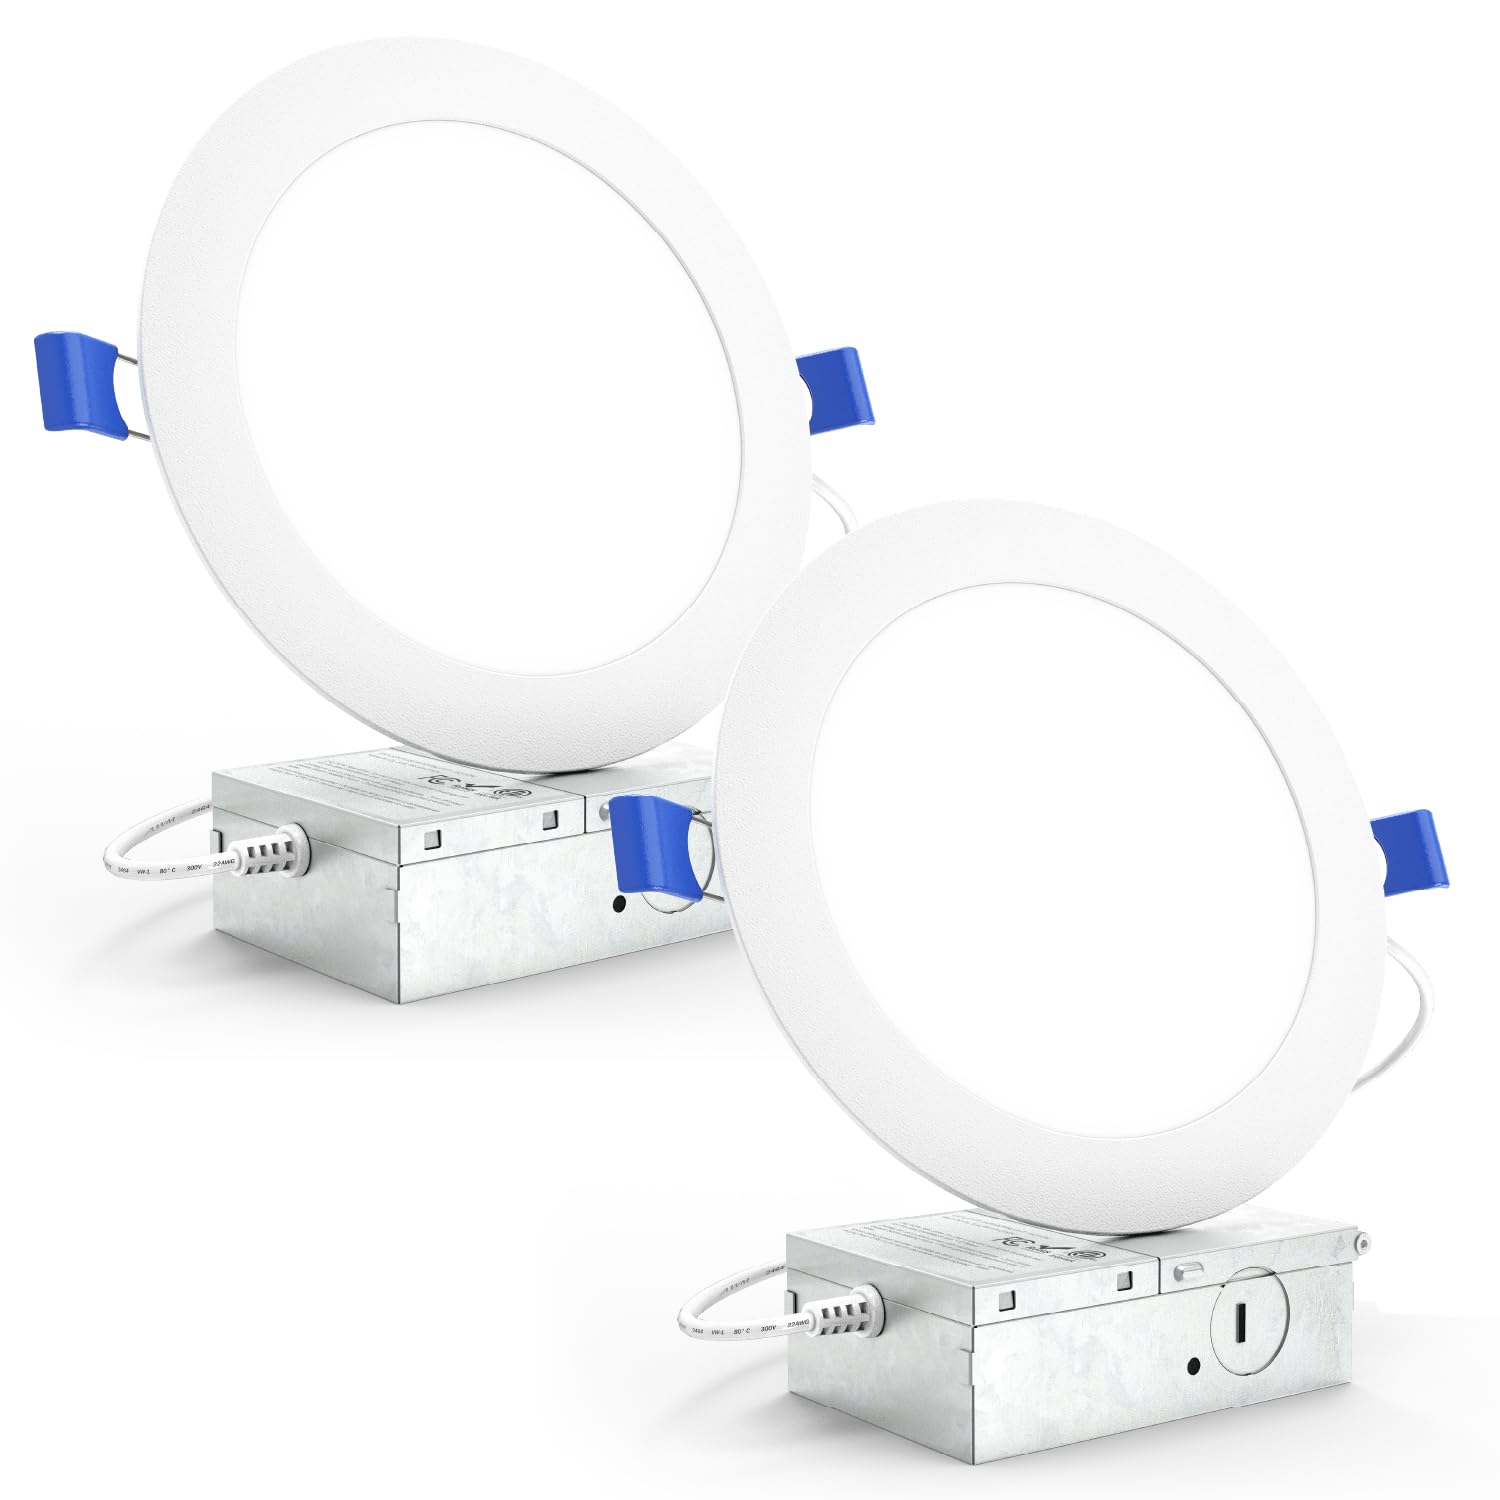
Image: Sunco 6 Inch LED Slim Recessed Light with its junction box.
Safety Information
- IC Rated: This fixture is IC rated, meaning it is thermally protected and safe for direct contact with ceiling insulation without overheating or igniting.
- ETL Certified: The product and its junction box are ETL certified (5005842), ensuring compliance with North American safety standards.
- FCC and RoHS Compliant: Meets FCC (L10) and RoHS standards.
- Power Source: Hardwired installation required. Always turn off power at the circuit breaker before installation or maintenance.
Package Contents
- 6 Inch Slim LED Downlight (Quantity: 2)
- Junction Box (Quantity: 2)
- Wire Nuts (Included within junction box)
Setup and Installation
Pre-Installation Checklist
- Ensure power is turned off at the circuit breaker before beginning installation.
- Verify that the installation location is suitable for recessed lighting.
- Gather necessary tools: wire strippers, screwdriver, measuring tape, hole saw (6.6 inches diameter recommended).
Installation Steps
- 1. Prepare the Ceiling Opening: Cut a circular hole in the ceiling with a diameter of approximately 6.6 inches (16.8 cm). Ensure the hole is clean and free of debris.
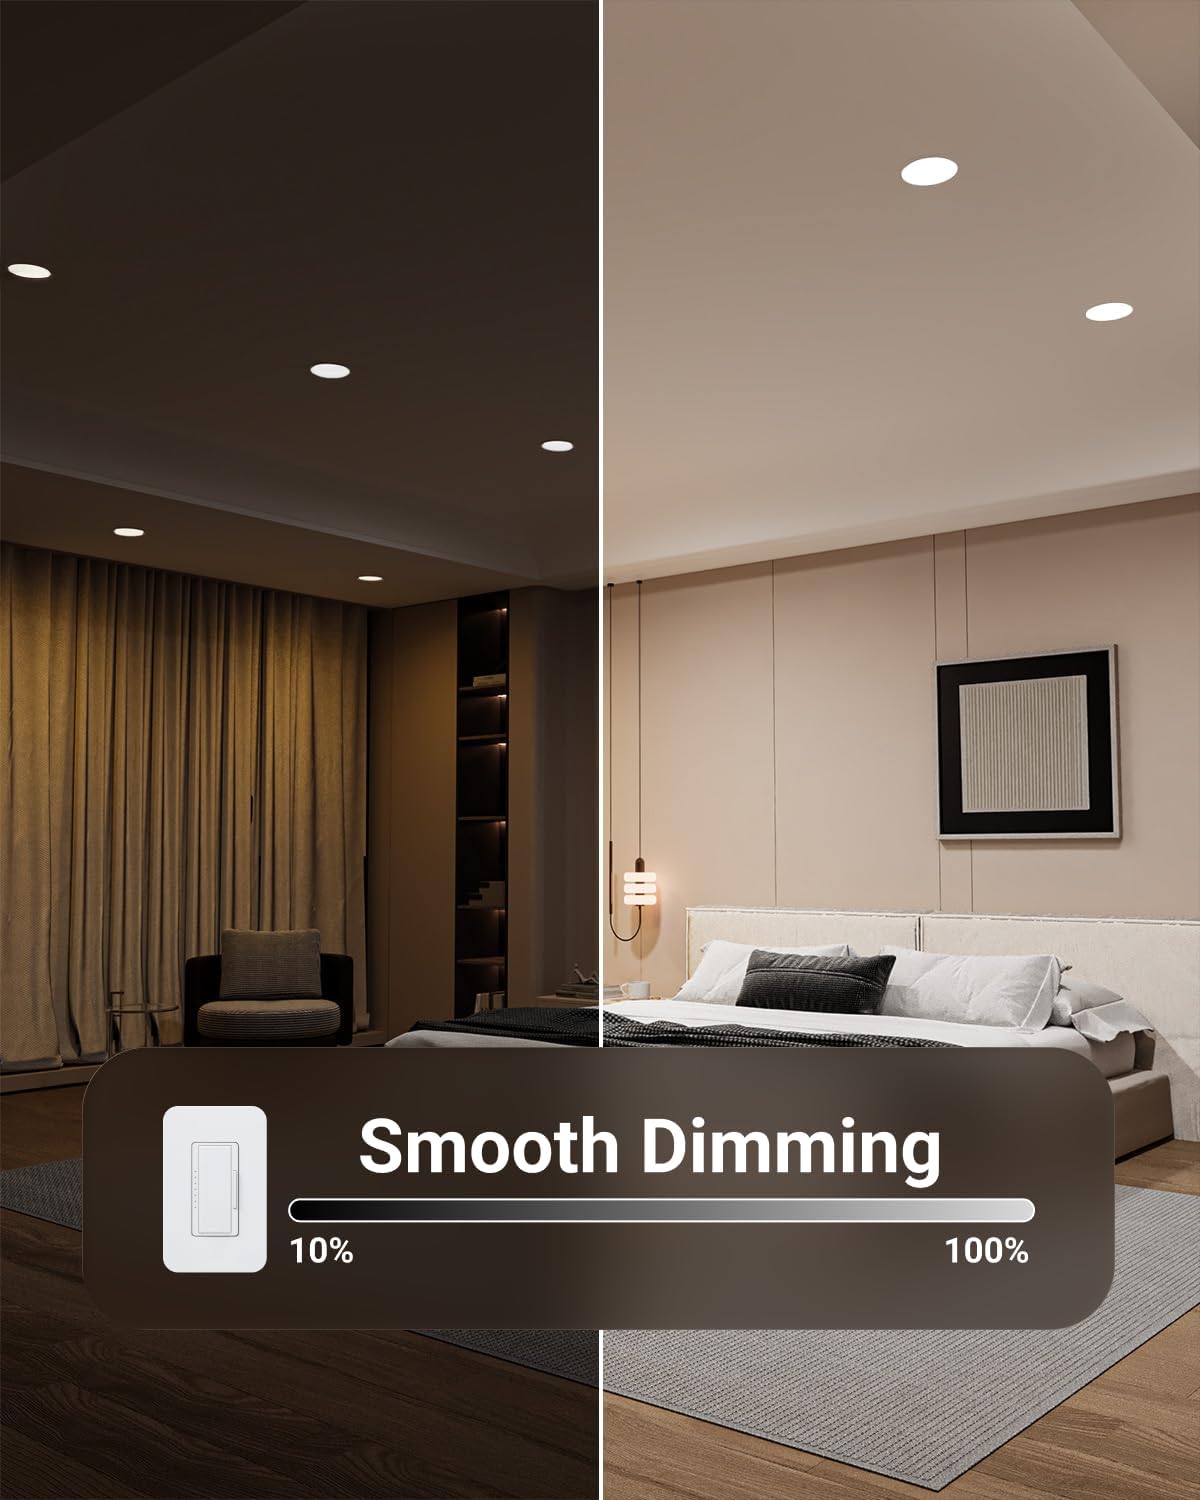
Image: Detailed dimensions of the recessed light (6.6" diameter, 0.85" thickness) and junction box (3.9"L x 2.75"W x 1.38"H).
- 2. Connect House Wires to Fixture Wires: Open the junction box. Connect the house's black (Live) wire to the fixture's black wire, the white (Neutral) wire to the fixture's white wire, and the green (Ground) wire to the fixture's green wire using the provided wire nuts. Secure all connections.

Image: Illustration of connecting electrical wires (black, white, green) inside the junction box.
- 3. Secure the Junction Box: Place the junction box in the ceiling cavity. It can be mounted to a joist or simply rest on the ceiling panel if space allows.

Image: A view of the junction box installed above the ceiling, connected to the light fixture.
- 4. Connect the Light Fixture: Plug the light fixture's connector into the corresponding connector from the junction box.
- 5. Install the Light into the Ceiling: Fold the spring clips on the sides of the light fixture upwards. Carefully push the light into the ceiling opening until the clips snap into place, securing the fixture flush with the ceiling surface.

Image: Diagram showing how to fold the spring clips on the recessed light fixture before insertion.

Image: Illustration of pushing the recessed light fixture into the ceiling opening for a flush fit.
- 6. Test the Light: Restore power at the circuit breaker and test the light fixture.
Operating Instructions
Dimming Functionality
The Sunco 6 Inch LED Slim Recessed Light is fully dimmable, allowing for adjustment of light output from 10% to 100%. Use a compatible LED dimmer switch for optimal performance. This feature enables you to create various ambiances to suit your needs.

Image: Visual representation of the light's smooth dimming capability, from 10% to 100% brightness.
Color Temperature
This specific model provides 4000K Cool White light, offering a crisp and balanced illumination suitable for various living spaces such as kitchens, bathrooms, and home offices.

Image: Sunco recessed lights illuminating a modern kitchen with 4000K Cool White light.
Maintenance
These LED fixtures require minimal maintenance. To clean, ensure the power is off at the circuit breaker. Gently wipe the surface of the light with a soft, dry or slightly damp cloth. Avoid using harsh chemicals or abrasive cleaners, as these can damage the finish or the light-emitting surface.
Troubleshooting
- Light does not turn on:
- Check if the circuit breaker is on.
- Verify all wire connections in the junction box are secure.
- Ensure the light fixture is properly connected to the junction box.
- Light flickers or dims inconsistently:
- Ensure you are using an LED-compatible dimmer switch. Incompatible dimmers can cause flickering.
- Check for loose wire connections.
- Light is not flush with the ceiling:
- Re-check the spring clips to ensure they are fully engaged and holding the fixture securely.
- Verify the ceiling opening size is correct.
Specifications
| Feature | Detail |
|---|---|
| Brand | Sunco Lighting |
| Model Name | DL_SL6-14W-4K |
| Color Temperature | 4000K Cool White |
| Material | Aluminum, Plastic |
| Light Fixture Form | Recessed |
| Product Dimensions | 7"L x 1"W x 7"H |
| Indoor/Outdoor Usage | Indoor |
| Power Source | Hardwired |
| Installation Type | Flush Mount |
| Special Feature | Dimmable |
| Light Source Type | LED |
| Finish Type | Matte White |
| Voltage | 120 Volts |
| Included Components | Junction Box |
| Wattage | 14 watts |
| Brightness | 1200 Lumen |
| Efficiency | 60 lumens per watt |
| Specification Met | Energy Star, ETL (5005842), FCC (L10), RoHS |
| Item Weight | 0.96 Pounds (per light) |
| Number of Items | 2 |
| Water Resistance Level | Water Resistant |
Warranty and Support
Sunco Lighting provides a 7-Year Protection warranty for this product, covering manufacturing defects and ensuring long-term reliability. For any questions, troubleshooting assistance, or warranty claims, please contact Sunco Lighting's knowledgeable support specialists. Contact information can typically be found on the official Sunco Lighting website or through your purchase platform.
Video: "Get to know Sunco" - An overview of Sunco Lighting's commitment to quality and customer service.