1. Introduction
The SVBONY SV305C Pro Telescope Camera is designed for astrophotography, featuring a 2MP IMX662 sensor, USB 3.0 high-speed transmission, and a 128MB DDR buffer. This camera is suitable for capturing detailed images of celestial objects, including planets and deep-sky targets. This manual provides instructions for setting up, operating, and maintaining your SV305C Pro camera.
2. What's in the Box
Upon opening the package, verify that all components are present:
- SV305C Pro Camera
- 2m USB 3.0 Cable
- 6 Pin Guiding Cable
- 1.25" Extension Tube
- C-lens Adapter
- 1.25" Dust Cover
- Cleaning Cloth
- User Manual
Video: What's in the package? This video demonstrates the unboxing process and shows all included accessories for the SVBONY SV305C Pro camera.
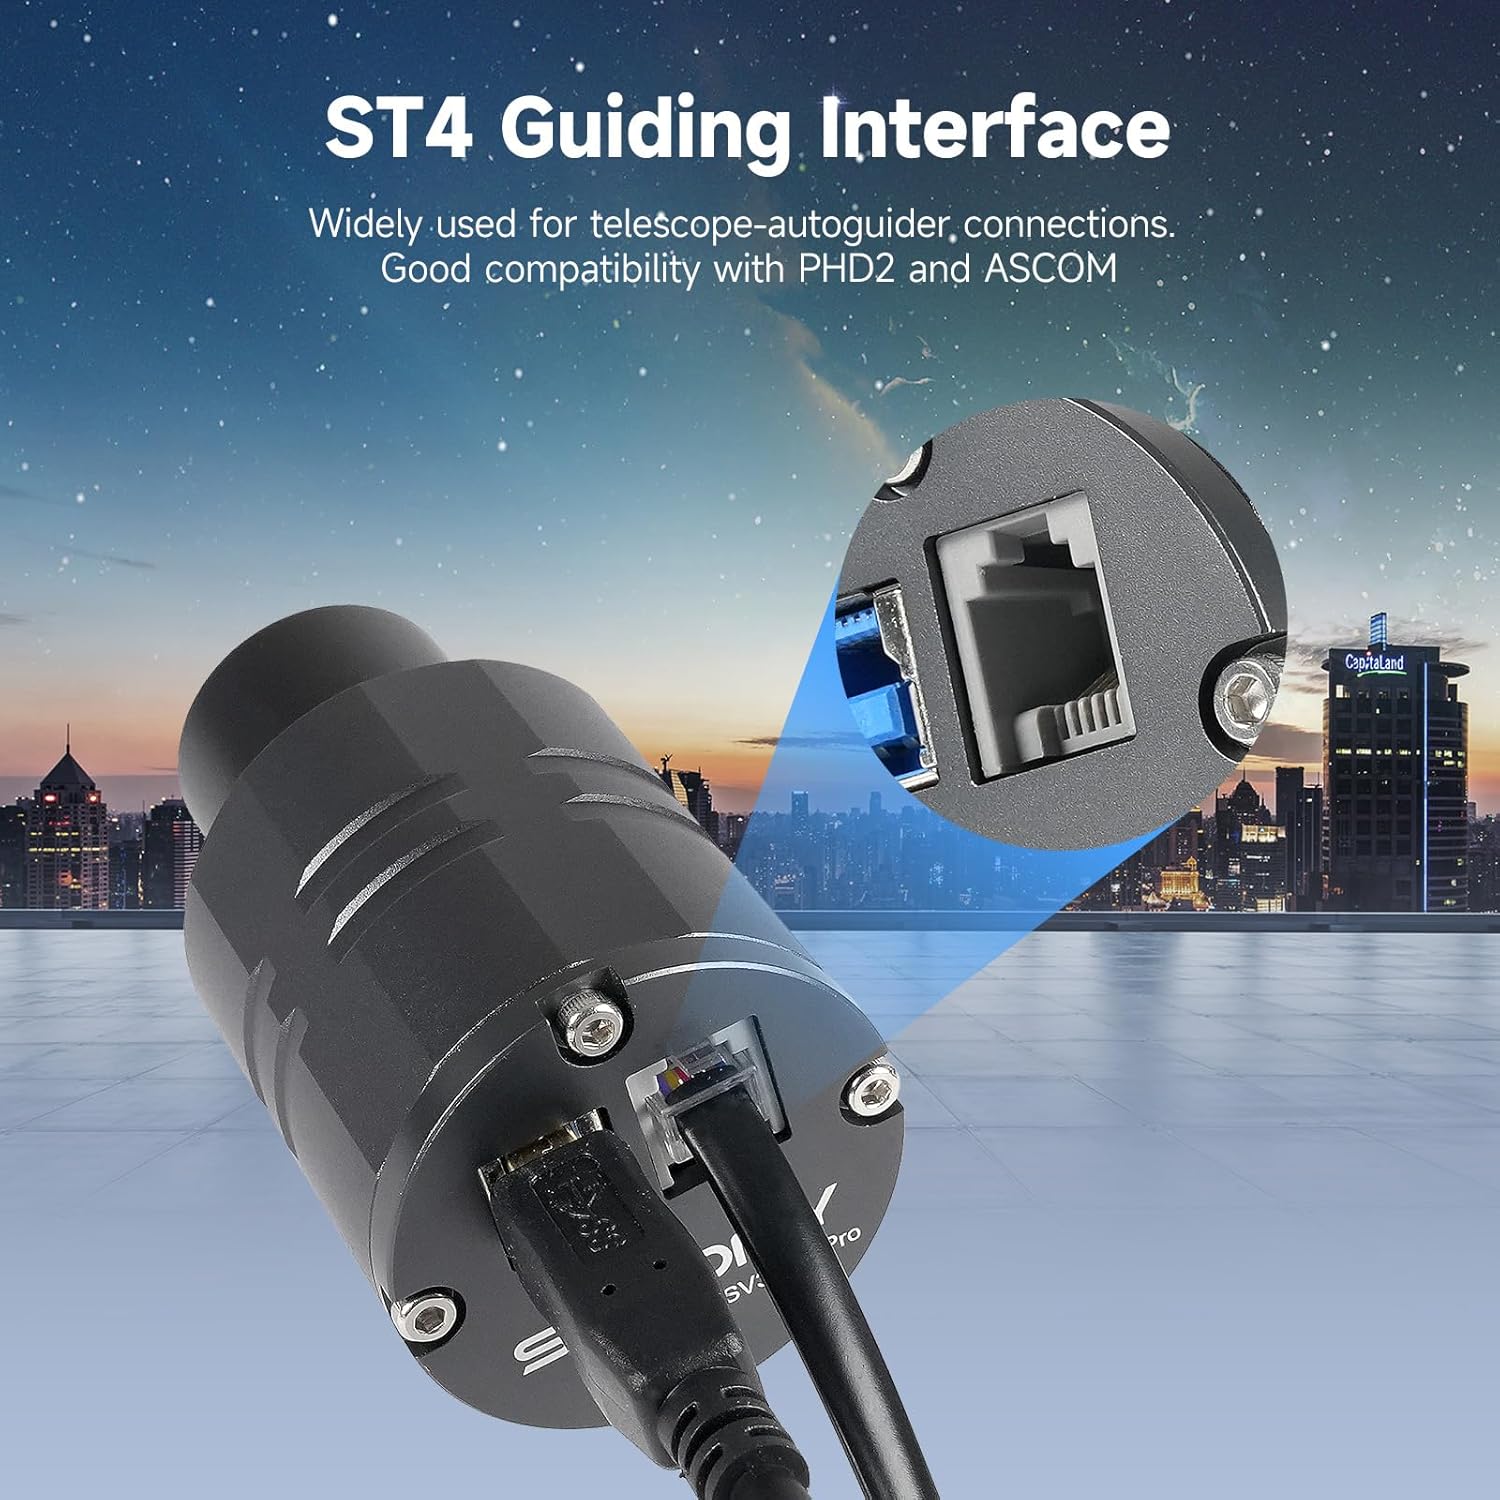
Image: Package Contents. A visual representation of the SV305C Pro camera and its accompanying accessories, such as the USB 3.0 cable, guiding cable, extension tube, C-lens adapter, dust cover, cleaning cloth, and user manual.
3. Key Features
The SV305C Pro camera incorporates several advanced features to enhance your astrophotography experience:
- IMX662 CMOS Sensor: This sensor offers ultra-high sensitivity and low noise, enabling clear planetary imaging even in low light conditions.
- Low Readout Noise: Achieve exceptional clarity with a readout noise of just 0.7e-, resulting in cleaner, sharper images with minimal interference.
- High Frame Rate: Capture dynamic celestial details with 1920x1080 resolution at 107 frames per second (FPS), ensuring sharp images of fast-moving objects.
- USB 3.0 High-Speed Transmission: The camera utilizes USB 3.0 for rapid data transfer, offering speeds up to 5Gbps, which is over 10 times faster than USB 2.0, optimizing your imaging workflow.
- ST4 Guiding Interface: Equipped with an ST4 guiding interface, the camera ensures compatibility with popular guiding software like PHD2 and ASCOM for precise tracking of celestial objects.
- Efficient Heat Dissipation: A specialized heat dissipation structure maintains stability during long exposures, reducing noise and improving image quality.
- High Dynamic Range (HDR): HDR capability allows the camera to capture fast-moving targets with clear, vibrant images, providing a broader dynamic range and reducing chromatic aberration.
- 128MB DDR Buffer: The integrated 128MB DDR buffer prevents image loss and supports continuous capture, ensuring uninterrupted imaging sessions.
- Any Area ROI Support: This feature allows you to select and capture specific regions of interest without losing image scale, offering flexible resolution options for optimal performance.
- 12-bit ADC: Provides enhanced dynamic range, rich color depth, and greater flexibility for post-processing your astronomical images.

Image: IMX662 CMOS Sensor. This image highlights the IMX662 sensor, emphasizing its back-illuminated (BSI) pixel technology, high quantum efficiency, fast readout speed, and low glow for improved near-infrared (NIR) performance.

Image: 0.7e- Low Read Noise. This graphic explains how the camera's low dark current and low read noise contribute to pure images, high low-light sensitivity, and clear deep space and planetary details.

Image: 1920x1080@107FPS High Definition. This image demonstrates the camera's high definition capabilities, showing how it records clear images and captures every moment of fast-moving targets like Jupiter.

Image: USB 3.0 Interface. This image highlights the USB 3.0 port, emphasizing its 5Gbps speed for fast, stable data transfer and minimal lag or data loss.

Image: ST4 Guiding Interface. This image illustrates the ST4 guiding interface, indicating its wide use for telescope autoguiders and good compatibility with PHD2 and ASCOM software.

Image: Special Heat Dissipation Structure. This image compares the special heat dissipation of the SV305C Pro with original designs, showing how it ensures stability during long exposures for clear, high-quality planetary shots.

Image: High Dynamic Range. This image illustrates the camera's High Dynamic Range (HDR) capability, which provides a broader dynamic range and clear HDR images of fast targets without chromatic aberration.

Image: 128MB DDR Buffer. This image highlights the 128MB DDR buffer, explaining its role in preventing image loss, supporting continuous capture, and enabling multi-camera use.

Image: Any Area ROI Support. This image demonstrates the Any Area ROI feature, showing how it maintains scale and supports flexible resolutions for capturing specific regions of interest.

Image: ADC 12 Bit. This image illustrates the benefit of 12-bit ADC, showing enhanced dynamic range, rich color depth, and greater post-processing flexibility compared to 8-bit.
4. Setup
4.1 Physical Connection
Follow these steps to connect your SV305C Pro camera to your telescope and computer:
- Attach the C-lens adapter to the camera.
- Attach the 1.25" barrel size telescope adapter to the camera.
- Remove the dust cover from the camera.
- Insert the camera into your telescope's focuser.
- Connect the camera to your computer using the provided USB 3.0 cable.
- If using for guiding, connect the ST4 guiding cable from the camera to your equatorial mount's guide port.
Video: How to use SV305C Pro Telescope Camera? This video provides a step-by-step guide on connecting the SV305C Pro camera to a computer and telescope, including attaching adapters and cables.

Image: Diverse Combination. This image illustrates how the SV305C Pro camera can be connected to both an astronomical telescope (MK90 Telescope) for imaging and a guide scope (SV106 Guide Scope) for guiding.
4.2 Software Installation
To operate the SV305C Pro, you will need to install appropriate software on your computer. Drivers and software are available from the manufacturer's website.
- Windows: SharpCap is recommended.
- Linux: AstroDMX Capture is recommended.
- Raspberry Pi: AstroDMX Capture is recommended.
- Mac OS: AstroDMX Capture is recommended.
After installation, open the software and select the SV305C Pro camera from the device list. Wave your hand in front of the camera to confirm it is working; a color change on the screen indicates proper function.

Image: Supported Operating Systems & Software. This image displays a laptop running SharpCap with the SV305C Pro, listing recommended software for Windows, Linux, Raspberry Pi, and Mac OS.
4.3 Precautions for Use
- Computer Configuration:
- Desktop: Intel 4th generation i5 or higher, 4GB RAM or more.
- Laptop: Intel 6th generation i5 or higher, 8GB RAM or more.
- The SV305C Pro camera performs best with a refractor or reflector telescope mounted on an equatorial mount capable of accurate sky tracking.
- This camera is not intended for direct visual observation through a telescope eyepiece. For eyepiece projection photography, an eyepiece projection adapter is required.

Image: Precautions for Use. This image provides important guidelines for computer specifications and optimal telescope configurations when using the SV305C Pro camera.
5. Operating Instructions
Once the camera is connected and software is installed, you can begin capturing images. The software allows for real-time adjustments and previewing.
5.1 Initial Camera Check
After selecting the SV305C Pro in your chosen software (e.g., SharpCap), wave your hand in front of the camera. The live view on your computer screen should show a color change, confirming the camera is active and communicating with the software.
5.2 Adjusting Parameters
The software provides various controls to optimize your image capture:
- Exposure: Adjust the exposure time to control the brightness of your image. Shorter exposures are typically used for bright objects like the Moon and planets, while longer exposures are for fainter deep-sky objects.
- Gain: Increase gain to amplify the signal from the sensor, useful for faint objects, but be mindful of increased noise.
- Frame Rate: The camera supports up to 107FPS at 1920x1080 resolution. High frame rates are crucial for planetary imaging to capture moments of atmospheric stability.
- Region of Interest (ROI): Utilize the Any Area ROI feature to select a smaller portion of the sensor for capture. This can increase frame rates and reduce file sizes, especially useful for planetary imaging.
- White Balance: Adjust the white balance to achieve accurate color representation.
- Image Adjustments: Fine-tune brightness, contrast, gamma, and saturation to enhance the visual quality of your live view and captured images.
Video: SV305C Pro operation solution. This video demonstrates the basic operation of the SV305C Pro camera, including connecting to a computer, opening SharpCap, verifying camera function, and adjusting parameters.
5.3 Imaging Scenarios
The SV305C Pro is versatile for various astrophotography applications:
- Planetary Imaging: The high frame rate and low noise are ideal for capturing detailed images of planets like Jupiter and Saturn, allowing for stacking of many frames to overcome atmospheric turbulence.
- Lunar Imaging: Capture stunning high-resolution images of the Moon's surface.
- Deep Space Objects (DSOs): While primarily a planetary camera, its sensitivity and low noise can also be utilized for brighter deep-sky objects with longer exposures.
- Guiding: Use the ST4 port and guiding software to precisely track your telescope, essential for long-exposure deep-sky astrophotography with a separate imaging camera.

Image: Usage Scenarios. This image displays examples of planetary imaging, lunar imaging, and deep space object imaging, showcasing the camera's versatility.
6. Maintenance
Proper maintenance ensures the longevity and optimal performance of your SV305C Pro camera:
- Cleaning the Sensor Window: Use the provided cleaning cloth or a specialized optical cleaning kit to gently clean the protective window of the sensor if dust or smudges appear. Avoid touching the sensor directly.
- Dust Protection: Always keep the 1.25" dust cover on the camera when not in use to prevent dust accumulation on the sensor window.
- Storage: Store the camera in a dry, dust-free environment, preferably in its original packaging or a padded case, when not in use.
- Cable Care: Handle USB and guiding cables carefully to avoid bending or damaging the connectors.
- Temperature: Avoid exposing the camera to extreme temperatures or rapid temperature changes, which can lead to condensation.
7. Troubleshooting
If you encounter issues with your SV305C Pro camera, consider the following common solutions:
- Camera Not Detected:
- Ensure the USB 3.0 cable is securely connected to both the camera and the computer.
- Try a different USB port on your computer.
- Verify that the correct drivers are installed. Refer to the manufacturer's website for the latest drivers.
- If using a USB hub, ensure it is a powered USB 3.0 hub, as unpowered hubs may not provide sufficient power or data transfer speed.
- No Image/Black Screen:
- Check software settings for exposure time and gain. Increase them for initial testing in a lit room.
- Ensure the camera's protective cap is removed.
- Verify that the camera is properly focused on an object.
- Image Noise/Poor Quality:
- Adjust exposure and gain settings. High gain can introduce noise.
- Ensure proper focus.
- Check for light pollution or stray light entering the telescope.
- Allow the camera to acclimate to ambient temperature to reduce thermal noise.
- Guiding Issues:
- Ensure the ST4 guiding cable is correctly connected to both the camera and the mount.
- Verify guiding software settings and calibration.
8. Specifications
| Feature | Detail |
|---|---|
| Product Dimensions | 6 x 5 x 3 inches |
| Item Weight | 1.22 pounds |
| Item Model Number | FCAF9198B |
| Manufacturer | SVBONY |
| Shooting Modes | Manual |
| Exposure Control Type | Manual |
| Color | Gray |
| Video Capture Resolution | 1080p |
| Media Type | SD Card (Note: Camera itself does not use SD card, this may refer to storage for captured data) |
| USB Interface | USB 3.0 Interface |
| Maximum Frame Rate | 1920*1080@107FPS |
| Full Well | 38.2ke |
| Readout Noise | 0.7e- |
| Shutter | Rolling shutter |
| Protective Window | AR coated window |
9. Warranty and Support
For specific warranty details, please refer to the documentation included with your purchase or visit the official SVBONY website. Technical support, including updated drivers and software, can be found on the SVBONY support page. Ensure you have your product model number (SV305C Pro) and any relevant purchase information when contacting support.


