1. Introduction
This manual provides instructions for the Sharper Image Fingerscan Digital Padlock. This biometric padlock offers a keyless and code-free solution for securing your belongings, utilizing fingerprint recognition for access. It is designed for convenience and durability, featuring a rechargeable battery and IP66 water and dust resistance.

Image 1.1: Sharper Image Fingerscan Digital Padlock in its retail packaging. The image shows the black padlock with a green fingerprint icon, indicating its biometric functionality.
2. Package Contents
Please verify that all items are present in your package:
- Sharper Image Fingerscan Digital Padlock (with built-in lithium battery)
- Micro USB Charging Cable
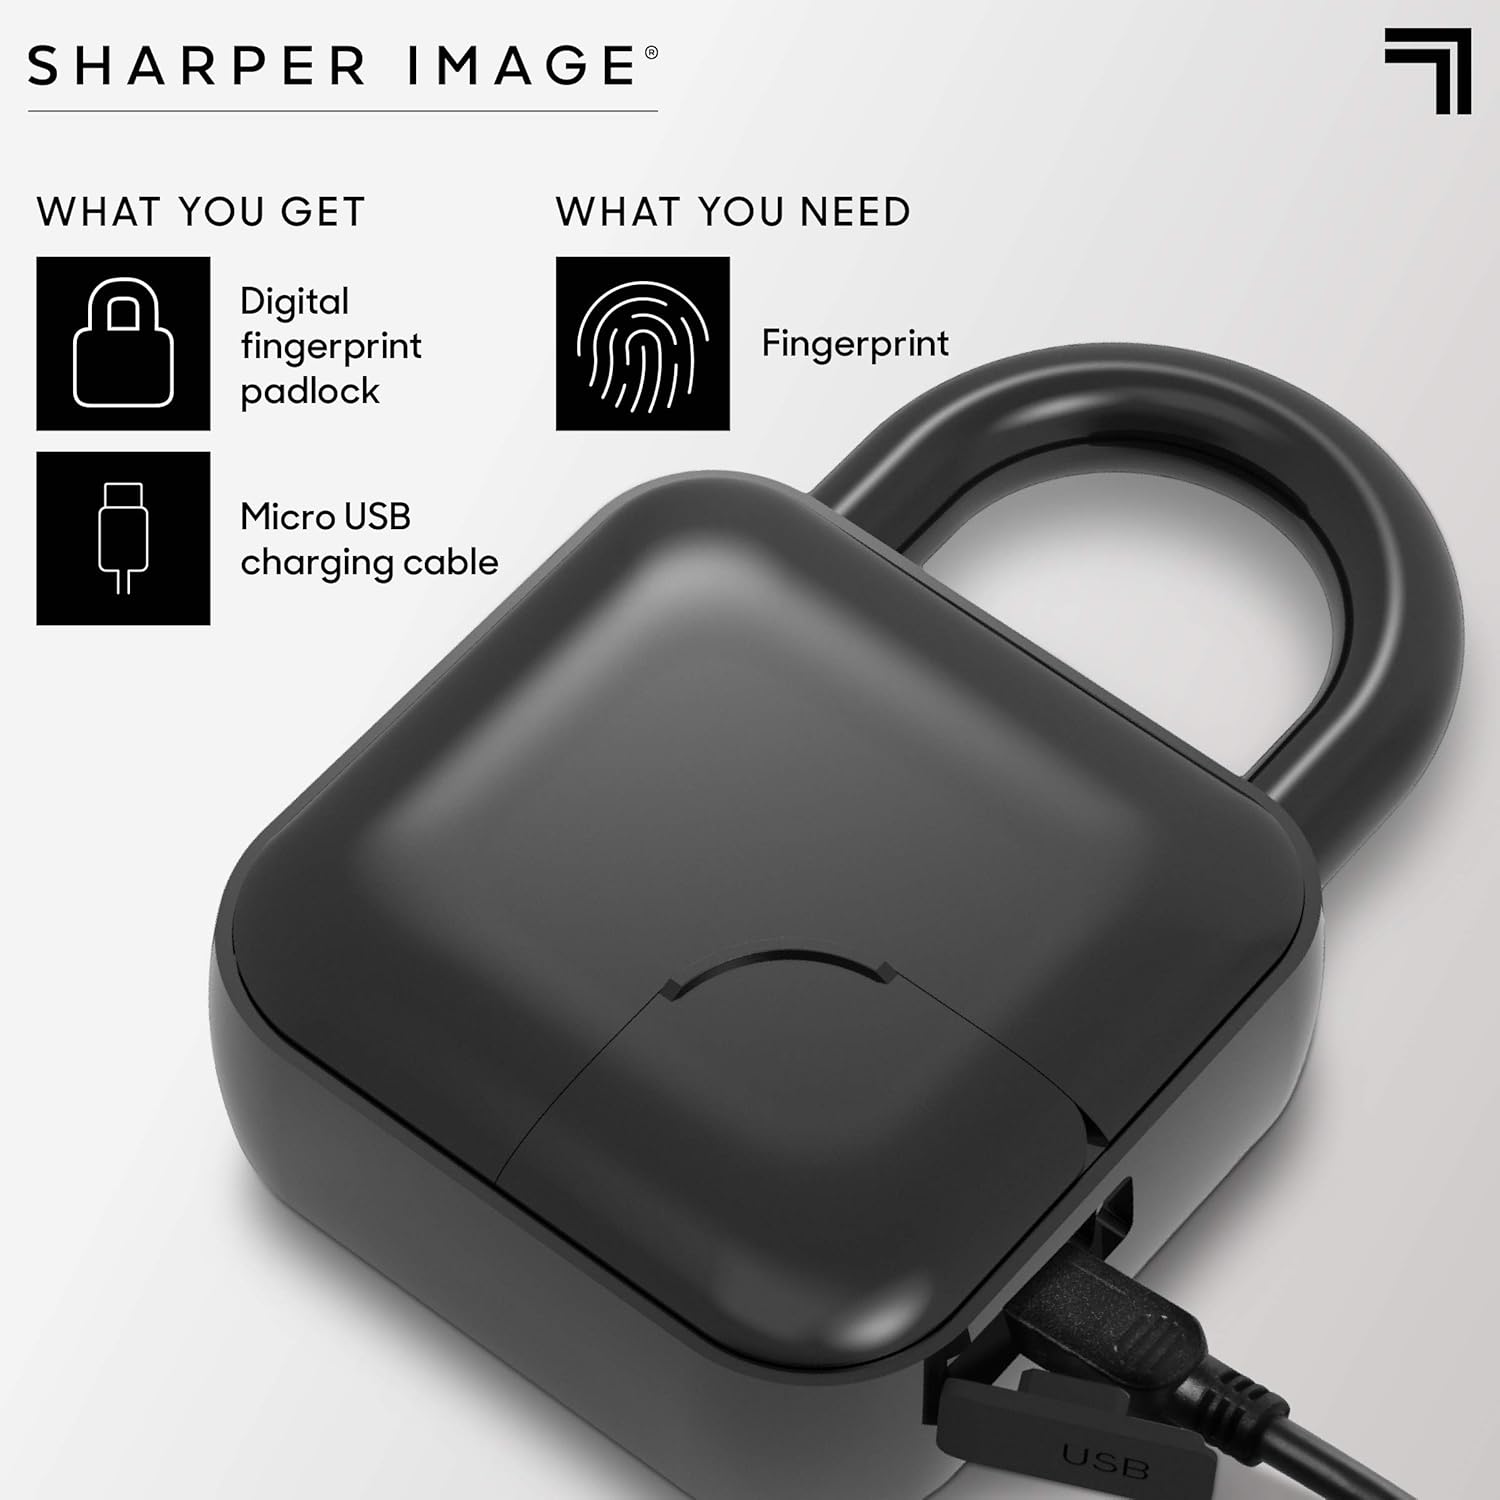
Image 2.1: Contents of the product package, including the digital fingerprint padlock and a Micro USB charging cable.
3. Product Features
- Biometric Access: Unlocks with a registered fingerprint, eliminating the need for keys or combinations.
- Fingerprint Capacity: Stores up to 10 unique fingerprints for multiple users.
- Durable Construction: Features solid steel construction for enhanced security and anti-theft capabilities.
- Weather Resistance: IP66 rated for water and dust resistance, suitable for various indoor and outdoor environments.
- Rechargeable Battery: Equipped with a built-in lithium battery, rechargeable via Micro USB. Provides up to 2 years of standby time or 2,000 unlocks per charge.
- LED Indicators: Three built-in LED lights provide status indications.

Image 3.1: Visual representation of key features: splash resistant, no keys needed, stores up to 10 fingerprints, 2,000 unlocks between charges, and rechargeable battery.

Image 3.2: Further details on features: biometric access, secure locking mechanism, IP66 weatherproof rating, and rechargeable battery lasting 1 year on standby or 2,000 unlocks.
4. Setup
4.1 Initial Charging
Before first use, fully charge the padlock. Connect the provided Micro USB charging cable to the padlock's charging port (located under the swing panel) and to a USB power source. The LED indicator will show charging status (e.g., red for charging, green for fully charged).
4.2 Registering Administrator Fingerprints
The first two fingerprints registered will be designated as administrator fingerprints. These are required to add or remove other user fingerprints.
- Ensure the padlock is unlocked. If it's locked, touch any finger to the sensor to attempt unlocking.
- Press and hold the fingerprint sensor for approximately 5-7 seconds until the LED indicator flashes blue.
- Place your chosen administrator finger on the sensor. Lift and place it repeatedly (typically 5-10 times) from different angles until the LED indicator confirms successful registration (e.g., solid green or a specific flash pattern).
- Repeat the process for the second administrator fingerprint.
Note: For optimal recognition, ensure your finger is clean and dry. Try to register the fingerprint from various angles that you might use during unlocking.

Image 4.1: A hand demonstrating the placement of a finger on the padlock's sensor for setup or unlocking. The image emphasizes the "Easy to Set, Easy to Use" aspect.
4.3 Registering Additional User Fingerprints
Once administrator fingerprints are set, you can add up to 8 more user fingerprints (total of 10).
- Unlock the padlock using an administrator fingerprint.
- Press and hold the fingerprint sensor for approximately 5-7 seconds until the LED indicator flashes blue.
- Place an administrator finger on the sensor to authorize the addition of a new fingerprint. The LED will change to indicate readiness for a new fingerprint.
- Have the new user place their finger on the sensor, lifting and placing it repeatedly until successful registration is confirmed by the LED indicator.
- Repeat for any additional user fingerprints.
4.4 Deleting All Fingerprints
To reset the padlock and delete all registered fingerprints:
- Unlock the padlock using an administrator fingerprint.
- Press and hold the fingerprint sensor for approximately 10-15 seconds until the LED indicator flashes red rapidly, then turns off. This indicates all fingerprints have been deleted.
- The padlock is now reset to factory defaults, and you will need to register new administrator fingerprints.
5. Operating the Padlock
5.1 Locking
To lock the padlock, simply push the shackle down into the lock body until it clicks into place. The padlock will automatically lock.
5.2 Unlocking
To unlock, place a registered finger firmly on the fingerprint sensor. If the fingerprint is recognized, the LED indicator will flash green, and the shackle will pop open. If the fingerprint is not recognized, the LED will flash red.
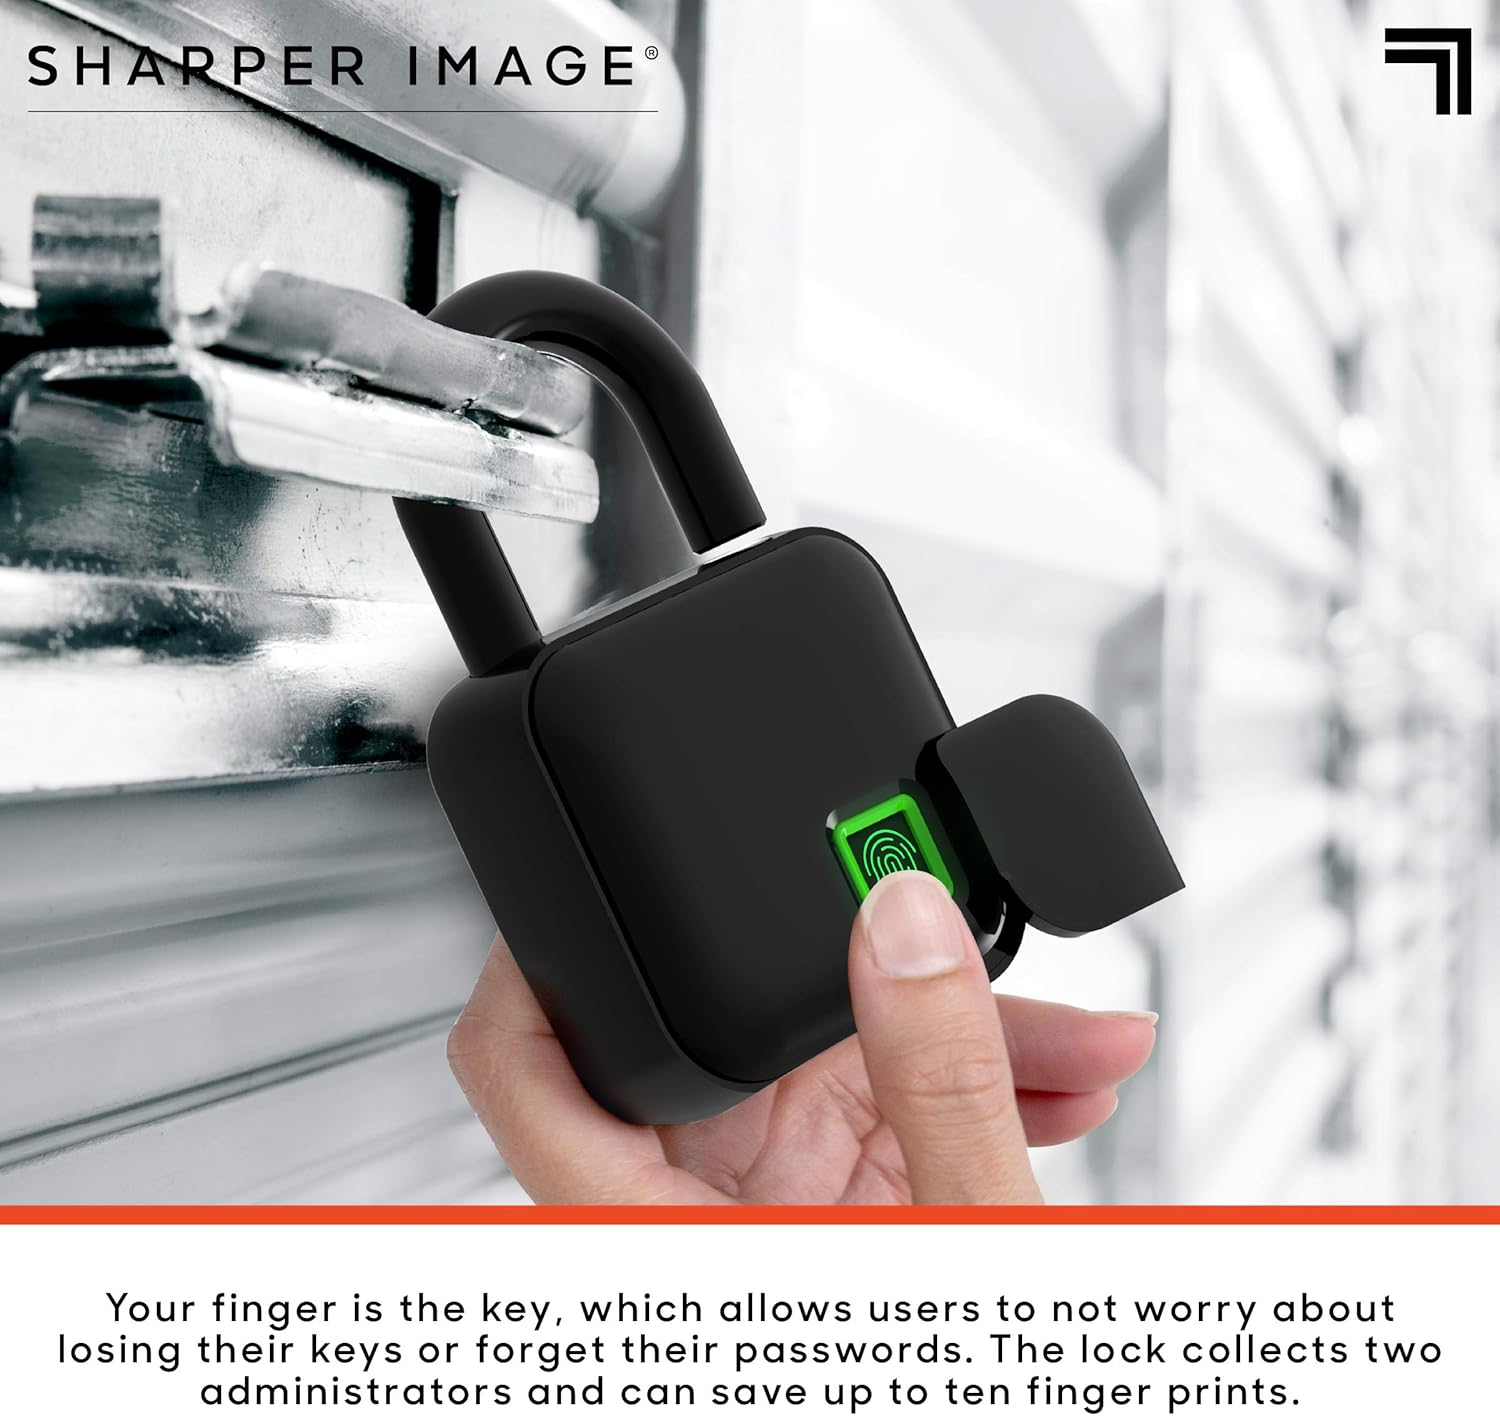
Image 5.1: A hand unlocking the digital padlock by placing a finger on the sensor, shown attached to a chain-link fence.
6. Maintenance
6.1 Charging the Battery
When the battery is low, the LED indicator will typically flash red or provide a specific low-battery warning during operation. Connect the padlock to a USB power source using the Micro USB cable to recharge. A full charge can last up to 2 years on standby or 2,000 unlocks.
6.2 Cleaning
The padlock is IP66 rated for dust and water resistance. To clean, wipe the surface with a soft, damp cloth. Do not use abrasive cleaners or immerse the padlock in water.
6.3 Storage
Store the padlock in a cool, dry place when not in use for extended periods. Ensure it is fully charged before long-term storage to preserve battery life.
7. Troubleshooting
| Problem | Possible Cause | Solution |
|---|---|---|
| Padlock does not unlock with registered fingerprint. |
|
|
| Cannot register new fingerprints. |
|
|
| Padlock does not respond. |
|
|
8. Specifications
| Feature | Detail |
|---|---|
| Brand | Sharper Image |
| Model | Fingerscan Digital Padlock |
| Lock Type | Biometric |
| Fingerprint Capacity | Up to 10 (2 administrators, 8 users) |
| Material | Metal (Solid Steel Construction) |
| Water/Dust Resistance | IP66 Rated |
| Battery | Built-in Lithium, Rechargeable via Micro USB |
| Battery Life | Up to 2 years standby or 2,000 unlocks per charge |
| Dimensions (L x W x H) | 2.54 x 5.08 x 10.16 cm (1 x 2 x 4 inches) |
| Weight | 440 g |

Image 8.1: Diagram showing the dimensions of the padlock: approximately 4 inches in height, 2 inches in width, and 1 inch in depth. Labels indicate the metal shackle and metal swing door.
9. Warranty and Support
For warranty information and customer support, please refer to the documentation included with your purchase or visit the official Sharper Image website. You can also visit the Sharper Image Store on Amazon for more product details.