
1. Product Overview
This manual provides instructions for the TUSDAR Headlights Assembly, designed for 2009-2014 Ford F-150 Pickup models. This product features a chrome housing with an amber reflector and is intended for vehicles with factory halogen headlight systems. It is not compatible with factory Xenon HID headlight models.
2. Product Features
- PC Lens: Features a professional UV-cured coating that blocks 99.2% of UV rays, resisting yellowing (≤2.5 after 5000 hours of UV exposure). The lens is 50% lighter than glass, contributing to fuel efficiency. It provides ≥90% light transmittance, enhancing illumination range by up to 40% in low-light conditions.
- High-Performance Housing: Constructed from impact-resistant PC material, offering 250-300 times the strength of ordinary glass. Heat resistance allows it to withstand halogen/HID/LED bulb operating temperatures of 90–105°C. The 3D curvature supports aerodynamic designs.
- Butyl Rubber Seal: Equipped with a butyl rubber seal for exceptional airtightness, blocking over 99.5% of moisture with a gas transmission rate 10× lower than ordinary rubber. The seal maintains 90% elasticity after 3 years and resists road vibrations and minor impacts.

Image: Close-up view of the amber reflector and clear lens, highlighting the material quality.
3. Vehicle Compatibility
This headlight assembly is compatible with 2009-2014 Ford F-150 Pickup models. It is specifically designed for vehicles equipped with Factory Halogen Headlight Models. This product is NOT Compatible with Factory Xenon HID Headlight Models.
OEM Part Numbers: DL3Z13008B, DL3Z13008A
Partslink Numbers: FO2502287, FO2503287

Image: The TUSDAR headlight assembly displayed with a Ford F-150, illustrating vehicle compatibility.
4. Package Contents
The package includes:
- 1 Pair of Headlights Assembly (Driver and Passenger Side)
Note: Bulbs are not included with this assembly.
Required Bulb Types:
- High / Low beam bulb type: H13
- Signal light bulb type: 3157A
- Side marker light bulb type: 194

Image: Diagram illustrating the bulb types and their positions within the headlight unit.
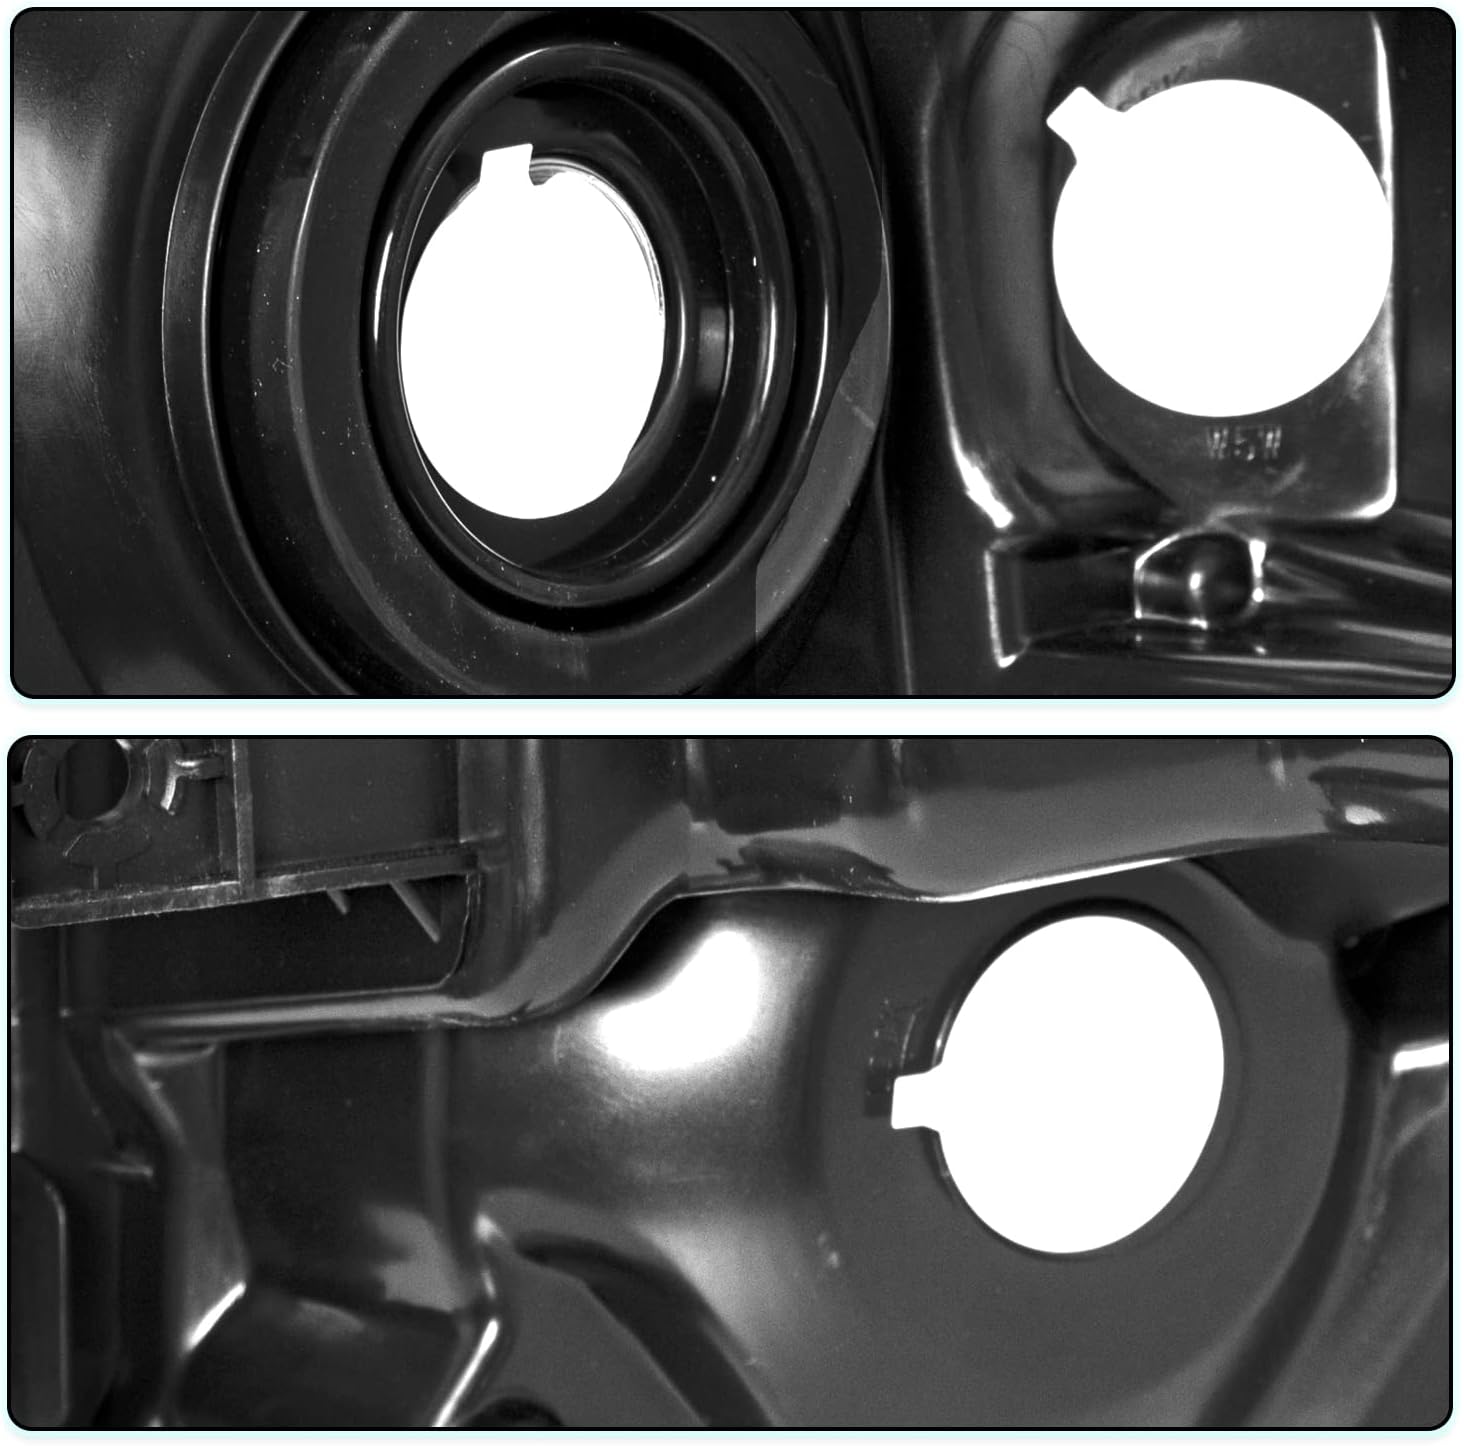
Image: Detailed view of the bulb sockets for installation.
5. Setup and Installation
Installation of headlight assemblies typically involves removing the old units and connecting the new ones. Due to the complexity and importance of proper headlight alignment for safety, professional installation is recommended.
5.1 General Installation Steps (Consult a professional or vehicle-specific repair manual for detailed instructions):
- Safety First: Ensure the vehicle is turned off, the parking brake is engaged, and the battery is disconnected before beginning any work.
- Access: Depending on your vehicle model, you may need to remove the grille, bumper, or other components to access the headlight mounting bolts.
- Remove Old Headlights: Disconnect electrical connectors and unbolt the existing headlight assemblies. Carefully remove them.
- Install Bulbs (if not pre-installed): Insert the correct H13, 3157A, and 194 bulbs into their respective sockets on the new TUSDAR headlight assembly. Ensure they are securely seated.
- Mount New Headlights: Position the new TUSDAR headlight assemblies and secure them with the mounting bolts.
- Connect Wiring: Reconnect all electrical connectors to the new headlight assemblies.
- Test Functionality: Reconnect the battery and test all headlight functions (low beam, high beam, turn signal, side marker light) before reassembling any removed body panels.
- Aiming: Proper headlight aiming is crucial for visibility and to avoid blinding other drivers. Use the beam adjusters to set the correct beam pattern.

Image: Rear view of the headlight assembly, indicating the beam adjuster and bulb locations.
5.2 Headlight Aiming
After installation, it is essential to properly aim your headlights. Refer to your vehicle's service manual for specific aiming procedures. Generally, this involves parking on a level surface facing a wall, measuring distances, and adjusting the beam using the integrated adjusters until the light pattern meets regulatory standards and provides optimal visibility without dazzling oncoming traffic.
6. Operating Instructions
The TUSDAR Headlights Assembly operates in conjunction with your vehicle's existing electrical system and headlight controls. Use your vehicle's standard controls to activate the low beams, high beams, turn signals, and side marker lights.
- Low Beams: Provide general illumination for normal driving conditions.
- High Beams: Offer maximum illumination for driving on unlit roads when no oncoming traffic is present.
- Turn Signals: Indicate your intended direction of travel.
- Side Marker Lights: Enhance vehicle visibility from the side.
Video: Demonstration of headlight functions, including turn signals and high/low beams, on a 2011 Ford F-150.
7. Maintenance
Regular maintenance helps ensure the longevity and optimal performance of your headlights.
- Cleaning: Clean the headlight lenses regularly with a soft cloth and mild soap and water. Avoid abrasive cleaners or harsh chemicals that can damage the UV coating.
- Inspection: Periodically check the headlight assemblies for any signs of damage, cracks, or loose connections.
- Bulb Replacement: If a bulb burns out, replace it promptly with the correct type (H13 for high/low beam, 3157A for signal, 194 for side marker). Ensure the replacement bulb is handled by its base to avoid touching the glass, which can reduce its lifespan.
- Seal Integrity: The butyl rubber seal is designed for durability. However, if you notice excessive moisture ingress, inspect the seal for damage.
Video: Overview of TUSDAR headlight assembly features, including durability and performance testing in various conditions.
8. Troubleshooting
8.1 Headlight Condensation
Condensation inside headlight assemblies is a common occurrence and does not necessarily indicate a defect. It typically results from:
- Large changes in daily temperature (±30°F/15°C).
- Increased humidity.
- Leaking seals on bulbs and/or bulb sockets.
How to Solve Condensation:
- Check that all vents are free from blockages.
- Turn on the low beam for 20 minutes to raise headlight temperature and evaporate condensation.
- Remove bulbs to allow moisture to evaporate from inside the housing. Heat with a hair dryer or heat gun on low temperature to speed up the process.
- Place a moisture-absorbing silica-gel desiccant packet inside the headlight.

Image: Visual guide to understanding and resolving headlight condensation.
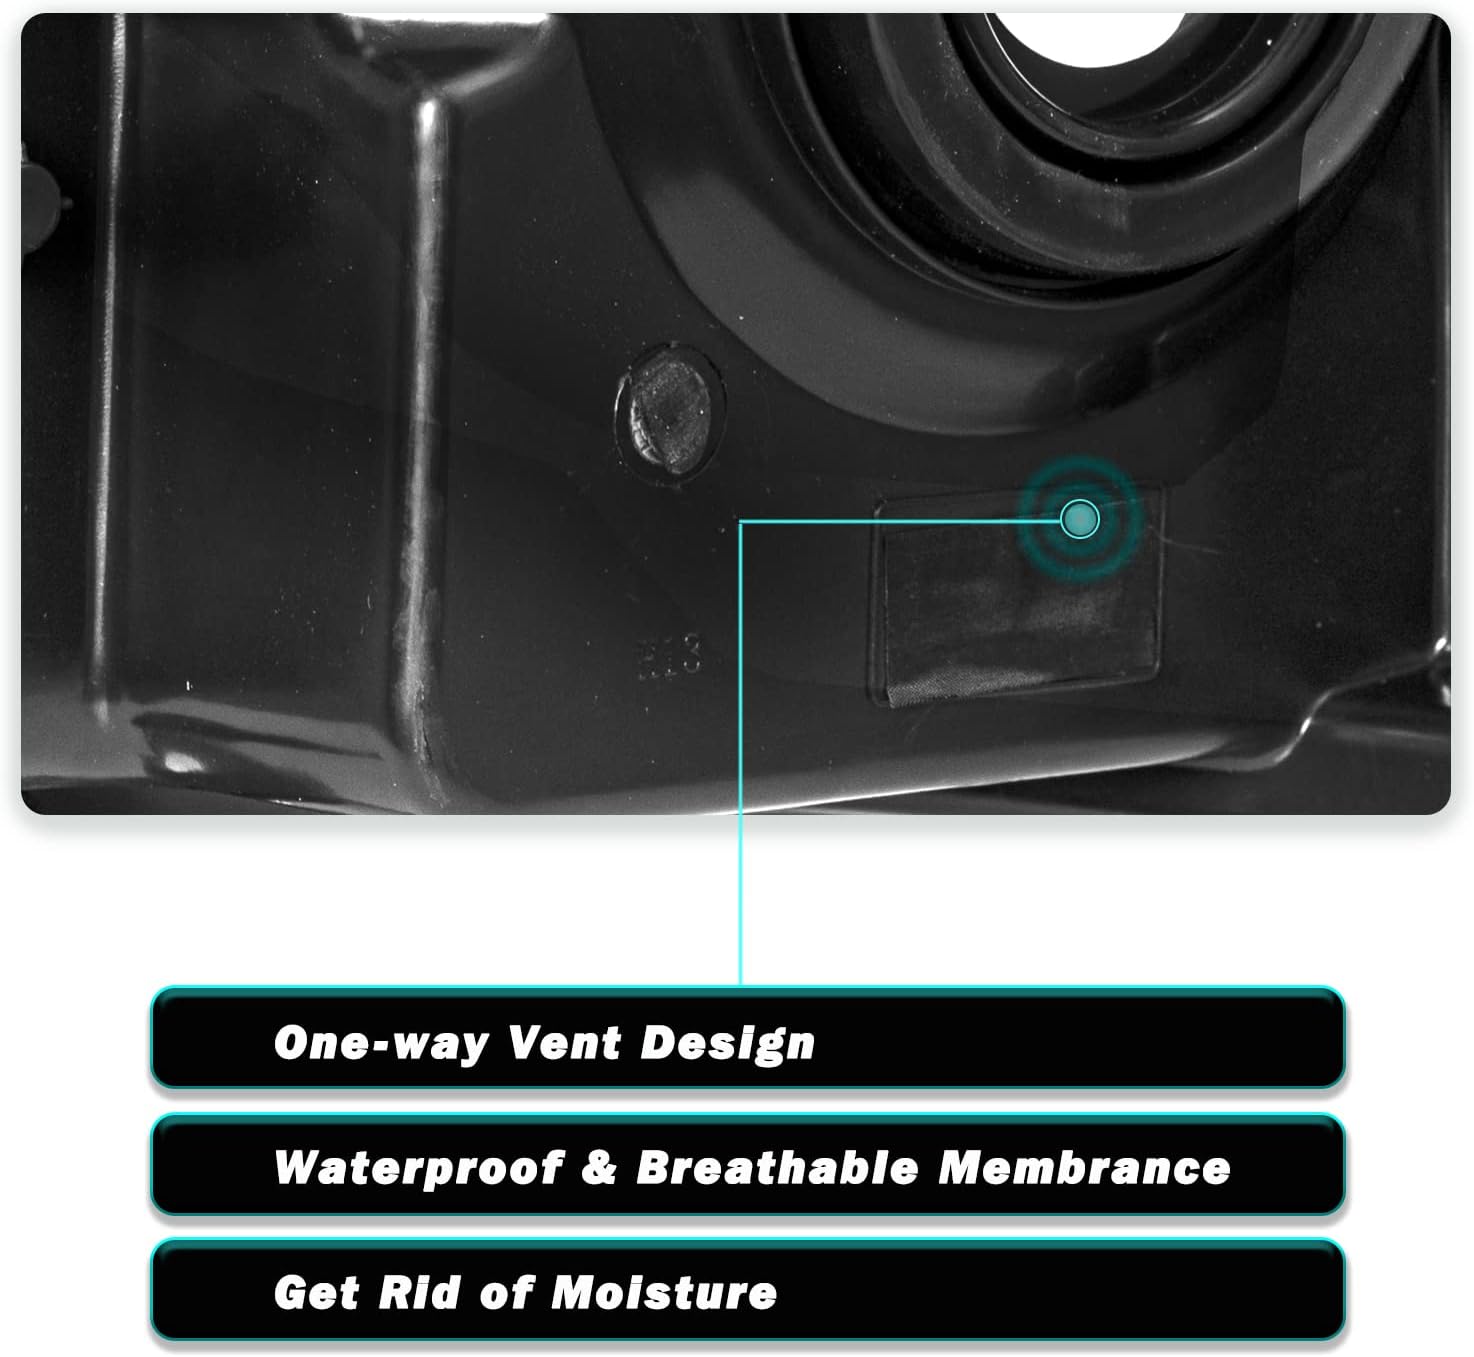
Image: Detail of the one-way vent design for moisture management.
9. Specifications
| Feature | Detail |
|---|---|
| Brand | TUSDAR |
| Model Number | TD-HL-FR-PU-09-1 |
| Compatible Vehicle | 2009-2014 Ford F-150 Pickup (Factory Halogen Headlight Models only) |
| Color | Chrome Housing with Amber Reflector |
| Light Source Type | Halogen |
| Lens Color | Clear |
| Lens Material | Plastic (PC) |
| Wattage | 110 watts (for the pair, assuming standard H13 bulbs) |
| Special Features | Dustproof, High Beam, Impact Resistant, Shockproof, Waterproof |
| Item Dimensions | 19.49 x 15.94 x 18.11 inches (packaging/overall) |
| Unit Count | 2 Count (Pair) |
| UPC | 761272166022 |
10. Warranty and Support
This TUSDAR Headlights Assembly comes with a 3-month manufacturer warranty.
For warranty claims, technical support, or any product-related inquiries, please contact TUSDAR customer service through the official TUSDAR Store on Amazon or refer to the contact information provided with your purchase.