1. Product Overview
The Honda EB10000AG Portable Generator is designed to provide reliable power for various applications, including jobsites, emergency backup, and home projects. This model features a 10,000 surge watt capacity, electric start convenience, and the integrated CO Minder system for enhanced safety against carbon monoxide. Its robust design includes covered outlets to protect against environmental elements.
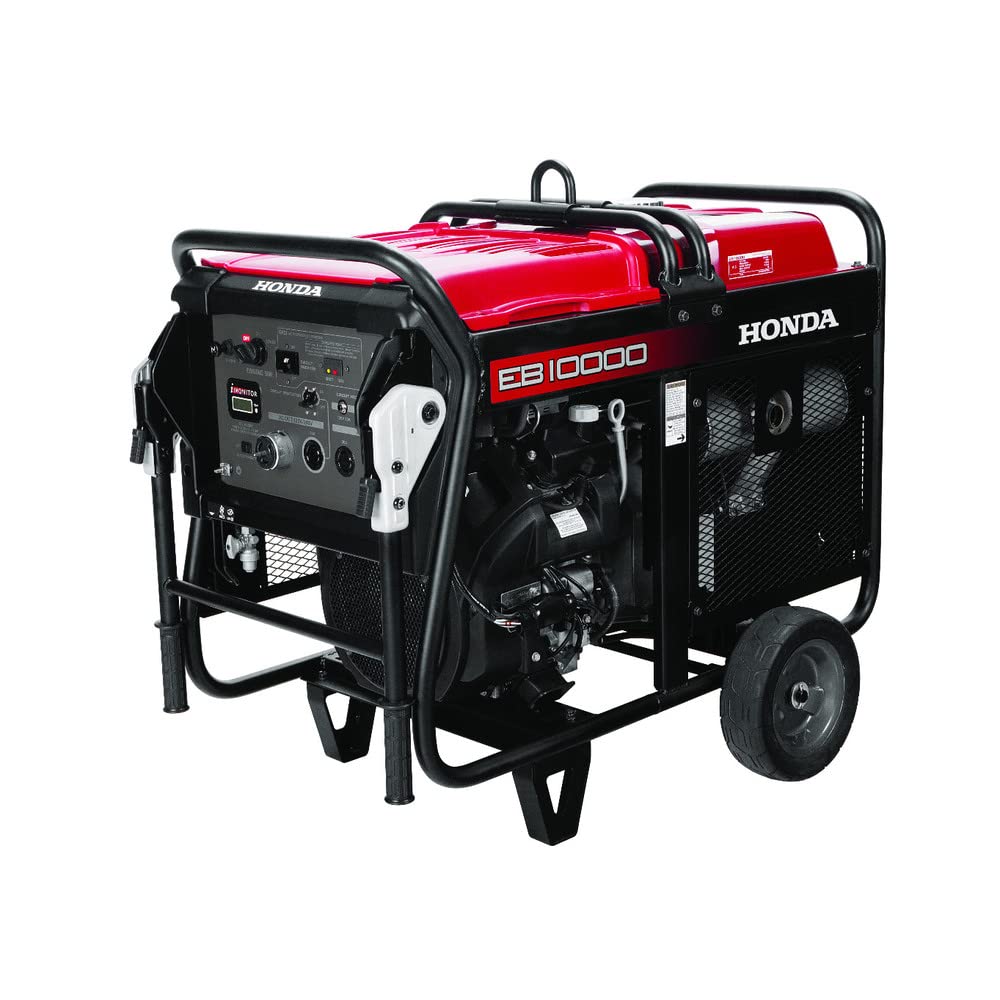
Figure 1: Side view of the Honda EB10000AG Portable Generator, showing the red fuel tank, black frame, and wheels.
2. Safety Information
Operating a generator safely is crucial to prevent injury or property damage. Always read and understand all safety warnings and instructions before operating this generator.
- Carbon Monoxide Hazard: Generators produce carbon monoxide (CO), an odorless, colorless, poisonous gas. Operate the generator outdoors only, far away from windows, doors, and vents. Never operate in an enclosed space.
- Electrical Shock Hazard: Do not operate the generator in wet conditions. Ensure all connections are dry and properly insulated. Use ground fault circuit interrupter (GFCI) protected outlets.
- Fire Hazard: Gasoline is highly flammable. Refuel in a well-ventilated area with the engine off and cool. Do not smoke or allow open flames near the generator.
- Hot Surfaces: The generator's engine and muffler become very hot during operation and remain hot for a period after shutdown. Avoid contact to prevent burns.
- Hearing Protection: Prolonged exposure to generator noise can cause hearing damage. Use appropriate hearing protection.
- CO Minder System: This generator is equipped with a CO Minder system designed to automatically shut down the engine if carbon monoxide levels become dangerously high around the generator. This system is an additional safety feature and does not replace the need for safe operating practices.
3. Setup
3.1 Unpacking and Assembly
Carefully remove the generator from its packaging. Inspect for any shipping damage. Ensure all components listed in the packing list are present. Minor assembly, such as attaching wheels or handles, may be required. Refer to the separate assembly guide if provided.
3.2 Adding Engine Oil
The generator is shipped without engine oil. Before first use, add the recommended type and amount of oil.
- Place the generator on a level surface.
- Locate the oil fill cap/dipstick.
- Remove the cap/dipstick and slowly pour the recommended 4-stroke engine oil (e.g., SAE 10W-30) into the crankcase until it reaches the upper limit mark on the dipstick. Do not overfill.
- Securely replace the oil fill cap/dipstick.
3.3 Adding Fuel
Use fresh, unleaded gasoline with an octane rating of 86 or higher. The fuel tank capacity is approximately 8.19 gallons.
- Ensure the generator engine is off and cool.
- Move the generator to a well-ventilated outdoor area for refueling.
- Remove the fuel cap.
- Slowly add gasoline to the fuel tank, being careful not to overfill. Leave space for fuel expansion.
- Securely replace the fuel cap. Wipe up any spilled fuel immediately.
3.4 Battery Connection (Electric Start)
For electric start models, the battery may need to be connected or charged prior to first use. Refer to the battery connection instructions in the separate battery manual or the generator's quick start guide.
4. Operating Instructions

Figure 2: Close-up view of the Honda EB10000AG control panel, showing the ignition switch, choke, iMonitor, circuit breakers, and various AC outlets.
4.1 Pre-Start Checks
- Ensure the generator is on a level surface outdoors, away from combustible materials.
- Check engine oil level.
- Check fuel level.
- Ensure all electrical loads are disconnected from the generator outlets.
- Verify circuit breakers are in the "OFF" or "RESET" position.
4.2 Starting the Engine (Electric Start)
- Turn the fuel valve to the "ON" position.
- Move the choke lever to the "CHOKE" position (if the engine is cold).
- Insert the key into the ignition switch and turn it to the "START" position. Release the key once the engine starts.
- Once the engine warms up (a few seconds to a minute), gradually move the choke lever to the "RUN" position.
- Allow the engine to run for a few minutes to stabilize before connecting electrical loads.
Note: If the engine does not start after several attempts, refer to the Troubleshooting section.
4.3 Connecting Electrical Loads
The EB10000AG features various AC outlets, including 120V/240V, 120V 30A, and 120V 20A GFCI protected receptacles. Always ensure the total load does not exceed the generator's rated running wattage (10,000 Watts).
- Ensure the generator is running smoothly.
- Plug in the electrical appliances or extension cords.
- Turn the circuit breakers to the "ON" position for the outlets being used.
- Monitor the iMonitor display for output information and engine status.
4.4 Stopping the Engine
- Disconnect all electrical loads from the generator.
- Turn the circuit breakers to the "OFF" position.
- Allow the engine to run for a few minutes without load to cool down.
- Turn the ignition key to the "OFF" position.
- Turn the fuel valve to the "OFF" position.
5. Maintenance
Regular maintenance ensures optimal performance and extends the life of your generator. Always perform maintenance with the engine off and cool, and disconnect the spark plug cap to prevent accidental starting.
5.1 Maintenance Schedule
| Item | Before Each Use | Every 25 Hours / Monthly | Every 100 Hours / Annually |
|---|---|---|---|
| Engine Oil | Check Level | Change | |
| Air Filter | Check | Clean | Replace |
| Spark Plug | Inspect/Adjust/Replace | ||
| Fuel Filter | Inspect/Replace |
5.2 Storage
For long-term storage (over 30 days), proper preparation is essential:
- Drain the fuel tank and carburetor, or add a fuel stabilizer.
- Change the engine oil.
- Remove the spark plug and pour a small amount of engine oil into the cylinder, then slowly pull the recoil starter a few times to distribute the oil. Reinstall the spark plug.
- Clean the generator exterior.
- Store in a clean, dry, well-ventilated area.
6. Troubleshooting
This section provides solutions to common operational issues. For problems not listed here, contact authorized service personnel.
| Problem | Possible Cause | Solution |
|---|---|---|
| Engine will not start | No fuel Low oil level Choke not set correctly Spark plug issue Battery discharged (electric start) | Add fuel Add oil Adjust choke Inspect/clean/replace spark plug Charge/replace battery |
| No power output | Circuit breaker tripped Overload Loose connections CO Minder shutdown | Reset circuit breaker Reduce load Check and secure connections Move generator to open air, restart |
| Engine runs poorly | Stale fuel Dirty air filter Incorrect spark plug gap | Drain and refill with fresh fuel Clean/replace air filter Adjust/replace spark plug |
7. Specifications
| Feature | Detail |
|---|---|
| Brand | Honda |
| Model Name | EB10000AG |
| Wattage (Starting/Running) | 10,000 Watts |
| Fuel Type | Gasoline |
| Power Source | Electric |
| Item Weight | 415 Pounds |
| Engine Type | 4 Stroke |
| Engine Displacement | 688 Cubic Centimeters |
| Tank Volume | 8.19 Gallons |
| Ignition System Type | Electric Start |
| Frequency | 50 Hz |
| UPC | 786102007382 |
8. Warranty Information
The Honda EB10000AG Portable Generator comes with a 3-year limited warranty. This warranty covers defects in materials and workmanship under normal use and service. For specific terms, conditions, and limitations, please refer to the official warranty document included with your product or contact Honda customer support.
9. Customer Support
For technical assistance, parts, or service inquiries, please contact Honda customer support. Have your generator's model number (EB10000AG) and serial number ready when contacting support.
You can find contact information on the official Honda Power Equipment website or in the documentation provided with your generator.