Introduction
Thank you for choosing Brandless Silicone Earbud Tips. This manual provides essential information for the proper use, installation, and maintenance of your replacement earbud tips. These tips are designed to enhance comfort and sound isolation for compatible in-ear headphones.
Product Features
- Universal Compatibility: Designed to fit most in-ear earphones with an inner hole diameter between 3.8mm and 5.1mm.
- Variety of Sizes: Includes 9 pairs of earbud tips in Small (S), Medium (M), and Large (L) sizes (3 pairs of each size) to ensure a comfortable and secure fit.
- High-Quality Material: Made from soft, durable silicone for improved noise isolation, in-ear stability, and lasting comfort.
- Easy Maintenance: Water-washable, reusable, flexible, antistatic, and elastic for convenient cleaning and extended lifespan.
- Simple Replacement: Easily removable and replaceable, providing a fresh set of tips for damaged, scratched, defective, or lost originals.
Compatibility
These silicone earbud tips are compatible with most in-ear earphones that have an inner hole diameter ranging from 3.8mm to 5.1mm. It is crucial to measure the inner diameter of your earphone's nozzle before purchasing to ensure proper fit. Examples of compatible brands include Senso, TOZO, Sony, Zeus, Otium, and Hussar Sport Bluetooth Headphones, among others.
Measuring Earphone Inner Bore Diameter
To ensure the correct fit, measure the inner bore diameter of your earphone's nozzle. Use a caliper for precise measurement as shown in the image below. The measurement should fall between 3.8mm and 5.1mm.

Figure 1: Measurement Method for Earphone Inner Bore Diameter. The image illustrates how to use a digital caliper to measure the inner diameter of an earphone's sound tube, showing a reading of 4.9mm. This ensures compatibility with the earbud tips.

Figure 2: Product Size Compatibility. This image visually demonstrates the compatible inner hole diameter range (3.8mm - 5.1mm) for the earbud tips, shown with an example earphone.
Installation Instructions
Follow these steps to correctly install the silicone earbud tips onto your earphones:
- Gently remove the existing earbud tip from your earphone, if any.
- Select the appropriate size (S, M, or L) of the new silicone earbud tip that best fits your ear and the earphone nozzle.
- Align the inner hole of the silicone tip with the earphone's sound tube.
- Carefully push and twist the silicone tip onto the sound tube until it is securely seated and fully covers the nozzle. Ensure there are no gaps.
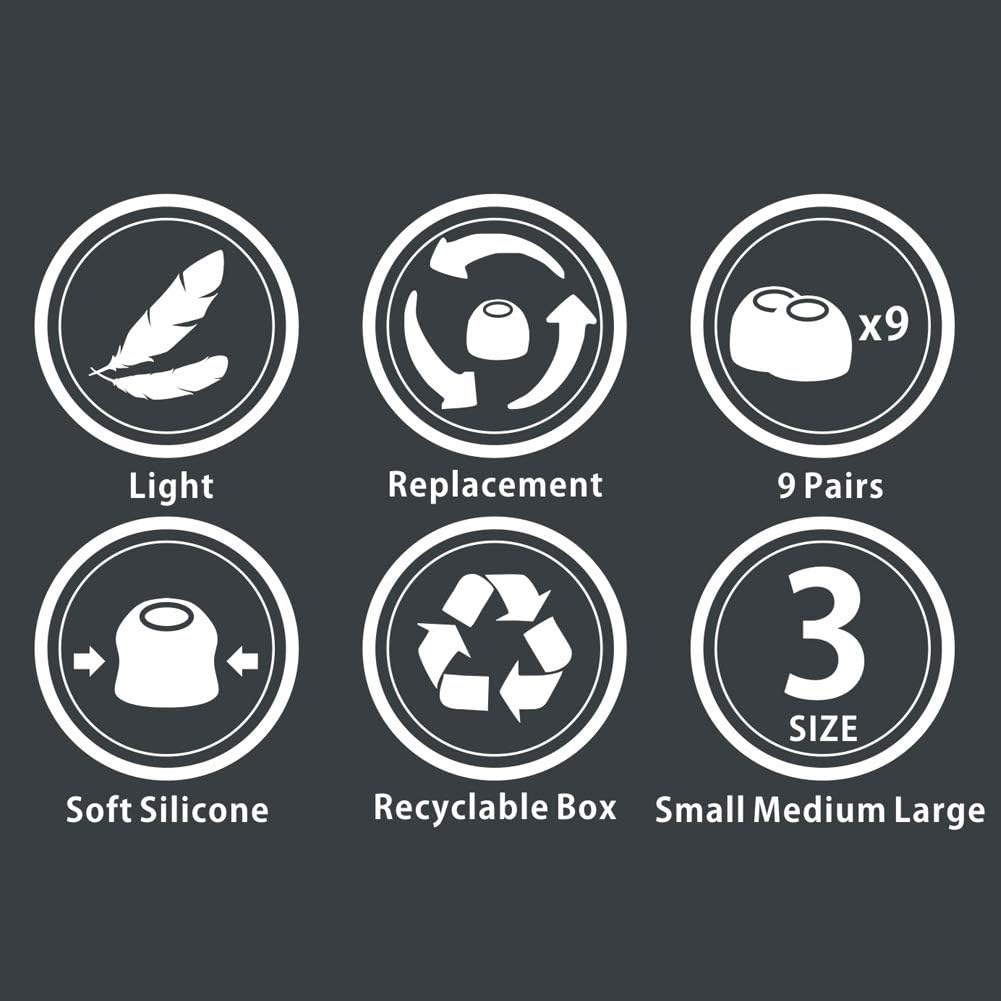
Figure 3: Ear Tip Installation Method. This diagram shows a three-step process for attaching a silicone earbud tip to an earphone, from aligning to fully securing the tip.
Video 1: Silicone Earbud Tips Replacement Installation. This video demonstrates the process of replacing earbud tips, showing how to remove old tips and install new silicone tips securely onto earphones.
Choosing the Right Size
The package includes earbud tips in three sizes: Small (S), Medium (M), and Large (L). Selecting the correct size is essential for comfort, sound quality, and noise isolation.
- Small Size (S): Approximately 11mm outer diameter.
- Medium Size (M): Approximately 12mm outer diameter.
- Large Size (L): Approximately 13mm outer diameter.
Experiment with each size to find the one that creates a snug seal in your ear canal without causing discomfort. A good seal improves bass response and blocks external noise effectively.
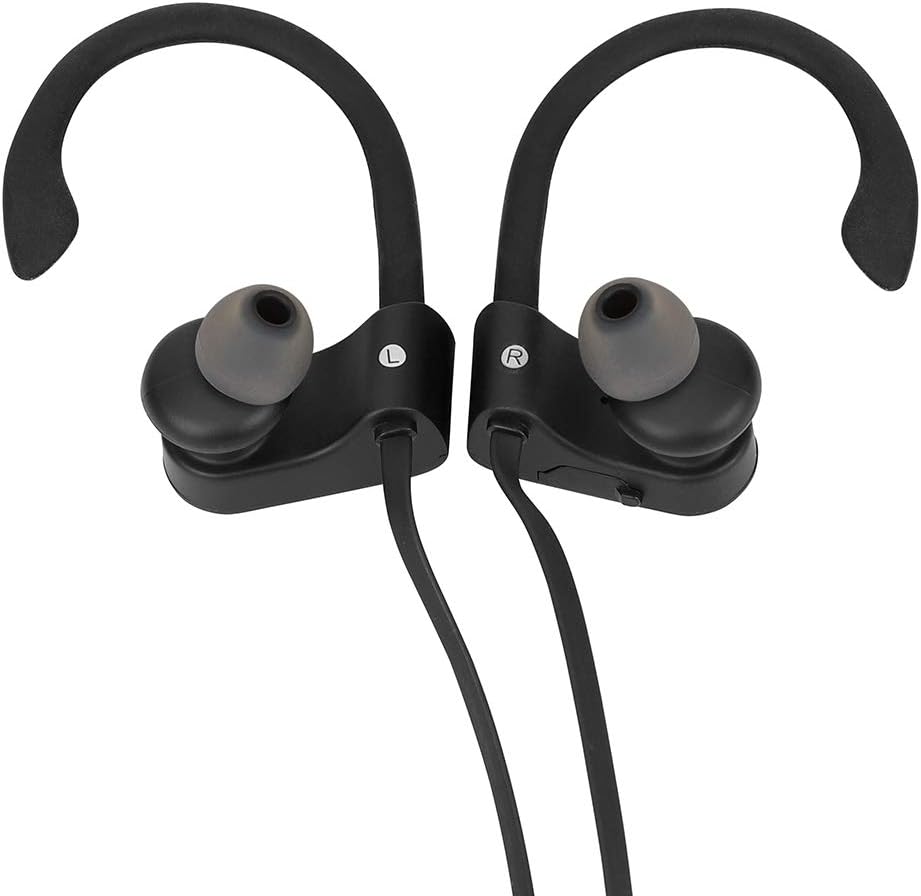
Figure 4: Earbud Tip Sizes. This image displays the three available sizes (Small, Medium, Large) with their respective outer diameter measurements, aiding in size selection.
Care and Maintenance
To ensure the longevity and hygiene of your silicone earbud tips, follow these care instructions:
- Cleaning: The earbud tips are water-washable. Gently remove them from your earphones and wash with mild soap and water. Rinse thoroughly and allow them to air dry completely before reattaching.
- Storage: Store unused earbud tips in a clean, dry place away from direct sunlight and extreme temperatures.
- Regular Inspection: Periodically check the tips for any signs of wear, tear, or damage. Replace them if they appear compromised to maintain optimal performance and hygiene.
Troubleshooting
If you encounter issues with your earbud tips, consider the following:
- Poor Fit/Falling Out: Ensure you have selected the correct size. Try a different size (smaller or larger) to achieve a secure and comfortable fit. Verify that the earbud tip is fully seated on the earphone nozzle.
- Reduced Sound Quality/Bass: A poor seal can lead to reduced sound quality, especially bass. Re-evaluate your chosen tip size and ensure a tight seal in your ear canal.
- Discomfort: If the tips cause discomfort, try a smaller size. Prolonged discomfort may indicate an incorrect fit.
- Compatibility Issues: Double-check the inner bore diameter of your earphone against the specified compatibility range (3.8mm-5.1mm).
Product Specifications
| Brand | Brandless |
| Model Number | RM |
| Material | Silicone |
| Compatible Devices | Headphones (Inner hole 3.8mm-5.1mm) |
| Package Contents | 9 Pairs (S, M, L - 3 pairs each) Earbud Tips |
| Item Weight | 0.317 ounces |
| Package Dimensions | 3.3 x 2.02 x 0.03 inches |
| UPC | 779605090715 |
Warranty and Support
For any questions regarding product functionality, compatibility, or warranty information, please contact the seller directly through the platform where the product was purchased. Please refer to your purchase documentation for specific warranty terms and conditions, as these may vary.