1. Important Safety Instructions
Please read these instructions carefully before using the Beurer LR 210 HEPA Air Purifier. Keep this manual for future reference and ensure it is accessible to all users.
- Always place the air purifier on a firm, level surface.
- Do not block the air inlet or outlet vents.
- Keep the device away from water and moisture. Do not operate with wet hands.
- Do not use the device near flammable gases or vapors.
- Unplug the device before cleaning or performing any maintenance.
- This appliance is not intended for use by persons (including children) with reduced physical, sensory or mental capabilities, or lack of experience and knowledge, unless they have been given supervision or instruction concerning use of the appliance by a person responsible for their safety.
- Only use original Beurer replacement filters.
2. Product Overview
The Beurer LR 210 is a compact HEPA air purifier designed to improve indoor air quality. It features a multi-layer filter system, an ion function, and various operating modes for optimal performance.
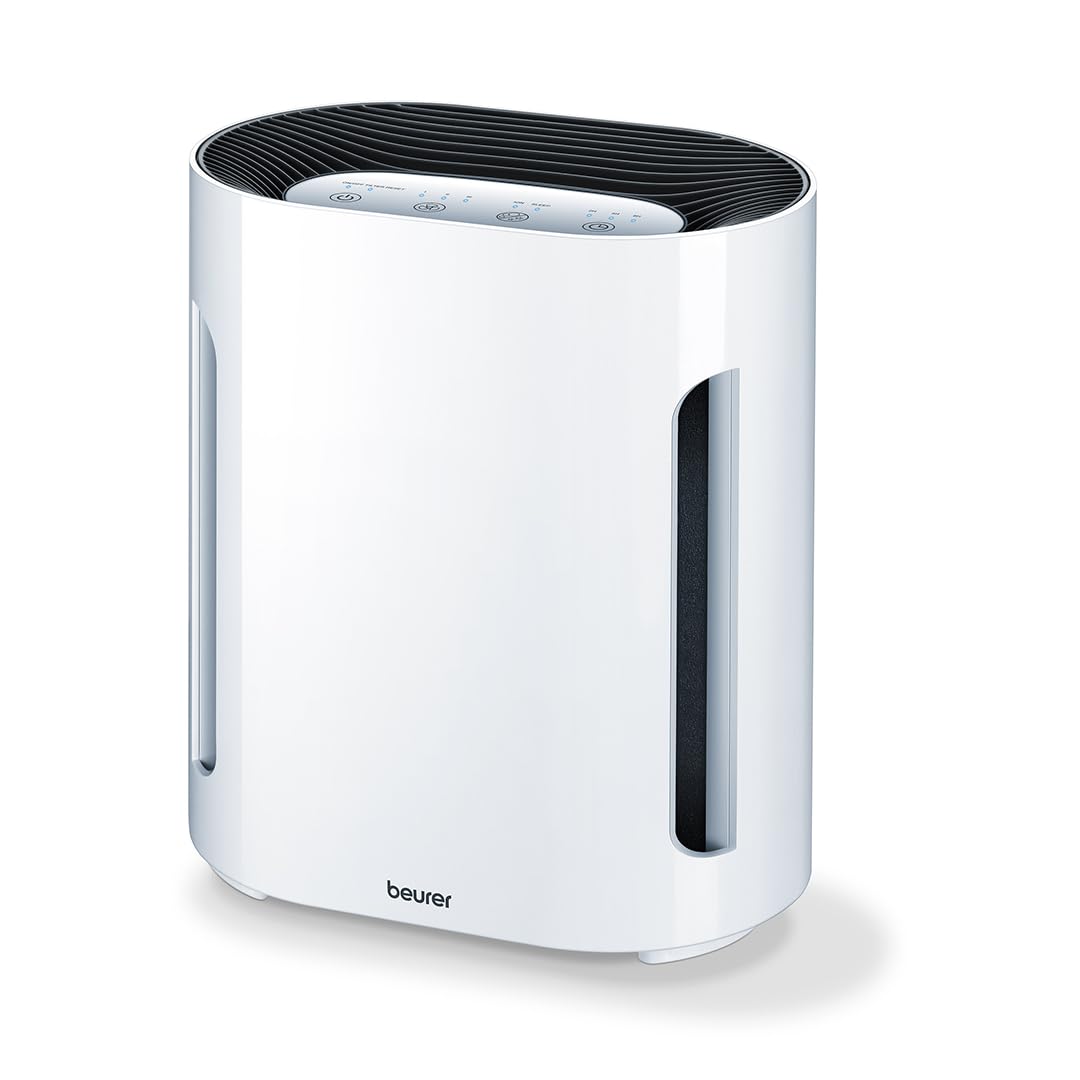
Figure 2.1: Front view of the Beurer LR 210 HEPA Air Purifier. This image shows the compact design of the air purifier, suitable for various room settings.

Figure 2.2: Beurer LR 210 Air Purifier highlighting its selectable ion function, ability to stop viruses and fine dust, and 99.95% filter performance.
2.1 Components
- Main Unit
- 3-Layer Filter System (Pre-filter, Activated Carbon filter, HEPA filter)
- Power Adapter

Figure 2.3: Illustration of the Beurer LR 210's 3-layer filter system, including the pre-filter, activated carbon filter, and HEPA filter, designed for comprehensive air purification.
3. Setup
3.1 Unpacking
- Carefully remove the air purifier from its packaging.
- Remove all packaging materials, including any protective films or wraps.
- Check the device and all accessories for any signs of damage. If damaged, do not use the device and contact customer support.
3.2 Filter Installation
The filters are typically pre-installed but may be wrapped in plastic for protection during shipping. Ensure all plastic wrapping is removed before first use.
- Turn the air purifier upside down and twist the base cover counter-clockwise to unlock it.
- Remove the base cover and carefully pull out the filter assembly.
- Remove any plastic packaging from the filter layers.
- Reinsert the filter assembly into the device, ensuring it is seated correctly.
- Replace the base cover and twist clockwise to lock it securely.
3.3 Placement
- Place the air purifier on a stable, flat, and dry surface.
- Ensure there is at least 20 cm (8 inches) of clear space around all sides of the device for optimal airflow.
- Avoid placing the device directly next to walls, furniture, or curtains that could obstruct air intake or output.
- Do not place the device in direct sunlight or near heat sources.
3.4 Power Connection
- Connect the power adapter to the power input port on the back of the air purifier.
- Plug the power adapter into a suitable electrical outlet (100-240V AC, 50/60Hz).
- The device is now in standby mode.
4. Operating the Device
The control panel is located on the top of the device and features touch-sensitive buttons.

Figure 4.1: Beurer LR 210 Air Purifier showcasing its ultra-quiet night mode and timer functions (2, 4, 8 hours).
4.1 Power On/Off
- Press the Power button (symbol: circle with a vertical line) to turn the device on. The device will start in the lowest fan speed.
- Press the Power button again to turn the device off.
4.2 Fan Speed Adjustment
The device has 3 fan speed levels.
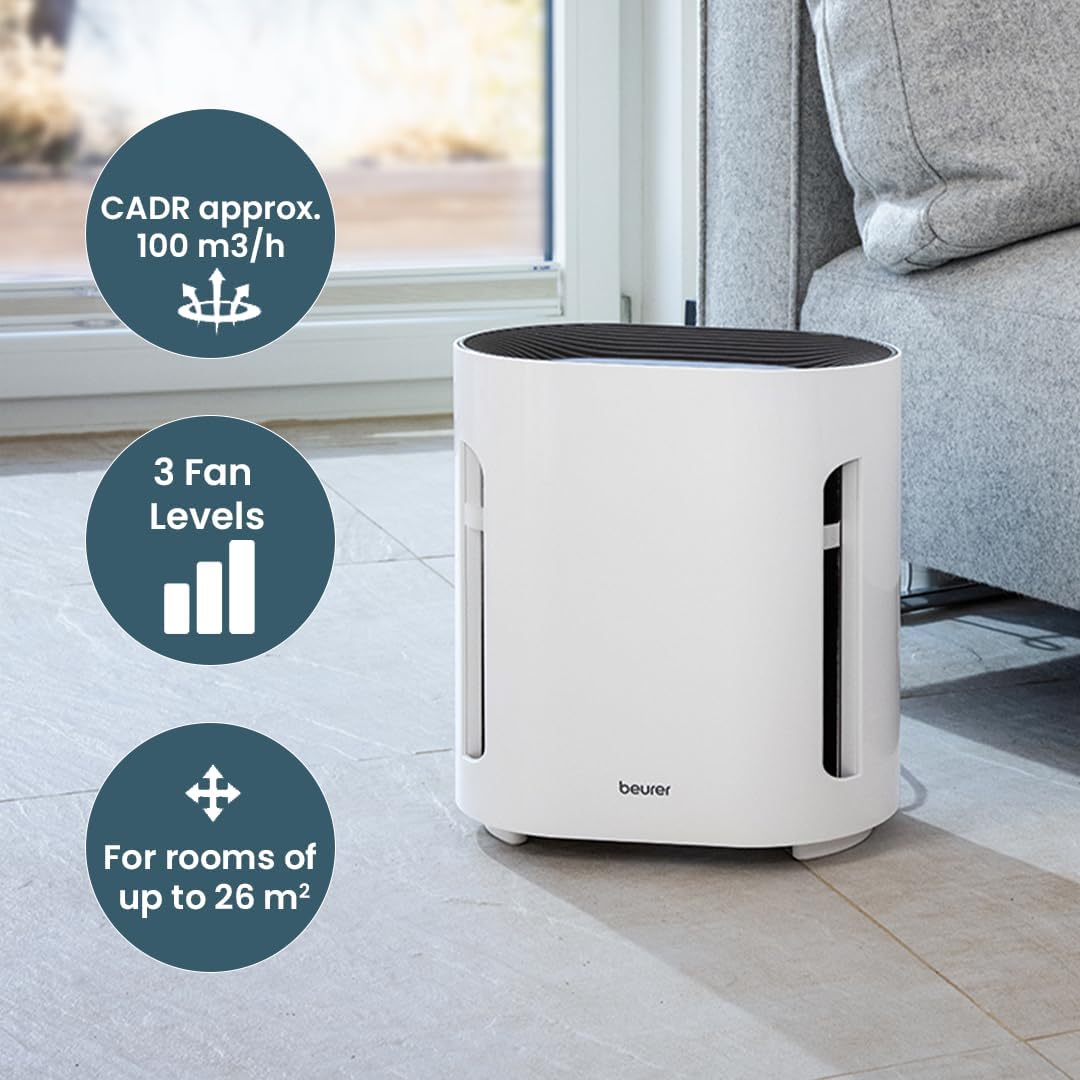
Figure 4.2: Beurer LR 210 Air Purifier illustrating its CADR (approx. 100 m³/h), 3 fan levels, and suitability for rooms up to 26 m².
- Press the Fan Speed button (symbol: fan blades or bars) repeatedly to cycle through the fan speeds: Level 1 (low), Level 2 (medium), Level 3 (high).
4.3 Timer Function
Set the device to automatically turn off after a specified period.
- Press the Timer button (symbol: clock) repeatedly to select a timer duration: 2 hours, 4 hours, or 8 hours.
- The corresponding indicator light will illuminate.
- To deactivate the timer, press the button until no timer indicator light is on.
4.4 Night Mode
For quiet operation during sleep, activate Night Mode.
- Press the Night Mode button (symbol: moon or crescent) to activate. The fan speed will automatically switch to the lowest setting, and all indicator lights will dim or turn off.
- Press the button again to deactivate Night Mode.
4.5 Ion Function
The selectable ion function helps to further purify the air by releasing negative ions.

Figure 4.3: Beurer LR 210 Air Purifier demonstrating its selectable ion function, which provides relief for allergy sufferers by targeting pollen, domestic dust, and animal hair.
- Press the Ion button (symbol: ion or atom) to turn the ion function on or off.
- The indicator light will show the status of the ion function.
5. Maintenance
Regular maintenance ensures optimal performance and extends the lifespan of your air purifier.
5.1 Filter Replacement
The filter system has a limited lifespan and needs to be replaced periodically. The filter replacement indicator light (often red) will illuminate when it's time to change the filter.
- Unplug the air purifier from the power outlet.
- Turn the device upside down and twist the base cover counter-clockwise to unlock.
- Remove the old filter assembly.
- Insert a new, original Beurer LR 210 filter assembly, ensuring it is seated correctly.
- Replace the base cover and twist clockwise to lock it securely.
- Plug the device back in.
- To reset the filter indicator, press and hold the Filter Reset button (or the Power button for 5 seconds, depending on model) until the indicator light turns off.
5.2 Cleaning the Exterior
- Unplug the device before cleaning.
- Wipe the exterior surfaces with a soft, damp cloth.
- Do not use abrasive cleaners, solvents, or harsh chemicals.
- Ensure no water enters the interior of the device.
5.3 Storage
- If storing the device for an extended period, unplug it and clean it thoroughly.
- Store it in a cool, dry place, away from direct sunlight and extreme temperatures.
- It is recommended to replace the filter before storing or after long periods of inactivity.
6. Troubleshooting
Refer to this section for common issues and their solutions.
| Problem | Possible Cause | Solution |
|---|---|---|
| Device does not turn on. | No power supply. | Check if the power adapter is securely plugged into the device and the wall outlet. Try a different outlet. |
| Poor air purification performance. | Filters are dirty or clogged. Filters are still in plastic packaging. | Replace the filter system. Ensure all plastic wrapping is removed from new filters. |
| Unusual noise during operation. | Obstruction in fan. Device not on a stable surface. | Unplug and check for foreign objects. Ensure device is on a flat, stable surface. |
| Filter replacement indicator remains on after filter change. | Filter indicator not reset. | Refer to Section 5.1 for instructions on how to reset the filter indicator. |
If the problem persists after attempting these solutions, please contact Beurer customer support.
7. Specifications
| Model: | LR 210 |
| Product Dimensions: | 13.58 x 12.2 x 8.27 inches (34.5 x 31 x 21 cm) |
| Item Weight: | 7.05 Pounds (3.2 Kilograms) |
| Wattage: | 60 watts |
| Noise Level: | 52 Decibels (max) |
| Filter Type: | 3-layer filter system (Pre-filter, Activated Carbon filter, HEPA filter) |
| Particle Retention Size: | 0.3 Micron |
| Filter Performance: | 99.95% |
| Control Method: | Touch, Button Control |
| Recommended Room Size: | Up to 26 m² |
| CADR (Clean Air Delivery Rate): | Approx. 100 m³/h |
8. Warranty and Support
Beurer provides a limited warranty for this product. Please refer to the warranty card included in your product packaging for specific terms and conditions, including the warranty period and coverage details.
For technical support, replacement parts, or warranty claims, please contact Beurer customer service. Contact information can typically be found on the official Beurer website or on the product packaging.
When contacting support, please have your product model number (LR 210) and proof of purchase readily available.