
Important Safety Instructions
Please read and save these instructions before operating your humidifier. Failure to follow these instructions may result in electric shock, fire, or serious injury.
- Always place the humidifier on a firm, flat, waterproof surface at least 12 inches (30 cm) away from walls and appliances.
- Do not immerse the humidifier in water or other liquids.
- Unplug the humidifier before filling, cleaning, or moving it.
- Do not add water to the mist tube. Only fill the water tank.
- Keep the humidifier out of reach of children and pets.
- Use only clean, cool tap water. Do not use hot water.
- If using essential oils, add them only to the designated essential oil box. Do not add essential oils directly into the water tank.
- Do not block the mist outlet.
- Do not attempt to repair or modify the humidifier yourself. Contact customer support for assistance.
Package Contents
- SUPALAK Cool Mist Humidifier
- Remote Control
- User Manual
Product Diagram
The SUPALAK humidifier functions as both a humidifier and an essential oil diffuser. It features a 4.5L capacity water tank, providing up to 50 hours of continuous operation.

Image: A diagram illustrating the SUPALAK humidifier's dual function as a humidifier and essential oil diffuser, highlighting its 4.5L capacity and up to 50 hours of running time.
Specifications
| Brand | SUPALAK |
| Model Number | B08CZ8SHGV |
| Capacity | 4.5 Liters |
| Operation Mode | Ultrasonic |
| Runtime | Up to 50 hours |
| Special Features | Auto Shut Off, Quiet Operation, Essential Oil Diffuser |
| Control Method | Touch, Remote |
Setup
1. Placement
Place the humidifier on a flat, stable surface. Ensure there is adequate space around the unit for proper mist dispersion.
2. Filling the Water Tank
The humidifier features a wide opening for easy top-fill. Lift the water tank using the integrated handle for convenient refilling and cleaning.

Image: The humidifier's wide opening allows for easy top-filling and convenient cleaning of the water tank.

Image: The water tank can be easily lifted using its integrated handle for transport and refilling.
- Remove the top cover of the humidifier.
- Pour clean, cool tap water directly into the water tank. Do not exceed the maximum fill line.
- Replace the top cover securely.
3. Adding Essential Oils
Locate the essential oil box, typically a small tray or compartment separate from the main water tank. Add a few drops of your preferred essential oil to the pad inside the box.

Image: A close-up view of the essential oil diffuser compartment, where essential oils can be added.
Operation
1. Powering On/Off
Plug the power cord into a suitable electrical outlet. Press the power button on the control panel or remote control to turn the humidifier on or off.
2. Adjusting Mist Levels
Use the mist level button on the control panel or remote control to cycle through different mist output settings (low, medium, high).
3. Intelligent Humidity Monitoring
The humidifier can automatically maintain a comfortable indoor humidity level. Set your desired humidity percentage, and the unit will adjust its output accordingly.

Image: The humidifier's display shows the current humidity level, indicating its intelligent monitoring feature.
4. Timer Function
Set the humidifier to operate for a specific duration using the timer function. The timer can typically be set from 1 to 12 hours.
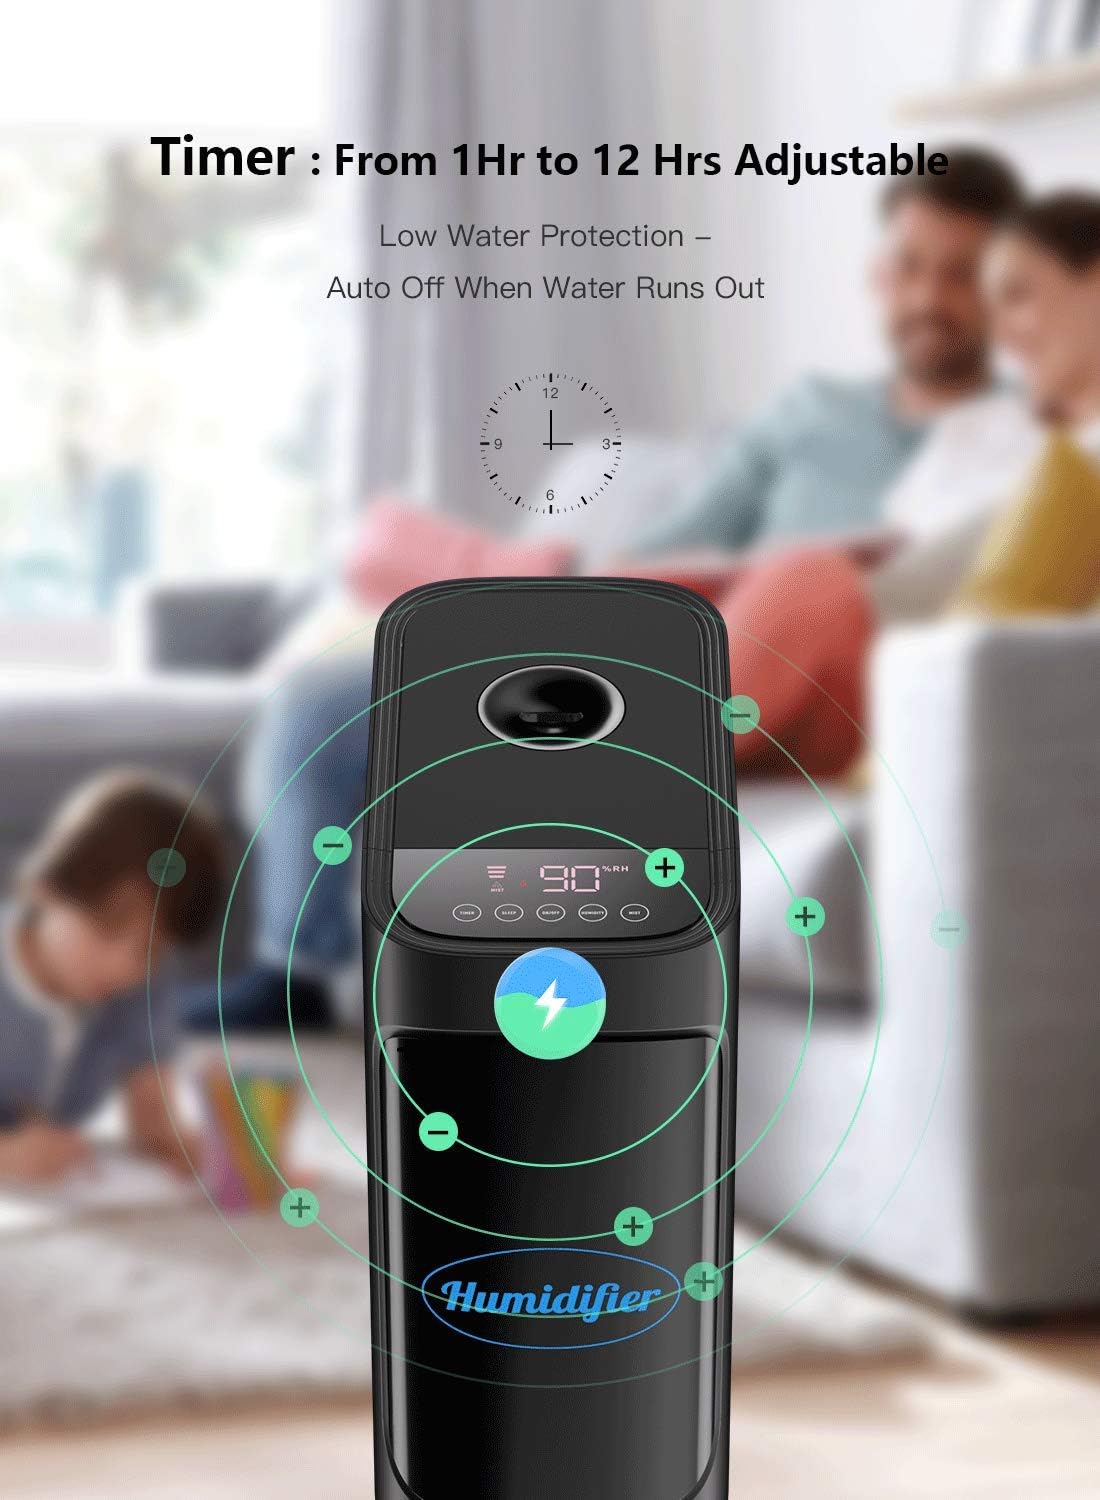
Image: The humidifier's display shows the timer function activated, allowing users to set operating duration.
5. Ultra-Quiet Sleep Mode
Activate sleep mode for ultra-quiet operation. In this mode, all LED lights are typically turned off to ensure a peaceful sleeping environment.

Image: The humidifier operates quietly in a bedroom, with its lights off, designed for undisturbed sleep.
6. Remote Control
The included remote control allows for convenient adjustment of settings from a distance.

Image: The remote control provides easy access to all humidifier functions, including power, mist level, and humidity settings.
Maintenance and Cleaning
Regular cleaning is essential to prevent mineral buildup and ensure optimal performance and hygiene.
Daily Maintenance
- Unplug the humidifier.
- Empty any remaining water from the tank and base.
- Wipe the tank and base dry with a clean cloth.
Weekly Cleaning
- Unplug the humidifier.
- Remove the water tank and empty it.
- Fill the water tank halfway with water and add 2 tablespoons of white vinegar. Shake well and let it sit for 30 minutes.
- Empty the tank and rinse thoroughly with clean water.
- For the base, add white vinegar to cover the heating element (if applicable) or ultrasonic nebulizer. Let it soak for 30 minutes.
- Use a soft brush or the provided cleaning brush to gently clean mineral buildup.
- Rinse the base thoroughly with clean water. Do not let water enter the air vent.
- Wipe all parts dry before reassembling.
Essential Oil Box Cleaning
- Remove the essential oil box.
- Clean the pad and the box with a mild detergent and water.
- Rinse and dry thoroughly before placing it back.
Troubleshooting
| Problem | Possible Cause | Solution |
|---|---|---|
| No mist or low mist output | Lack of water, mineral buildup, mist outlet blocked | Refill water tank, clean the ultrasonic nebulizer and base, ensure mist outlet is clear. |
| Unusual odor | Dirty water, new unit smell, essential oil residue | Clean the water tank and base, replace with fresh water. The new unit smell will dissipate with use. Clean essential oil box. |
| Water leakage | Water tank not properly seated, overfilled tank, damaged tank | Ensure tank is correctly placed, do not overfill, check for cracks or damage. |
| Humidifier turns off automatically | Water tank empty, timer function activated, desired humidity reached | Refill water tank, check timer settings, adjust desired humidity level. |
Warranty and Support
SUPALAK products are designed and manufactured to the highest quality standards. For warranty information or technical support, please refer to the warranty card included with your purchase or contact SUPALAK customer service directly. Keep your purchase receipt as proof of purchase.