Introduction
Thank you for purchasing the Ecolite WALP15-80W/LED Dimmable LED Ceiling Light. This manual provides essential information for the safe installation, operation, and maintenance of your new lighting fixture. Please read these instructions carefully before installation and retain them for future reference.
Safety Instructions
- Always disconnect power at the main circuit breaker before installation, maintenance, or cleaning.
- Installation should be performed by a qualified electrician in accordance with local electrical codes.
- Do not modify the fixture or its components. Unauthorized modifications may void the warranty and create safety hazards.
- Ensure the mounting surface can support the weight of the fixture.
- Do not look directly into the LED light source when illuminated, as it may cause eye strain.
- Keep the remote control away from water and extreme temperatures.
Package Contents
Verify that all components are present and undamaged before proceeding with installation.
- Ecolite WALP15-80W/LED Ceiling Light Fixture
- Remote Control
- Mounting Hardware (screws, wall anchors)
- Instruction Manual (this document)
Setup and Installation
Follow these steps for proper installation of your LED ceiling light.
- Prepare for Installation: Turn off the power supply at the main circuit breaker. Ensure the power is completely off before beginning.
- Mounting Bracket Installation: Attach the mounting bracket to the ceiling using the provided screws and wall anchors. Ensure the bracket is securely fastened to a joist or suitable support structure.
- Electrical Connection: Connect the household electrical wires to the fixture's wires. Typically, connect the live wire (usually brown or black) to the fixture's live wire, the neutral wire (usually blue) to the fixture's neutral wire, and the ground wire (usually green/yellow) to the fixture's ground wire. Use appropriate wire connectors and ensure all connections are secure.
- Attach the Fixture: Carefully lift the LED ceiling light fixture and align it with the mounting bracket. Secure the fixture to the bracket using the provided screws. Ensure the fixture is firmly attached to prevent it from falling.
- Remote Control Battery Installation: Open the battery compartment on the back of the remote control and insert the required batteries (not included, typically AAA). Observe correct polarity.

Image: Rear view of the light fixture, illustrating the mounting plate and wiring terminals for installation.
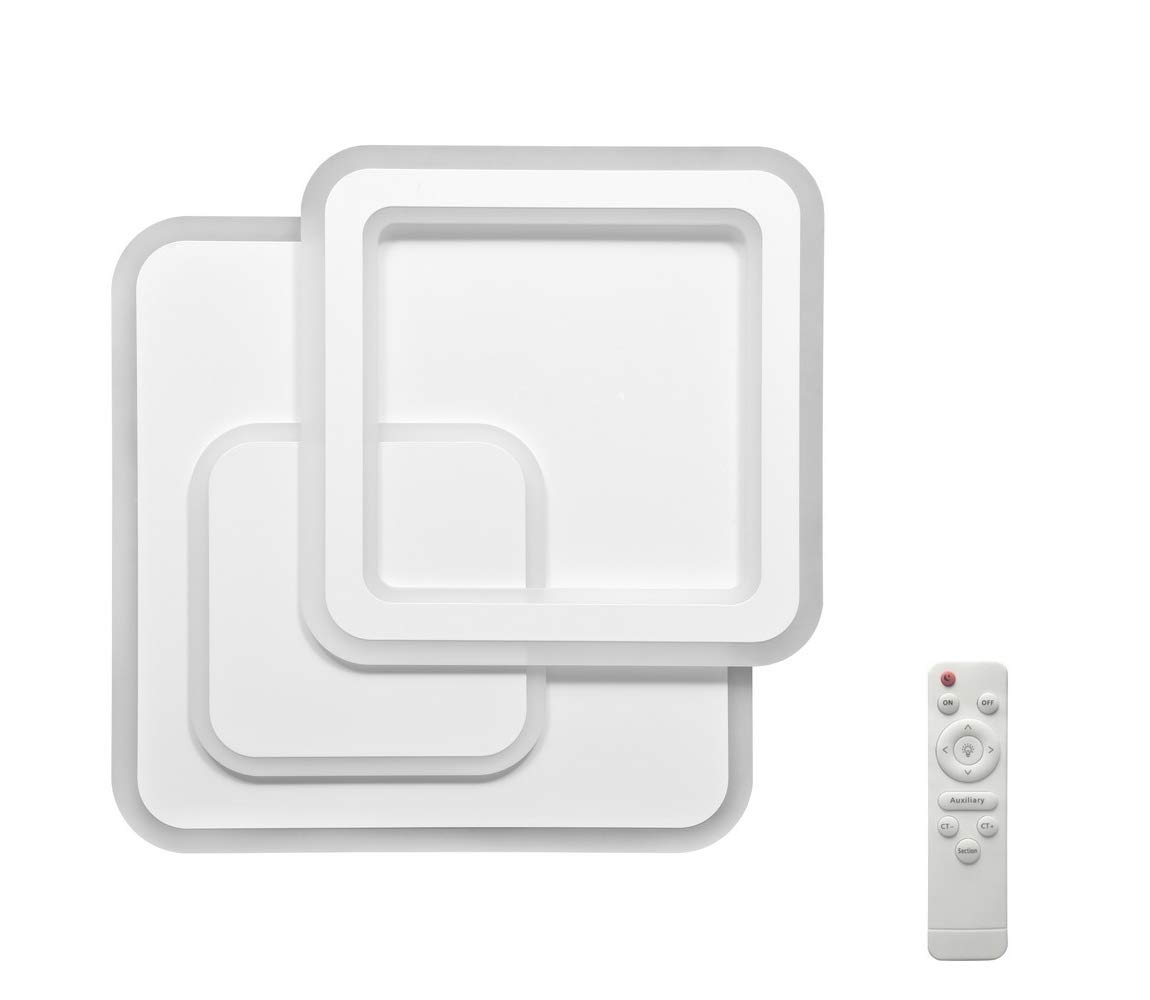
Image: The Ecolite LED ceiling light installed and illuminated, demonstrating its appearance in a room, with the remote control in hand.
Operating Instructions
Your Ecolite LED ceiling light is operated using the included remote control.
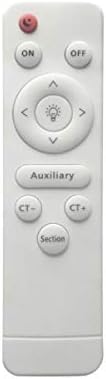
Image: Detailed view of the remote control, showing buttons for ON/OFF, brightness adjustment, color temperature control (CT-/CT+), and an 'Auxiliary' button.
- Power ON/OFF: Press the 'ON' button to turn the light on. Press the 'OFF' button to turn the light off.
- Brightness Adjustment (Dimming): Use the 'Up Arrow' button to increase brightness and the 'Down Arrow' button to decrease brightness.
- Color Temperature Adjustment:
- Press 'CT+' to increase the color temperature (cooler white light).
- Press 'CT-' to decrease the color temperature (warmer white light).
- Auxiliary Function: The 'Auxiliary' button may activate a pre-set lighting mode or a night light function, depending on the specific model's programming. Refer to the light's behavior for its specific function.
- Section Button: The 'Section' button may cycle through different lighting zones or pre-programmed scenes if your fixture supports such features.

Image: The ceiling light displaying its ability to produce different color temperatures, from warm yellow light to bright white light.
Maintenance
Regular maintenance ensures the longevity and optimal performance of your LED ceiling light.
- Cleaning: Ensure the power is off before cleaning. Wipe the fixture with a soft, dry, or slightly damp cloth. Do not use abrasive cleaners, solvents, or harsh chemicals, as these can damage the finish or electrical components.
- LEDs: The LED light source is integrated and not user-replaceable. Do not attempt to open the LED module.
- Remote Control: If the remote control stops responding, check and replace the batteries.
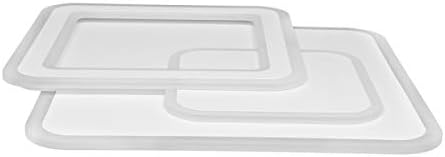
Image: The light diffusers, which can be gently cleaned to maintain light output.
Troubleshooting
If you encounter issues with your Ecolite LED ceiling light, refer to the following common problems and solutions:
- Light does not turn on:
- Check if the power supply at the circuit breaker is on.
- Ensure all electrical connections are secure.
- Verify the remote control batteries are correctly inserted and not depleted.
- Remote control not working:
- Replace the batteries in the remote control.
- Ensure there are no obstructions between the remote control and the light fixture.
- Confirm the remote control is within operating range.
- Light flickers or dims unexpectedly:
- Check for loose electrical connections.
- Ensure the fixture is not connected to an incompatible dimmer switch (this fixture uses its own remote for dimming).
If these steps do not resolve the issue, please contact customer support.
Specifications
| Feature | Specification |
|---|---|
| Model | WALP15-80W/LED |
| Brand | Ecolite |
| Power Consumption | 80W |
| Voltage | 230V |
| Light Source | Integrated LED |
| Dimming | Yes, via remote control |
| Color Temperature | Adjustable via remote control |
Warranty and Support
For warranty information, please refer to the documentation provided at the time of purchase or contact your retailer. Ecolite products are designed for reliability and performance.
If you require technical assistance or have questions not covered in this manual, please contact Ecolite customer support through your purchase channel or the official Ecolite website.