1. Introduction
Thank you for purchasing the Monitor Audio Bronze W10 6G Series Subwoofer. This manual provides essential information for the safe and optimal operation of your new subwoofer. Please read these instructions thoroughly before installation and use, and retain them for future reference.
2. Safety Information
Always observe the following safety precautions to prevent electric shock, fire, or damage to the unit:
- Do not expose the unit to rain or moisture.
- Do not open the casing. Refer all servicing to qualified personnel.
- Ensure proper ventilation. Do not block ventilation openings.
- Disconnect the power cord from the wall outlet if the unit will be unused for a long period.
- Use only the power cord supplied or specified by the manufacturer.
- Avoid placing the unit near heat sources or in direct sunlight.
3. Package Contents
Verify that all items are present in the packaging:
- Monitor Audio Bronze W10 6G Series Subwoofer
- Power Cord
- User Manual (this document)
4. Product Overview
4.1 Key Features
- Long-throw 10" driver featuring 'dished' C-CAM cone for powerful bass.
- 10" flat panel Auxiliary Bass Radiator (ABR) positioned underneath the unit for enhanced low-frequency extension.
- Class D amplifier with high current Switch Mode Power Supply (SMPSU) for efficient power delivery.
- Amplifier Output: 220 Watts RMS.
- Power Consumption: Maximum 300 W, Standby <0.5 W (ErP compliance).
4.2 Subwoofer Components
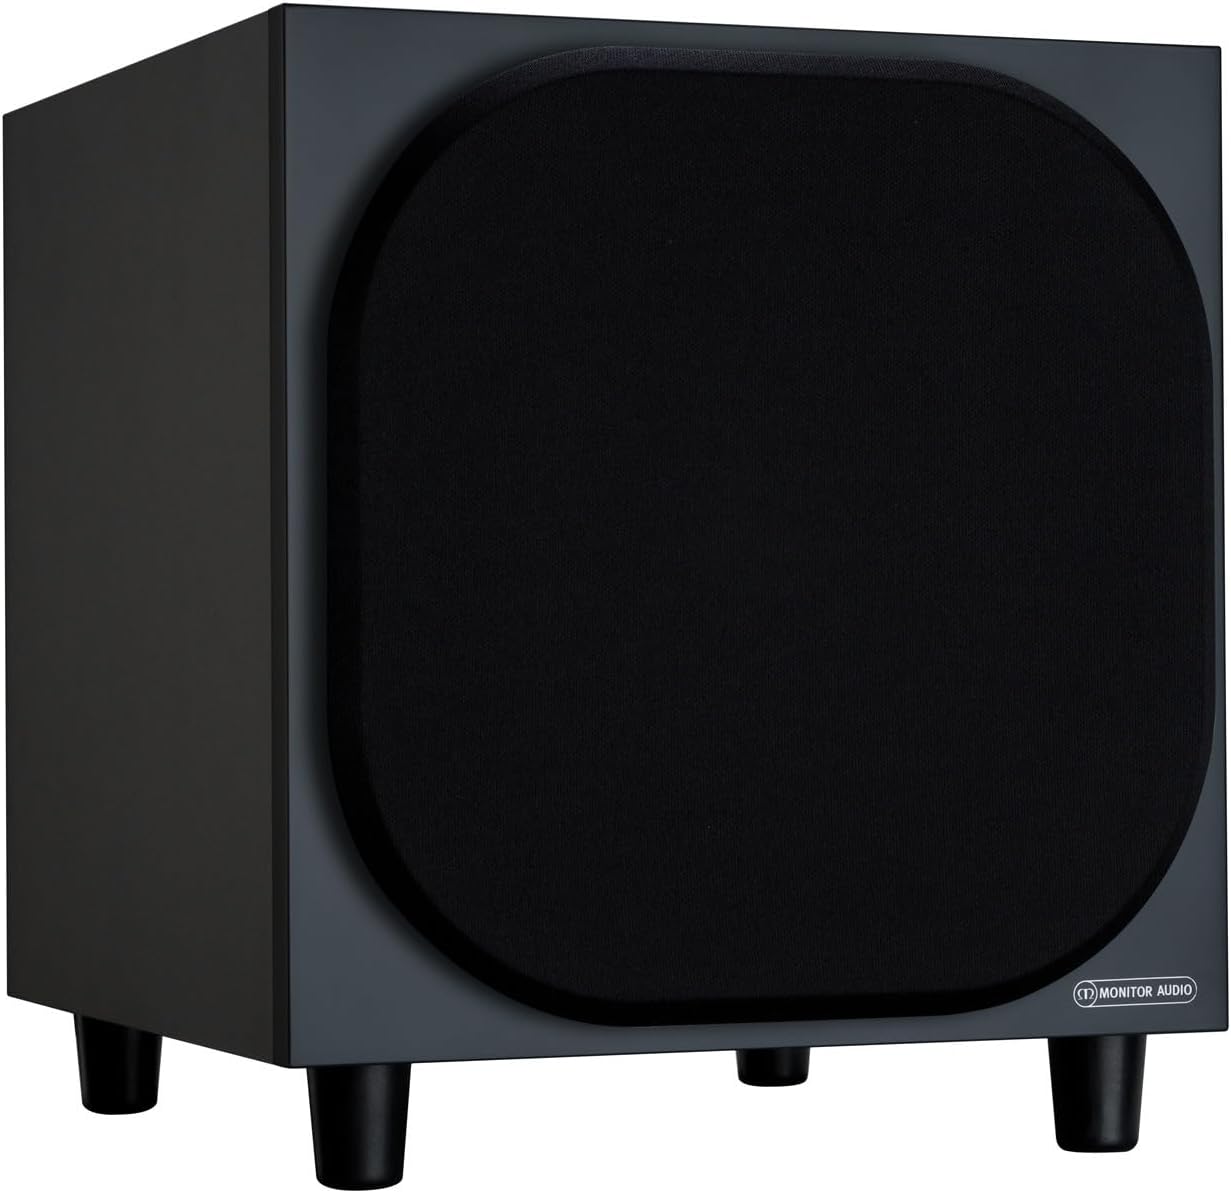
Figure 4.2.1: Front View of the Monitor Audio Bronze W10 Subwoofer. This image displays the front of the subwoofer with its protective grille, showcasing the compact and elegant design.

Figure 4.2.2: Angled View of the Monitor Audio Bronze W10 Subwoofer. This image provides an angled perspective, highlighting the overall form factor and the four sturdy feet.

Figure 4.2.3: Rear Panel of the Monitor Audio Bronze W10 Subwoofer. This image details the rear panel, showing all input/output connections, control knobs for frequency, volume, and phase, and the power switch.
5. Setup
5.1 Placement
Optimal placement of the subwoofer is crucial for sound quality. Experiment with different positions in your listening room. Generally, placing the subwoofer in a corner can enhance bass output, while placing it along a wall can provide a more balanced response. Avoid placing it directly against a wall if possible, as this can lead to boomy bass.
5.2 Connections
- Audio Input: Connect the subwoofer to your AV receiver or amplifier's LFE (Low-Frequency Effects) or Subwoofer output using an RCA cable. The Bronze W10 features both LFE and stereo RCA inputs.
- Power Connection: Ensure the subwoofer's power switch is in the 'Off' position. Connect the supplied power cord to the subwoofer's AC inlet and then to a suitable wall outlet. The unit supports AC 110-120V or 220-240V, selectable via a switch on the rear panel.
- 12V Trigger (Optional): If your AV receiver or amplifier has a 12V trigger output, connect it to the subwoofer's 12V Trigger input. This allows the subwoofer to power on/off automatically with your main system.
5.3 Initial Power-Up
After making all connections, switch the subwoofer's power to 'On'. The power indicator light should illuminate. If using the 12V trigger, ensure your main system is powered on.
6. Operating Instructions
6.1 Controls
The rear panel of the Bronze W10 features several controls for fine-tuning its performance:
- Volume: Adjusts the overall output level of the subwoofer. Start with a low setting and gradually increase until it blends seamlessly with your main speakers.
- Frequency (Crossover): Sets the upper frequency limit for the subwoofer. This should typically be set to match the low-frequency extension of your main speakers. Common settings range from 80Hz to 120Hz.
- Phase: Allows you to adjust the phase of the subwoofer's output relative to your main speakers (0° or 180°). This helps ensure that the subwoofer's sound waves are in sync with the main speakers, preventing cancellation or reinforcement at the crossover point. Experiment with both settings to find the one that produces the most coherent bass.
- Mode: Selects the power mode (On, Auto, 12V Trigger). 'Auto' mode will put the subwoofer into standby when no audio signal is detected and power it on when a signal is present.
- Bass Mode: (Refer to Figure 4.2.3) This switch allows selection between different bass characteristics, such as 'Music' or 'Movie' modes, or a 'Bass Boost' setting, to optimize performance for various content.
6.2 Wireless Connectivity (Bluetooth)
The Bronze W10 features Bluetooth connectivity for wireless control or audio input (check specific model features for audio input capability). Refer to your source device's manual for pairing instructions. The Bluetooth range is approximately 10 meters.
7. Maintenance
7.1 Cleaning
To clean the subwoofer, use a soft, dry, lint-free cloth. Do not use abrasive cleaners, waxes, or solvents, as these can damage the finish. For stubborn marks, a slightly damp cloth can be used, followed by a dry cloth.
7.2 Care
- Avoid exposing the subwoofer to extreme temperatures or humidity.
- Do not place heavy objects on top of the unit.
- Ensure adequate airflow around the unit to prevent overheating.
8. Troubleshooting
| Problem | Possible Cause | Solution |
|---|---|---|
| No Sound |
|
|
| Distorted Sound |
|
|
| Humming Noise |
|
|
9. Specifications
| Feature | Detail |
|---|---|
| Model Name | SB6GW10B |
| Speaker Type | Subwoofer |
| Subwoofer Diameter | 10 Inches |
| Amplifier Output (RMS) | 220 Watts |
| Speaker Maximum Output Power (Peak) | 600 Watts |
| Frequency Response (Lower Limit) | 25 Hz |
| Power Consumption (Max) | 300 W |
| Power Consumption (Standby) | <0.5 W (ErP compliance) |
| Connectivity Technology | Auxiliary, RCA, Wireless (Bluetooth) |
| Wireless Communication Technology | Bluetooth |
| Bluetooth Range | 10 Meters |
| Control Method | Manual Knobs, Remote (if applicable) |
| Product Dimensions (D x W x H) | 14.33"D x 12.64"W x 14.33"H |
| Item Weight | 34.7 pounds (15.74 kg) |
| Mounting Type | Tabletop Mount |
| Color | Black |
10. Warranty Information
Monitor Audio products are designed and manufactured to the highest quality standards. This product is covered by a Limited Warranty. For specific warranty terms and conditions, please refer to the warranty card included with your product or visit the official Monitor Audio website. Please retain your proof of purchase for warranty claims.
11. Support
For further assistance, technical support, or service inquiries, please contact your authorized Monitor Audio dealer or visit the official Monitor Audio website:
Website: www.monitoraudio.com
Address: Monitor Audio Ltd, 24 Brook Road, Rayleigh, Essex, SS6 7XJ, United Kingdom