1. Safety Instructions
Please read these instructions carefully before installation and use. Keep this manual for future reference.
- Ensure all components are present and undamaged before assembly.
- Install the waste bin securely to prevent tipping or movement during use. Use appropriate tools and follow mounting instructions precisely.
- Do not overload the individual bins. Exceeding weight limits may damage the product or the cabinet.
- Keep hands clear of moving parts, especially the pull-out rails, to avoid pinching.
- This product is designed for household waste separation. Do not use it for hazardous materials or liquids that could damage the plastic components or metal rails.
- Regularly clean the bins and the unit to maintain hygiene and prevent odors.
- Keep out of reach of children to prevent accidents.
2. Product Overview
The Relaxdays 3-Compartment Pull-Out Kitchen Waste Bin is designed for efficient waste separation directly under your kitchen sink. It features a robust pull-out mechanism for easy access and includes three separate bins to sort different types of waste.

Image 2.1: The 3-compartment waste bin fully extended, showing its design and capacity.

Image 2.2: User demonstrating the ease of use for waste disposal.
Key Features:
- Three Compartments: One 15-liter bin and two 8-liter bins for versatile waste separation (e.g., organic, plastic, paper).
- Pull-Out Mechanism: Smooth telescopic rails allow for full extraction of the unit.
- Space-Saving Design: Ideal for installation under kitchen sinks, maximizing cabinet space.
- Durable Materials: Constructed from ABS polypropylene and metal for longevity.
- Integrated Handles: Each inner bin features a handle for easy removal and emptying.
3. Specifications

Image 3.1: Detailed dimensions of the waste bin unit and individual bins.
| Feature | Detail |
|---|---|
| Model Number | 10031540 |
| Overall Dimensions (H x W x D) | 48 cm x 35.1 cm x 34.3 cm |
| Extended Depth | Approx. 96 cm |
| Bin Capacities | 1 x 15 Liters, 2 x 8 Liters |
| Total Capacity | 31 Liters |
| Material | ABS Polypropylene, Metal (rails) |
| Color | Black |
| Weight | 4.57 kg |
| Minimum Cabinet Width Required | 40 cm |
4. Setup and Installation
This waste bin is designed for under-sink cabinet installation. Ensure your cabinet has a minimum width of 40 cm and sufficient depth (at least 48 cm) to accommodate the unit and its full extension.
Required Tools:
- Drill
- Screwdriver (Phillips head recommended)
- Measuring tape or ruler
- Pencil
Installation Steps:
- Prepare the Cabinet: Clear the area under your sink. Measure the available space to confirm it meets the minimum dimensions (35.1 cm W x 34.3 cm D x 48 cm H for the unit, and 40 cm minimum cabinet width).
- Position the Unit: Place the waste bin unit inside the cabinet. Ensure it is positioned correctly, allowing enough clearance for the cabinet door to close and for the unit to extend fully without obstruction. The front of the unit should align with the cabinet opening.
- Mark Drilling Points: Once the unit is in the desired position, use a pencil to mark the locations for the mounting screws through the pre-drilled holes in the base of the unit.
- Drill Pilot Holes: Carefully remove the unit. Using a drill, create pilot holes at the marked locations. Ensure the drill bit size is appropriate for the provided screws to prevent splitting the wood.
- Secure the Unit: Place the waste bin unit back into position, aligning the holes with the pilot holes. Insert the provided screws and tighten them firmly with a screwdriver to secure the unit to the cabinet floor. Do not overtighten.
- Insert Bins: Place the 15-liter and two 8-liter bins into their respective compartments within the pull-out frame.

Image 4.1: Installation diagram illustrating how the unit fits into a cabinet.

Image 4.2: Detail of the robust metal telescopic rails for smooth operation.
5. Operating Instructions
Using the Pull-Out Mechanism:
- To access the waste bins, gently pull the front handle of the unit. The telescopic rails will extend, bringing the bins out of the cabinet.
- To close, push the unit back into the cabinet until it is fully retracted.
Waste Separation:
- Utilize the three distinct compartments for different waste types according to your local recycling guidelines. The larger 15-liter bin is suitable for general waste or larger recyclable items, while the two 8-liter bins can be used for organic waste, plastics, or paper.
- Consider using appropriate bin liners for each compartment to facilitate cleaning and waste disposal.

Image 5.1: Recycling symbol indicating the product's purpose for waste separation.
Removing and Reinserting Bins:
- Each inner bin is equipped with a metal handle. To remove a bin, simply lift it by its handle.
- To reinsert, place the bin back into its designated compartment, ensuring it sits securely.
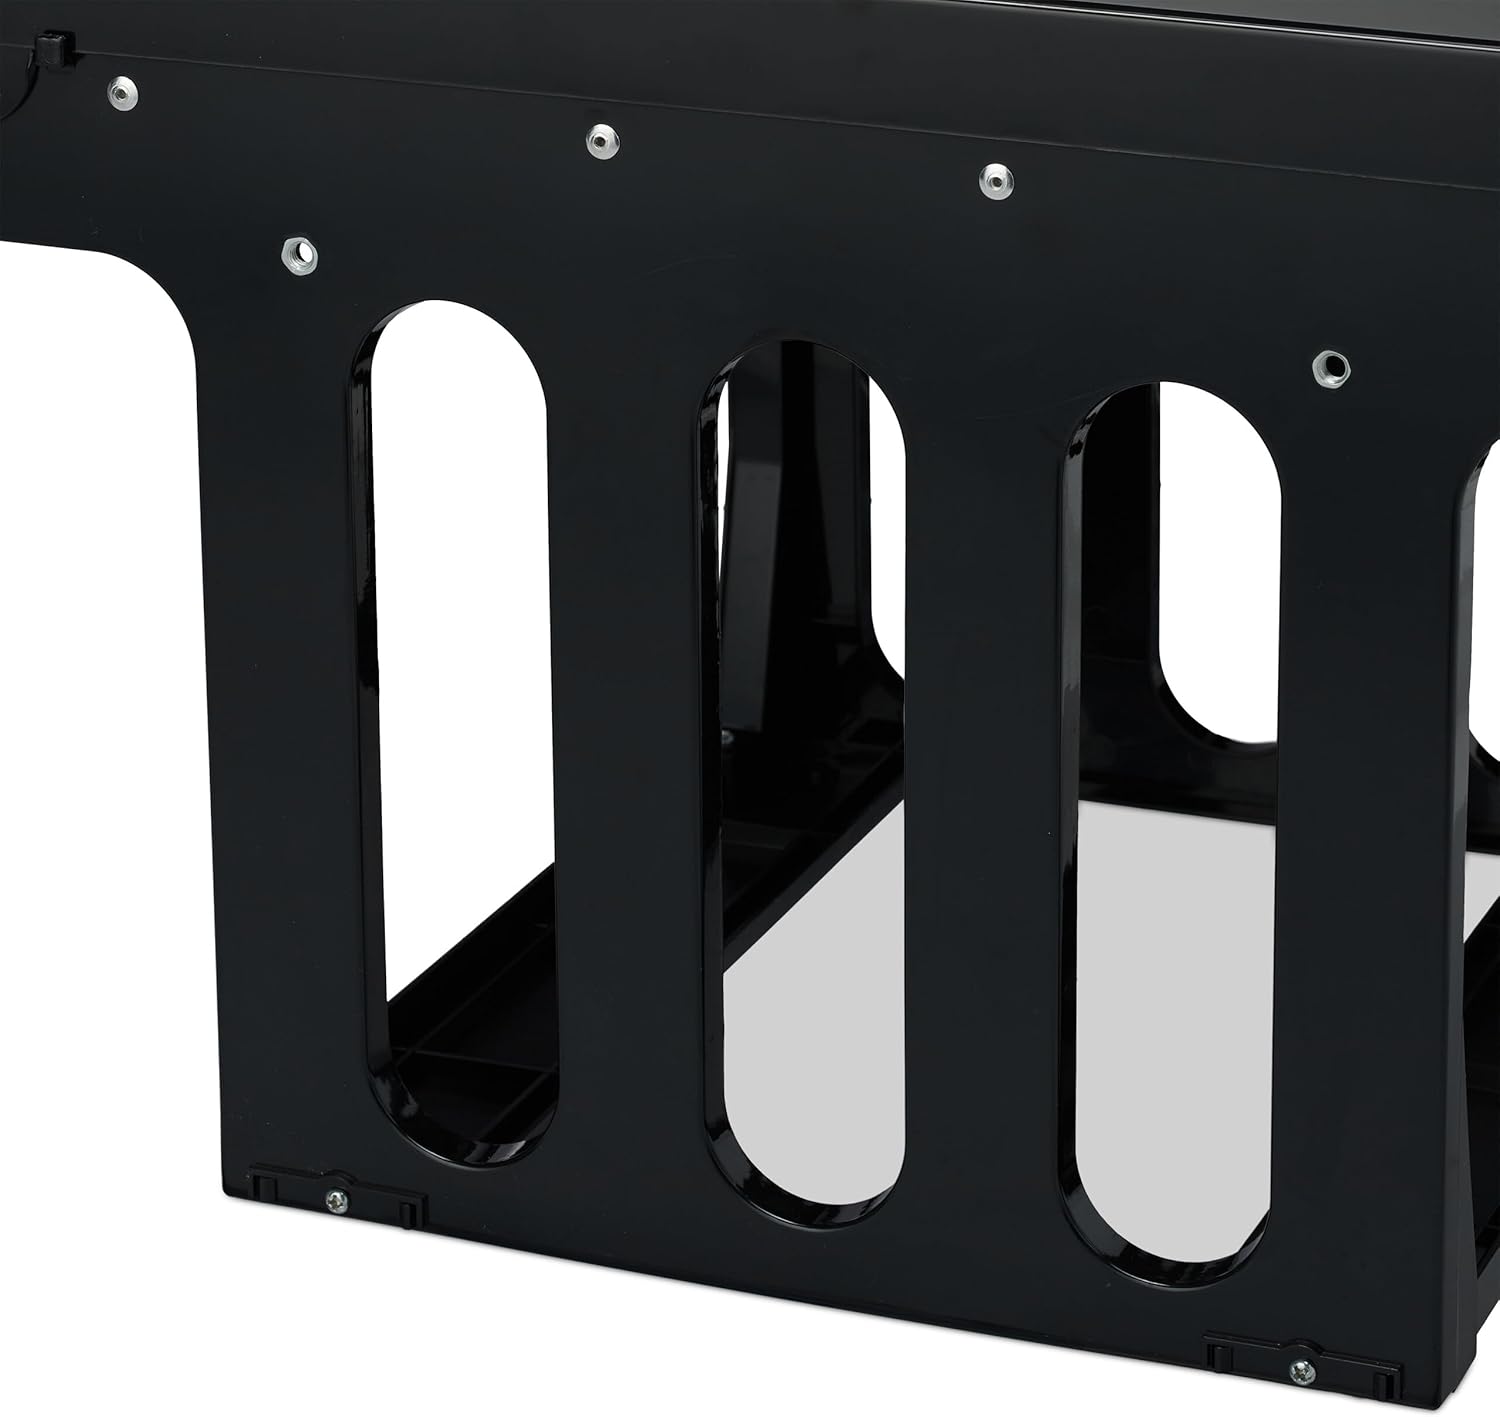
Image 5.2: Inner bins with handles for easy removal and emptying.
6. Maintenance
Regular cleaning and maintenance will ensure the longevity and hygienic operation of your waste bin.
- Inner Bins: Remove the inner bins and wash them with warm soapy water. Rinse thoroughly and dry completely before placing them back into the unit. For stubborn odors, a solution of baking soda and water can be used.
- Outer Frame and Lid: Wipe the outer frame and lid with a damp cloth and mild detergent. Avoid abrasive cleaners that could scratch the surface.
- Telescopic Rails: Periodically check the metal rails for any debris or dirt. Wipe them clean with a dry cloth. If the rails become stiff, a small amount of silicone-based lubricant can be applied to ensure smooth operation. Avoid oil-based lubricants as they can attract dust.
- General Inspection: Regularly inspect all screws and connections to ensure they remain tight. Tighten any loose screws as needed.
7. Troubleshooting
Issue: Unit is difficult to pull out or push back in.
- Check for Obstructions: Ensure there are no items inside the cabinet or around the unit that are blocking the movement of the bins or rails.
- Inspect Rails: Check the telescopic rails for dirt, debris, or damage. Clean the rails as described in the Maintenance section. If necessary, apply a silicone-based lubricant.
- Verify Installation: Confirm that the unit is securely mounted and level. Uneven installation can cause friction. Re-tighten mounting screws if loose.
Issue: Bins do not fit correctly or are unstable.
- Correct Placement: Ensure each bin is placed in its correct compartment. The 15-liter bin is larger than the two 8-liter bins.
- Check for Damage: Inspect the bins and the frame for any warping or damage that might prevent a proper fit.
Issue: Unit feels wobbly after installation.
- Tighten Screws: Ensure all mounting screws are securely tightened to the cabinet floor.
- Level Surface: Verify that the cabinet floor is level. If not, shims may be needed under the unit to stabilize it.
8. Warranty and Support
For any questions, concerns, or issues not covered in this manual, please contact Relaxdays customer support. Refer to your purchase documentation or the Relaxdays official website for contact information and details regarding product warranty.
Please have your model number (10031540) and purchase date available when contacting support.