1. Introduction
This manual provides essential information for the safe and efficient installation, operation, and maintenance of your Y&H GMI-350W-110V Grid Tie Micro Inverter. This device is designed to convert direct current (DC) electricity generated by solar panels into alternating current (AC) electricity that can be fed directly into your home's electrical grid.
1.1 Safety Warnings
- Always ensure correct connection methods are followed to prevent errors and potential hazards.
- This micro inverter is designed for grid-tie applications and does not work with batteries.
- The power of the connected solar panel(s) must not exceed 350W.
- Recommended Solar Panel Voltage: Vmp 30-42V; Voc 38-60V.
- The inverter's Maximum Power Point Tracking (MPPT) range is 24-42V. The Vmp (maximum power voltage) of your solar panel must fall within this range for optimal efficiency.
- Refer to the detailed connection diagrams provided in this manual. If unsure, consult a professional technician.
2. Product Features
- MPPT Technology: Features Maximum Power Point Tracking (MPPT) to ensure optimal power output from your solar panels under varying conditions.
- Low Voltage Safety: Designed with low voltage operation for enhanced safety.
- Plug and Play: Simple installation process, minimizing the need for specialized electrical knowledge.
- Intelligent Temperature Control: Maintains a cool working temperature for the device, contributing to longevity.
- LED Indicators: Provides clear visual feedback on the inverter's working status.
- Multiple Protection Features: Includes Island Protection, AC PV Over Voltage, DC PV Over Voltage, AC Over Current Protection, DC Over Current Protection, AC Overheat Protection, Over Temperature Protection, and AC Overfrequency Protection to ensure user safety and device reliability.
3. Specifications
| Feature | Specification |
|---|---|
| Model Name | GMI-350W-110V (also referred to as GM700 in some specifications) |
| Wattage | 350 watts |
| Power Source | Grid Connected (Utility Grid) |
| Recommended Uses | Solar panels |
| Product Dimensions | 13.7 x 9.17 x 2.99 inches |
| Item Weight | 1.24 pounds |
| MPPT Range | 24-42V |
| AC Output Voltage | 90-140V |
4. Package Contents
Upon unboxing your Y&H GMI-350W-110V Grid Tie Micro Inverter, you should find the following items:
- Y&H GMI-350W-110V Micro Inverter Unit
- Instruction Manual / Specification Sheet
- AC Cable Line (may vary based on region/package)
Video: Y&H-GMI Micro Inverter Video Introduction (0:03-0:12 shows unboxing, 0:14-0:19 shows port introduction). This video demonstrates the unboxing process and identifies the main components of the micro inverter.
5. Installation
Proper installation is crucial for the performance and safety of your micro inverter. Follow these steps carefully.
5.1 Basic Structure and Connections
Familiarize yourself with the inverter's layout and connection points:

Image: Basic Structure of the Micro Inverter. This diagram illustrates the physical components and connection points of the inverter.
5.2 Physical Dimensions
Consider the dimensions for mounting:

Image: Inverter Dimensions. This image provides the physical measurements of the inverter unit.
5.3 PV Module Connection
Connect your solar panel(s) to the PV input connectors on the micro inverter. Ensure the Vmp and Voc of your solar panels are within the recommended range (Vmp 30-42V; Voc 38-60V) and the total power does not exceed 350W.
5.4 AC Grid Connection
The micro inverter connects to your AC electrical grid. There are typically two types of AC cable connections:
- Direct Wiring: For direct wiring, connect the green/yellow wire to Ground (G), the blue wire to Neutral (N), and the brown wire to Live (L). An AC plug (not included) will be required for this method.
- Pre-assembled Cable: Some packages may include a pre-assembled AC cable with a plug for direct connection to an outlet.
Video: Y&H-GMI Micro Inverter Video Introduction (0:21-0:27 shows AC cable connection type 1, 0:28-0:29 shows AC cable connection type 2, 0:31-0:44 shows full connection steps). This video demonstrates the various ways to connect the AC cable and the overall connection process.
5.5 Installation Environment
Install the inverter in a well-ventilated, cool area, protected from direct rain and excessive heat. Proper ventilation helps maintain optimal operating temperatures and extends the lifespan of the unit.

Image: Overheating Protection and Installation Environment. This image highlights the importance of a suitable installation location to prevent overheating.
5.6 System Diagram Example
Below is an example of a typical grid-tie micro inverter system setup:

Image: GMI Series-120VAC @ 3-Phase 208/240V System Diagram. This diagram illustrates a larger system setup, providing context for how micro inverters integrate into a home's electrical system.
6. Operation
Once properly installed and connected, the Y&H GMI-350W-110V micro inverter will automatically begin converting DC power from your solar panels into AC power for your home grid.
6.1 Power Generation
The inverter continuously tracks the maximum power point of your solar panels (MPPT) to optimize energy harvesting. The converted AC power is then synchronized with the utility grid and fed into your home's electrical system, reducing your reliance on grid electricity.
6.2 Status Indicators
The LED indicator on the inverter provides visual feedback on its operational status. Refer to the product's specification sheet for a detailed explanation of LED patterns and their meanings.
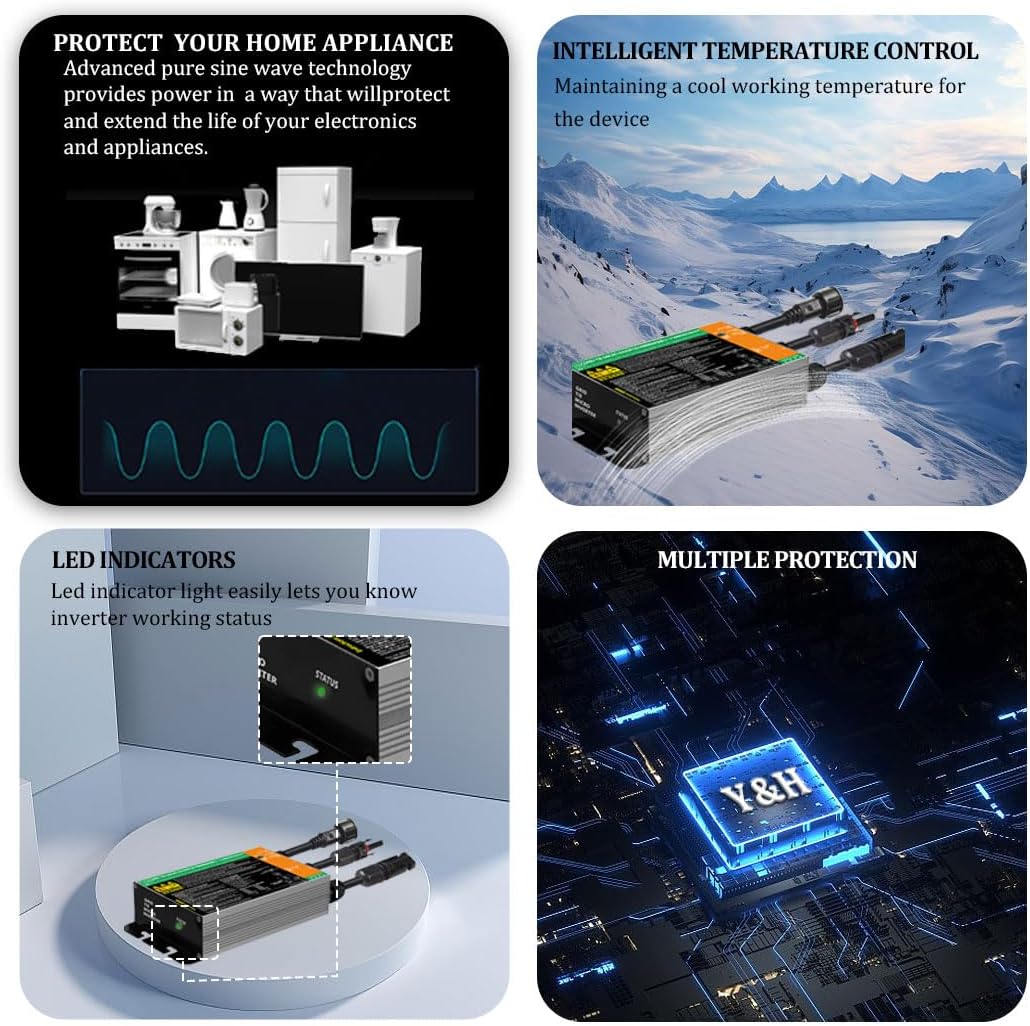
Image: LED Indicators and Multiple Protection. This image highlights the LED status lights and the various safety protections built into the inverter.
7. Maintenance
Regular maintenance helps ensure the longevity and optimal performance of your micro inverter.
- Cleaning: Periodically clean the exterior of the inverter to prevent dust and debris buildup, which can hinder heat dissipation.
- Ventilation: Ensure the installation area remains well-ventilated and free from obstructions. Adequate airflow is critical for cooling the inverter, especially during peak operation. Consider supplemental cooling (e.g., fans) if the inverter frequently runs hot in its environment.
- Connection Checks: Regularly inspect all electrical connections (PV input and AC output) for tightness and signs of wear or corrosion.
- Environmental Protection: Ensure the inverter remains protected from direct exposure to harsh weather conditions like heavy rain or extreme temperatures.
8. Troubleshooting
If you encounter issues with your Y&H GMI-350W-110V micro inverter, consider the following common troubleshooting points:
- No Power Output: Check if solar panels are receiving sufficient sunlight. Verify all DC and AC connections are secure. Ensure the solar panel voltage (Vmp) is within the inverter's MPPT range (24-42V) and the maximum input voltage (Voc) does not exceed 60V.
- Overheating: If the inverter feels excessively hot, check for proper ventilation. Ensure it is installed in a cool, shaded area. Consider adding external fans to improve airflow around the unit, particularly around the bottom and sides where heat is dissipated.
- Inverter Not Turning On: Confirm that the solar panels are connected and producing power. Check the AC connection to the grid. The inverter requires grid power to operate (anti-islanding protection).
- Low Power Output: This could be due to insufficient sunlight, shading on solar panels, or incorrect panel voltage/current. Ensure the solar panel power does not exceed the inverter's rated 350W.
- Inverter Status Light: Consult the product's specific LED indicator guide to diagnose issues based on the light's behavior.
If troubleshooting steps do not resolve the issue, please contact Y&H customer support for assistance.
9. Warranty and Support
The Y&H GMI-350W-110V Grid Tie Micro Inverter is CE compliant and comes with a 2-year maintenance period.
For any questions, technical support, or warranty claims, please contact Y&H customer service. Professional technicians are available to assist you.


