1. Product Overview
The HAUSPROFI Smart Automotive Battery Charger is a fully automatic, intelligent pulse repair charger designed for 12V and 24V lead-acid batteries. It features advanced temperature compensation, multiple protection mechanisms, and various charging modes suitable for cars, motorcycles, lawn mowers, boats, and other vehicles. This charger is compatible with most battery types, including Calcium, Gel, AGM, SLA, VRLA, and Wet EFB batteries.

Image 1.1: Overview of the HAUSPROFI Smart Automotive Battery Charger highlighting its key features and applications.
2. Safety Instructions
Please read and understand all safety instructions before using the HAUSPROFI Battery Charger. Failure to follow these instructions may result in electric shock, fire, or serious injury.
- Ventilation: Always use the charger in a well-ventilated area. Do not operate in an enclosed space or restrict ventilation.
- Eye and Skin Protection: Wear appropriate eye protection (safety glasses) and protective clothing when working near batteries. Batteries can produce explosive gases and corrosive acids.
- Flammable Materials: Keep the charger and battery away from open flames, sparks, and flammable materials.
- Connection Order: Connect the output clips to the battery terminals before plugging the charger into a power outlet. Disconnect in reverse order.
- Polarity: Ensure correct polarity connection. Connect the red (+) clip to the positive battery terminal and the black (-) clip to the negative battery terminal. Incorrect connection can damage the charger and battery.
- Damaged Equipment: Do not operate the charger if it has been dropped, damaged, or if the power cord or clips are compromised. Contact customer support for assistance.
- Children and Pets: Keep the charger and battery out of reach of children and pets.
- Indoor Use: This charger is designed for indoor use. Do not expose it to rain or excessive moisture.
- Battery Type: Ensure the charger is set to the correct battery type and voltage (12V or 24V) before charging.
3. Product Features
- Automatic 12V/24V Detection: Automatically detects the battery voltage (12V or 24V) for appropriate charging.
- Smart Charging Modes: Offers dedicated modes for Vehicle (standard lead-acid), AGM/GEL, Motorcycle, and Pulse Repair.
- Temperature Compensation: Automatically adjusts charging voltage based on ambient temperature (Winter mode below 10°C, Summer mode above 28°C) to prevent overcharging or undercharging.
- Pulse Repair Function: Designed to help restore sulfated or deeply discharged batteries, extending their lifespan.
- Multiple Protection Features:
- Overcurrent Protection
- Overheating Protection
- Misconnection Protection (Reverse Polarity)
- Overvoltage Protection
- Low Voltage Protection
- Short Circuit Protection
- LCD Digital Display: Provides real-time information on charging status, voltage, current, temperature, and battery percentage.

Image 3.1: Visual representation of the multiple protection features integrated into the HAUSPROFI charger.

Image 3.2: The charger's automatic temperature detection and compensation for winter and summer charging conditions.
4. Setup and Connection
Follow these steps to safely connect the HAUSPROFI Battery Charger to your battery:
- Prepare the Battery: Ensure the battery terminals are clean and free of corrosion. If necessary, clean them with a wire brush and baking soda solution.
- Identify Polarity: Locate the positive (+) and negative (-) terminals on your battery. The positive terminal is usually larger and marked with a plus sign, while the negative terminal is marked with a minus sign.
- Connect Red Clip: Connect the red (+) charging clip to the positive (+) terminal of the battery.
- Connect Black Clip: Connect the black (-) charging clip to the negative (-) terminal of the battery.
- Plug in Charger: Once the clips are securely attached to the battery, plug the charger's AC power cord into a standard 100-240V AC electrical outlet.
- Verify Connection: The charger's display will illuminate, indicating a successful connection. If an error code appears, check your connections.

Image 4.1: Correct connection procedure for 12V and 24V battery systems.
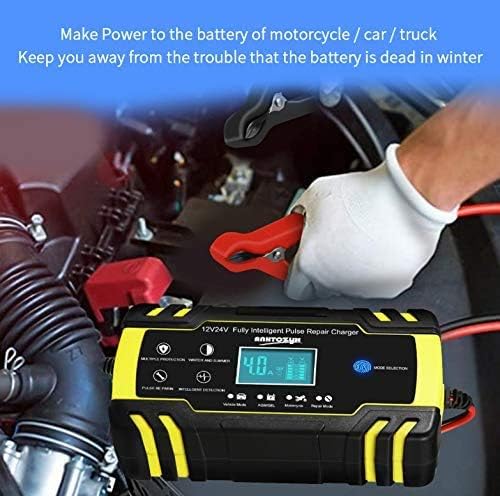
Image 4.2: Close-up of connecting the charger's positive clamp to a vehicle battery.
5. Operating Instructions
After connecting the charger, it will automatically detect the battery voltage. You can then select the appropriate charging mode.
5.1 Mode Selection
Press the "MODE SELECTION" touch button on the charger to cycle through the available charging modes. The selected mode will be displayed on the LCD screen.
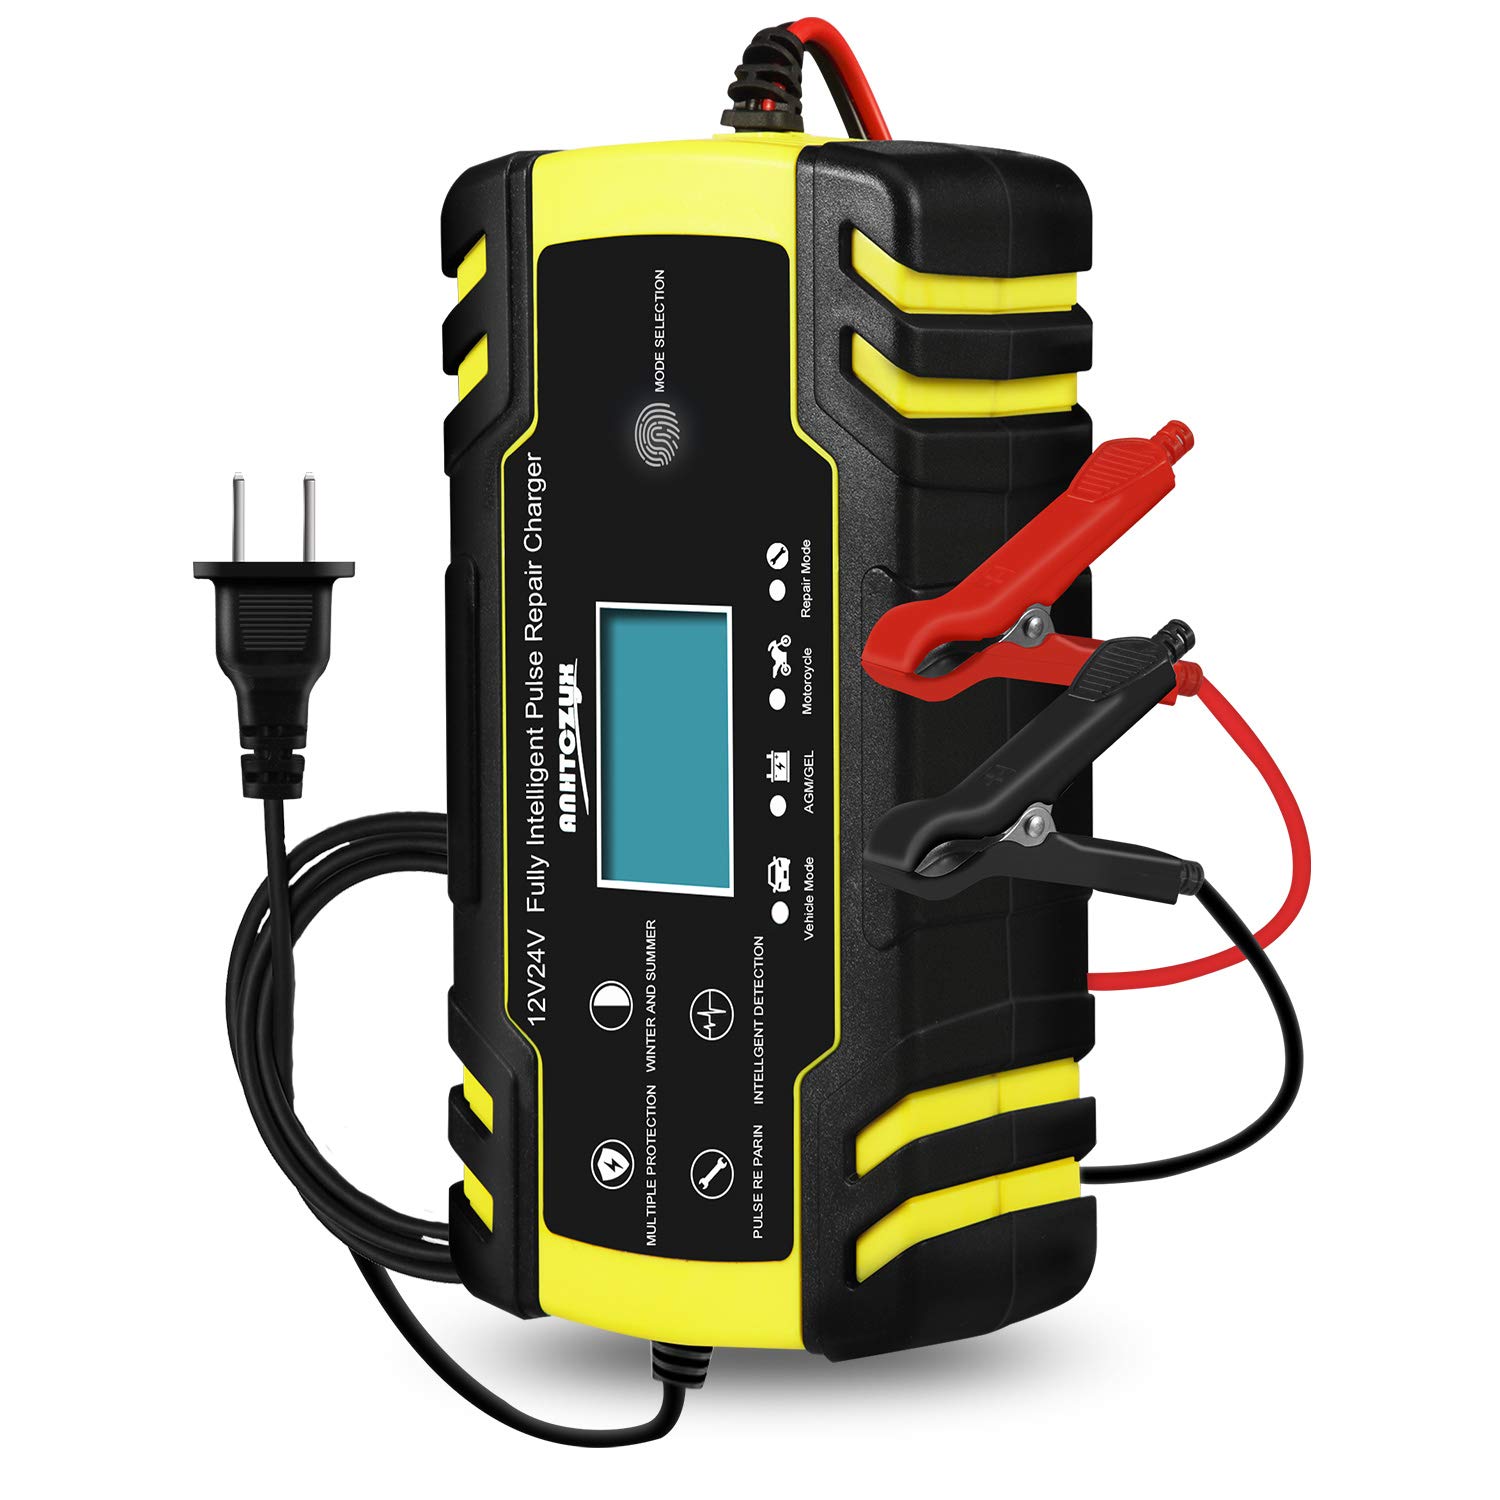
Image 5.1: Location of the touch button for precise mode switching.
- Vehicle Mode: Standard charging for most 12V/24V lead-acid vehicle batteries (e.g., cars, trucks).
- AGM/GEL Mode: Optimized charging for AGM and Gel batteries.
- Motorcycle Mode: Lower current charging suitable for smaller 12V motorcycle batteries.
- Repair Mode: A pulse repair function designed to desulfate and recondition old, idle, or deeply discharged batteries. This process can take several hours.
5.2 Automatic Charging
Once a mode is selected, the charger will automatically begin the charging process. The LCD display will show the current voltage, charging current, battery percentage, and ambient temperature. The charger will automatically switch to trickle charge mode once the battery is fully charged to prevent overcharging.
5.3 Disconnecting the Charger
To disconnect the charger, first unplug the AC power cord from the electrical outlet. Then, remove the black (-) clip from the negative battery terminal, followed by the red (+) clip from the positive battery terminal.
6. Maintenance
- Cleaning: Disconnect the charger from power and battery before cleaning. Wipe the exterior with a soft, dry cloth. Do not use solvents or abrasive cleaners.
- Cable Inspection: Regularly inspect the charging cables and clips for any signs of damage, fraying, or corrosion. Replace if necessary.
- Storage: Store the charger in a cool, dry place when not in use, away from direct sunlight and extreme temperatures. Ensure cables are neatly coiled to prevent damage.
- Battery Terminals: Keep battery terminals clean to ensure good electrical contact during charging.
7. Troubleshooting
| Problem | Possible Cause | Solution |
|---|---|---|
| Charger does not turn on. | No power from outlet; loose connection; damaged power cord. | Check power outlet with another device. Ensure power cord is securely plugged in. Inspect power cord for damage. |
| Error message on display. | Incorrect battery connection (reverse polarity); battery voltage too low; damaged battery. | Verify positive (+) and negative (-) connections. Ensure battery voltage is within charger's operating range (e.g., above 3.2W for start). Test battery condition. |
| Charger not charging or charging slowly. | Incorrect mode selected; poor connection to battery terminals; battery is severely sulfated. | Select the appropriate charging mode. Clean battery terminals and ensure secure clip connection. Try Repair Mode for sulfated batteries. |
| Charger gets hot during operation. | Normal operation; poor ventilation; excessive load. | Some heat is normal. Ensure adequate ventilation around the charger. If overheating protection activates, disconnect and allow to cool. |
8. Specifications
| Parameter | Value |
|---|---|
| AC Input | 100-240 V, 50/60 Hz |
| Output Current | 12V 8A, 24V 4A |
| Output Voltage (No Load) | 13.8V |
| Minimum Start Voltage | 3.2W |
| Battery Capacity (12V) | 6-150AH |
| Battery Capacity (24V) | 6-100AH |
| Working Temperature | -20°C ~ 45°C |
| Cooling Method | Fan |
| Compatible Battery Types | Lead-acid batteries including Calcium, Gel, AGM, SLA, VRLA, Wet EFB |
| Item Weight | 1.48 pounds |
| Package Dimensions | 9.09 x 5.16 x 2.56 inches |
9. Warranty and Support
HAUSPROFI products are designed for reliability and performance. For warranty information or technical support, please refer to the contact details provided with your purchase or visit the official HAUSPROFI website. Please have your model number (B08CKMK8SH) and purchase date ready when contacting support.