JVC KW-M565DBT
JVC KW-M565DBT Car Video System User Manual
Model: KW-M565DBT | Brand: JVC
This manual provides detailed instructions for the installation, operation, and maintenance of your JVC KW-M565DBT car video system.
1. Product Overview
The JVC KW-M565DBT is a versatile car video system designed to enhance your in-car entertainment and connectivity. It features a responsive touchscreen display and supports a wide range of audio and video formats. Key functionalities include Apple CarPlay, Android Auto, Bluetooth connectivity, and a built-in DAB+ tuner for high-quality digital radio reception.
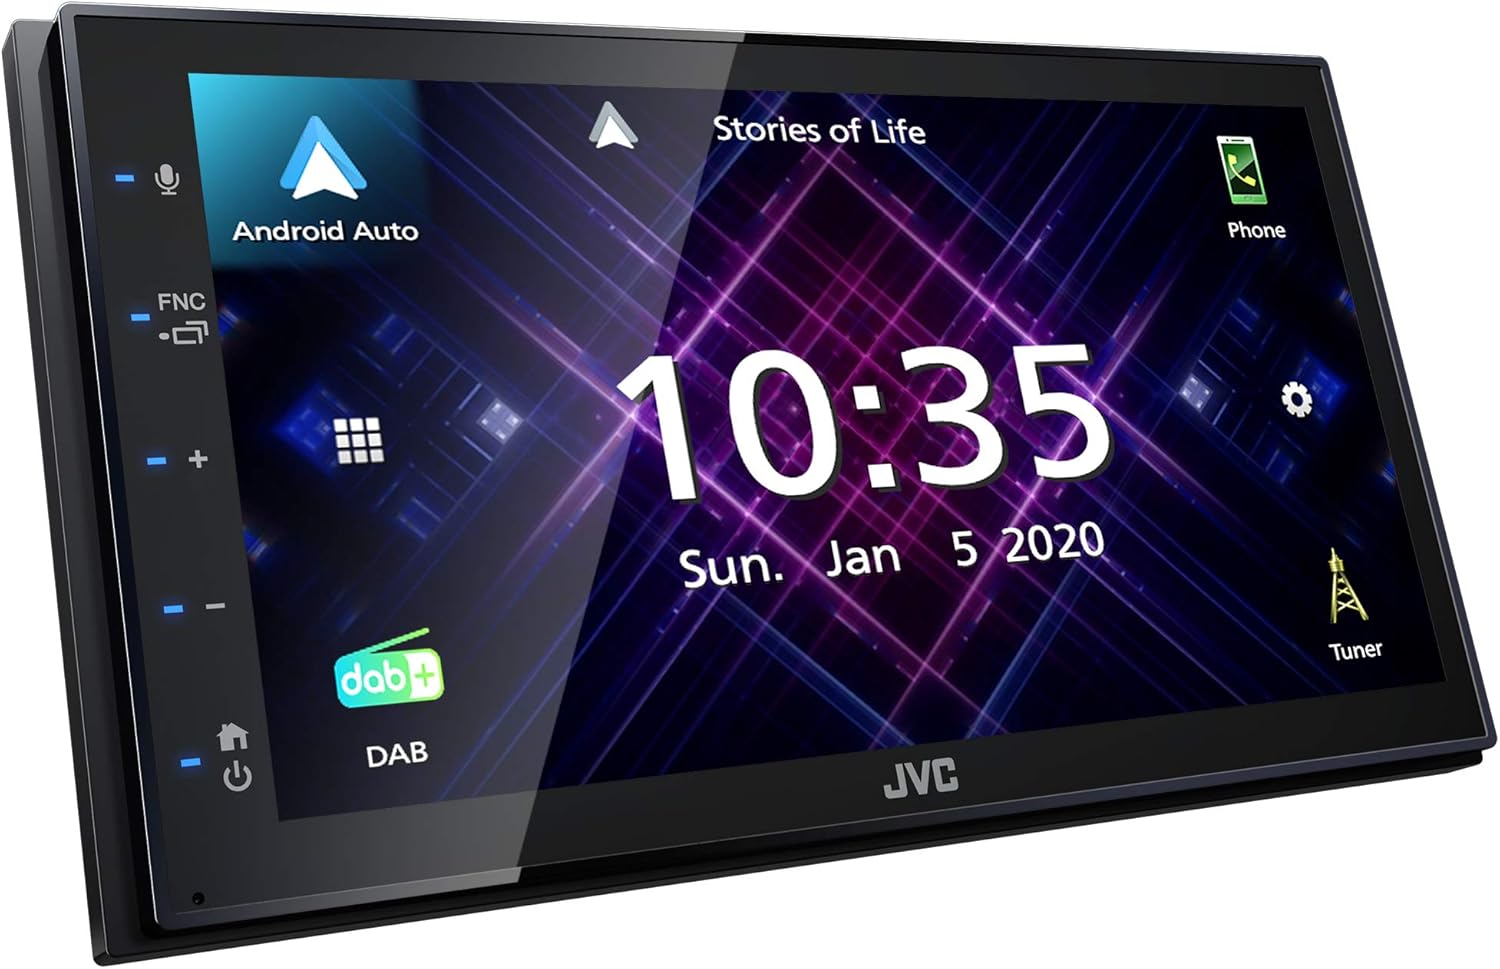
Image: Front view of the JVC KW-M565DBT car video system, showcasing its sleek design and the Android Auto interface on the touchscreen.

Image: Front view of the JVC KW-M565DBT car video system, showing the Apple CarPlay interface on the touchscreen.
Key Features:
- Apple CarPlay & Android Auto: Seamless smartphone integration for navigation, music, and communication.
- Bluetooth Connectivity: Hands-free calling and wireless audio streaming.
- DAB+ Tuner: Integrated digital radio for enhanced audio quality and station variety.
- USB Mirroring for Android: Display and control your Android smartphone screen directly on the unit.
- Short Chassis Design: Compact depth (75mm) for easier installation in various vehicle dashboards.
- Rear Camera Input: Supports connection of a rear-view camera for safer parking and reversing.
- JVC Remote App Compatibility: Control the unit directly from your smartphone.
2. Setup and Installation
Proper installation is crucial for the optimal performance of your JVC KW-M565DBT. It is recommended that installation be performed by a qualified professional. Ensure the vehicle's battery is disconnected before beginning any wiring.
2.1 Wiring Connections
Refer to the wiring diagram below for correct connections. Ensure all wires are securely connected and insulated to prevent short circuits.

Image: Rear view of the JVC KW-M565DBT unit, illustrating the various wiring connections including power, speaker outputs, RCA pre-outs, USB, and camera inputs.
- Power Supply: Connect the yellow wire to constant 12V, red wire to accessory 12V, and black wire to ground.
- Speaker Outputs: Connect the speaker wires to the corresponding vehicle speakers (e.g., white/white-black for front left, gray/gray-black for front right, etc.).
- Remote Turn-On: Connect the blue/white wire to the amplifier's remote turn-on lead (if applicable).
- Parking Brake Wire (PRK SW): Connect to the vehicle's parking brake switch for video playback safety.
- Reverse Gear Input (REVERSE): Connect to the vehicle's reverse light circuit for automatic rear camera display.
- Steering Wheel Remote Input (ST REMOTE INPUT 1/2): For connecting to compatible steering wheel control interfaces.
- USB Port: For connecting USB devices, smartphones for CarPlay/Android Auto, or USB mirroring.
- Subwoofer Output (SUB WOOFER): RCA output for connecting an external subwoofer amplifier.
- Video/Audio Inputs: RCA inputs for external video/audio sources.
2.2 Mounting the Unit
The KW-M565DBT features a short chassis design (75mm depth) for easier installation in vehicles with limited dashboard space. Secure the unit using the provided mounting screws and brackets.

Image: Diagram illustrating the compact 75mm depth of the unit, highlighting its easy installation feature.

Image: Side view of the JVC KW-M565DBT, showing the mounting points and screw specifications (M5x8mm MAX).
3. Operating Instructions
This section covers the basic operation of your JVC KW-M565DBT car video system.
3.1 Touchscreen Interface
The unit features a capacitive touchscreen for intuitive control. Tap icons to select functions, swipe to navigate menus, and use pinch-to-zoom where applicable (e.g., in navigation apps).
3.2 Apple CarPlay and Android Auto
Connect your compatible iPhone or Android smartphone via the USB port to activate Apple CarPlay or Android Auto. This allows you to access navigation, make calls, send messages, and listen to music directly from the unit's display.
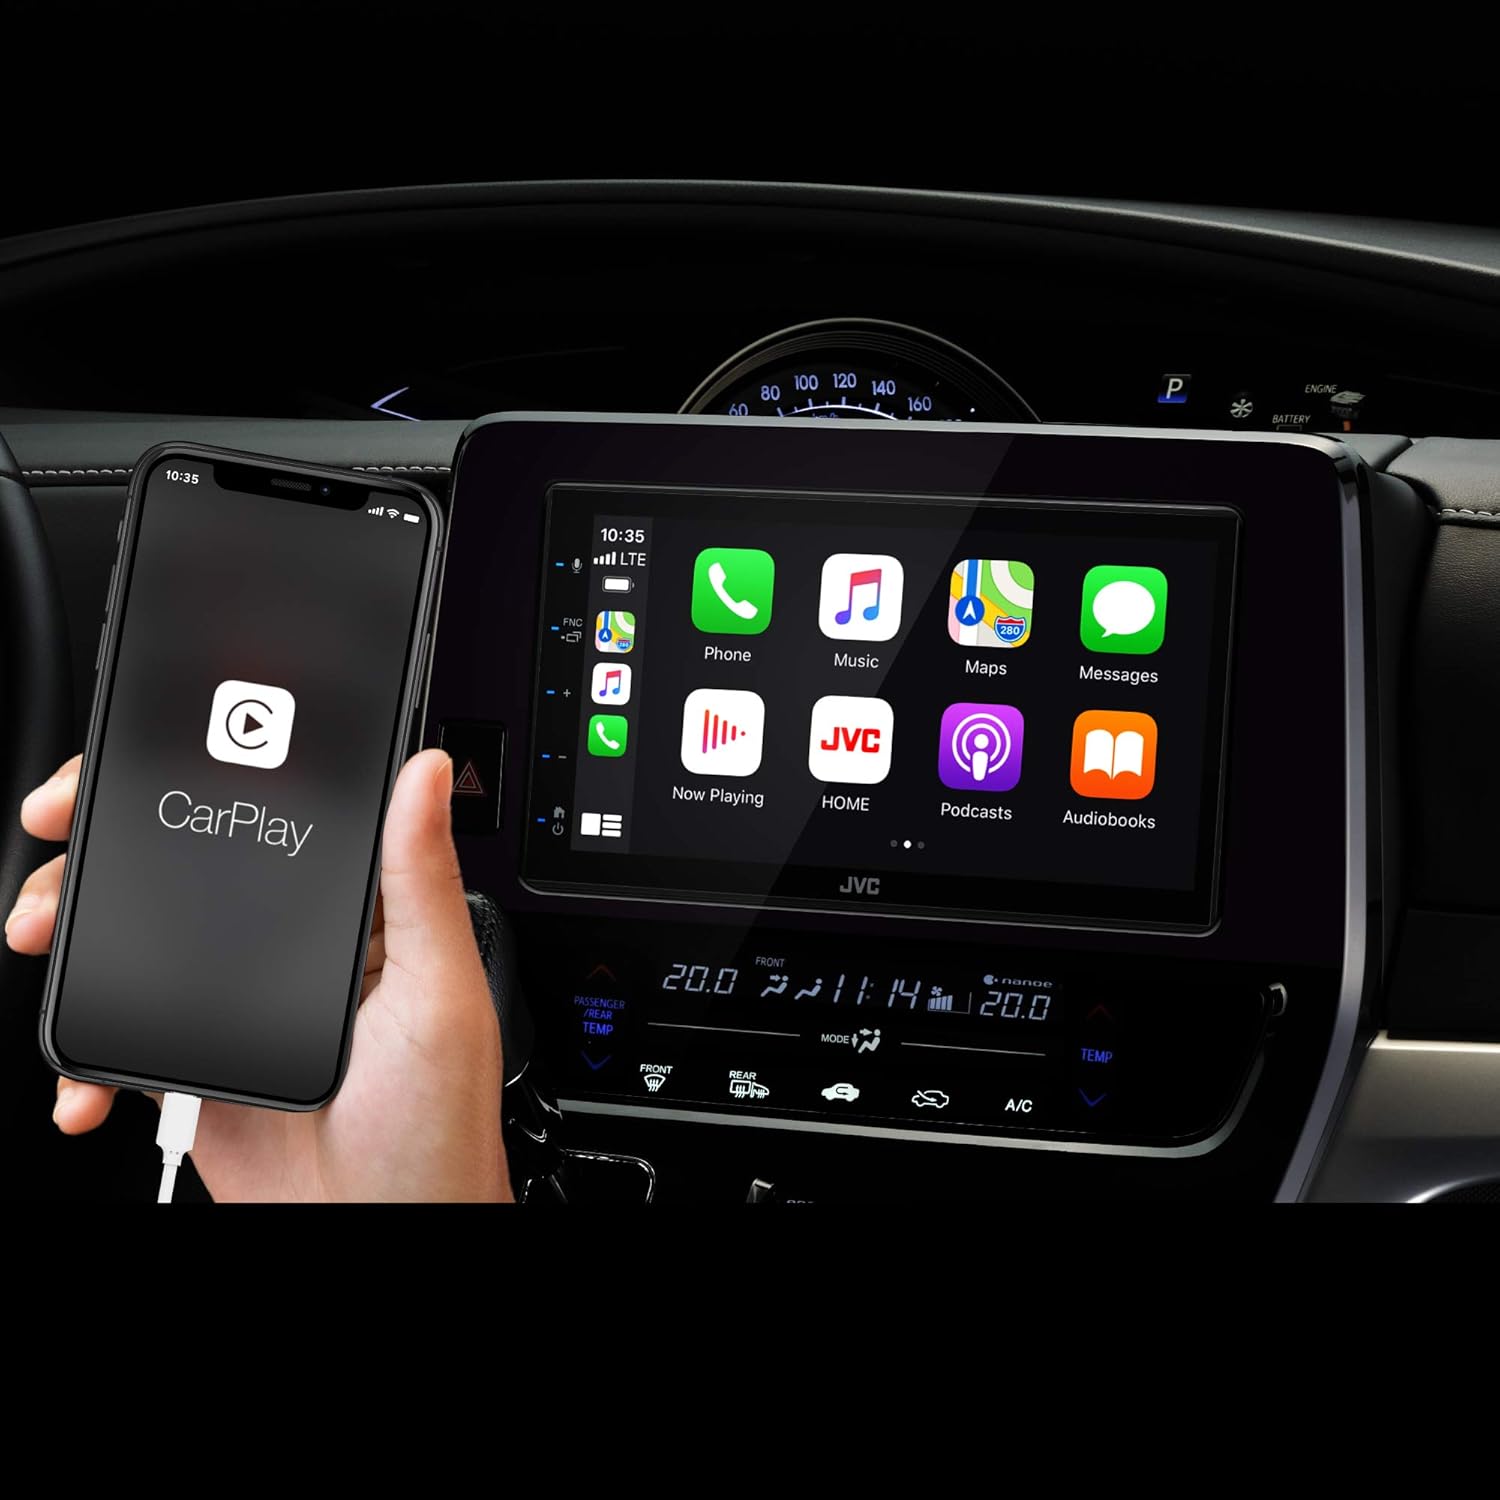
Image: An iPhone connected to the JVC KW-M565DBT, showing the Apple CarPlay interface with various app icons.

Image: An Android phone connected to the JVC KW-M565DBT, displaying the Android Auto navigation interface.
3.3 Bluetooth Audio Streaming and Hands-Free Calling
Pair your Bluetooth-enabled device with the KW-M565DBT to stream audio wirelessly or make and receive hands-free calls. Refer to your phone's manual for Bluetooth pairing instructions. The unit supports Bluetooth Automatic Pairing for convenience.

Image: Graphic highlighting the Bluetooth audio streaming feature, allowing wireless music playback from smartphones.
3.4 DAB+ Digital Radio
Utilize the integrated DAB+ tuner for access to a wider range of digital radio stations with superior sound quality. Ensure a DAB+ antenna (not included) is properly connected for optimal reception.

Image: Graphic indicating the inclusion of a DAB+ tuner, providing expanded and high-quality digital radio options.
3.5 USB Mirroring for Android
For Android devices (Version 7.0 and above), connect via USB to mirror your smartphone's screen onto the KW-M565DBT display. This allows you to view and control compatible apps directly from the unit's touchscreen.

Image: Diagram illustrating the USB Mirroring feature for Android, enabling smartphone screen display and control on the unit.
3.6 JVC Remote Control Application
Download the "JVC Remote" app on your smartphone to control the KW-M565DBT wirelessly via Bluetooth. This app allows you to adjust audio settings, view song information, and manage various functions from your phone.

Image: Graphic depicting the JVC Remote app interface on a smartphone, demonstrating its capability to control the car stereo.
3.7 Rear Camera Functionality
The unit supports connection to a rear-view camera (not included). When properly connected and the vehicle is in reverse, the camera feed will automatically display on the screen, aiding in parking and maneuvering.

Image: Diagram illustrating the rear camera compatibility feature, showing a car's rear view displayed on the unit's screen.
4. Maintenance
Regular maintenance ensures the longevity and optimal performance of your JVC KW-M565DBT.
- Cleaning the Screen: Use a soft, lint-free cloth to gently wipe the touchscreen. For stubborn smudges, slightly dampen the cloth with water or a screen-safe cleaner. Avoid abrasive materials or harsh chemicals.
- General Cleaning: Keep the unit free from dust and debris. Use a soft brush or compressed air to clean vents and button areas.
- Firmware Updates: Periodically check the JVC website for firmware updates for your model. Updates can improve performance, add features, or fix bugs. Follow the instructions provided with the update carefully.
- Avoid Extreme Temperatures: Do not expose the unit to extreme heat or cold, as this can affect its electronic components and display.
5. Troubleshooting
This section provides solutions to common issues you might encounter with your JVC KW-M565DBT.
| Problem | Possible Cause | Solution |
|---|---|---|
| No power/Unit does not turn on. | Incorrect wiring, blown fuse, vehicle battery issue. | Check power connections (yellow, red, black wires). Inspect vehicle and unit fuses. Ensure vehicle battery is charged. |
| No sound. | Volume too low, mute activated, incorrect speaker wiring, amplifier issue. | Increase volume. Check if mute is active. Verify speaker connections. If external amplifier is used, check its power and connections. |
| Bluetooth connection issues. | Device not paired, Bluetooth off on phone/unit, interference. | Ensure Bluetooth is enabled on both devices. Delete previous pairings and re-pair. Move closer to the unit. Restart both devices. |
| Apple CarPlay/Android Auto not starting. | Faulty USB cable, phone not compatible, app not installed/updated. | Use a certified USB cable. Ensure your phone's OS and apps are updated. Check phone compatibility. Restart phone and unit. |
| Poor DAB+ reception. | Antenna not connected, poor antenna placement, weak signal area. | Ensure DAB+ antenna is securely connected. Try repositioning the antenna. Scan for stations in an area with better signal. |
| Touchscreen unresponsive. | Temporary software glitch, dirty screen. | Perform a soft reset (refer to manual for specific reset procedure, usually a small reset button). Clean the screen thoroughly. |
6. Technical Specifications
| Feature | Specification |
|---|---|
| Model Number | KW-M565DBT |
| Brand | JVC |
| Color | Black |
| Connectivity Technology | Bluetooth, USB |
| Total USB Ports | 1 |
| Special Features | Apple CarPlay, Android Auto, DAB+ Tuner, USB Mirroring for Android |
| Compatible Devices | Android, iPhone |
| Audio Encoding | Stereo |
| Audio Output Mode | Stereo |
| Surround Sound Channel Configuration | 4.0 |
| Video Encoding Support | MPEG1/2/4, H.264, MKV, WMV, JPEG |
| Chassis Depth | 75mm (Short Chassis) |
7. Warranty and Support
Your JVC KW-M565DBT comes with a manufacturer's warranty to cover defects in materials and workmanship.
7.1 Manufacturer's Warranty
The product is covered by a 2-year manufacturer's warranty. This warranty typically covers manufacturing defects and malfunctions under normal use. Please retain your proof of purchase for warranty claims.
For detailed terms and conditions of the warranty, please refer to the warranty card included with your product or visit the official JVC support website.
7.2 Customer Support
If you encounter issues not covered in the troubleshooting section or require further assistance, please contact JVC customer support. Contact information can typically be found on the official JVC website or in the product packaging.
When contacting support, please have your product model number (KW-M565DBT) and proof of purchase readily available.