1. Introduction
This manual provides comprehensive instructions for the GRUNDIG DTR 4500 Micro Hi-Fi System. Learn about its features, setup, operation, and maintenance. The DTR 4500 combines modern digital radio (DAB+/FM tuner) with rich, balanced sound from its 2.0 stereo speaker system and 10W RMS output. Enjoy music via DAB+/FM radio or connect your smartphone/tablet via Bluetooth 5.0 audio streaming. It includes a programmable dual alarm with snooze and sleep timer functions. The high-resolution 2.4-inch TFT color display with 3 brightness levels ensures clear readability.
2. Safety Information
Please read these safety instructions carefully before using the device and keep them for future reference. Incorrect use may result in electric shock, fire, or other hazards.
- Do not expose the device to rain or moisture.
- Do not block any ventilation openings.
- Ensure proper power supply voltage as indicated on the device.
- Do not open the device casing; refer all servicing to qualified personnel.
- Keep the device away from heat sources, direct sunlight, and strong magnetic fields.
- Unplug the device during lightning storms or when unused for long periods.
3. Package Contents
Verify that all items are present in the package:
- GRUNDIG DTR 4500 Micro Hi-Fi System
- Power Adapter
- Remote Control (with 2 AAA batteries included)
- User Manual (this document)
4. Product Overview
Familiarize yourself with the main components and controls of your GRUNDIG DTR 4500.

Figure 1: Front Panel - This image displays the front of the GRUNDIG DTR 4500, highlighting the central display screen, control knob for volume and navigation, and various buttons for tuning, mode selection, menu, alarm, and preset/Bluetooth pairing. The speakers are visible on the sides.
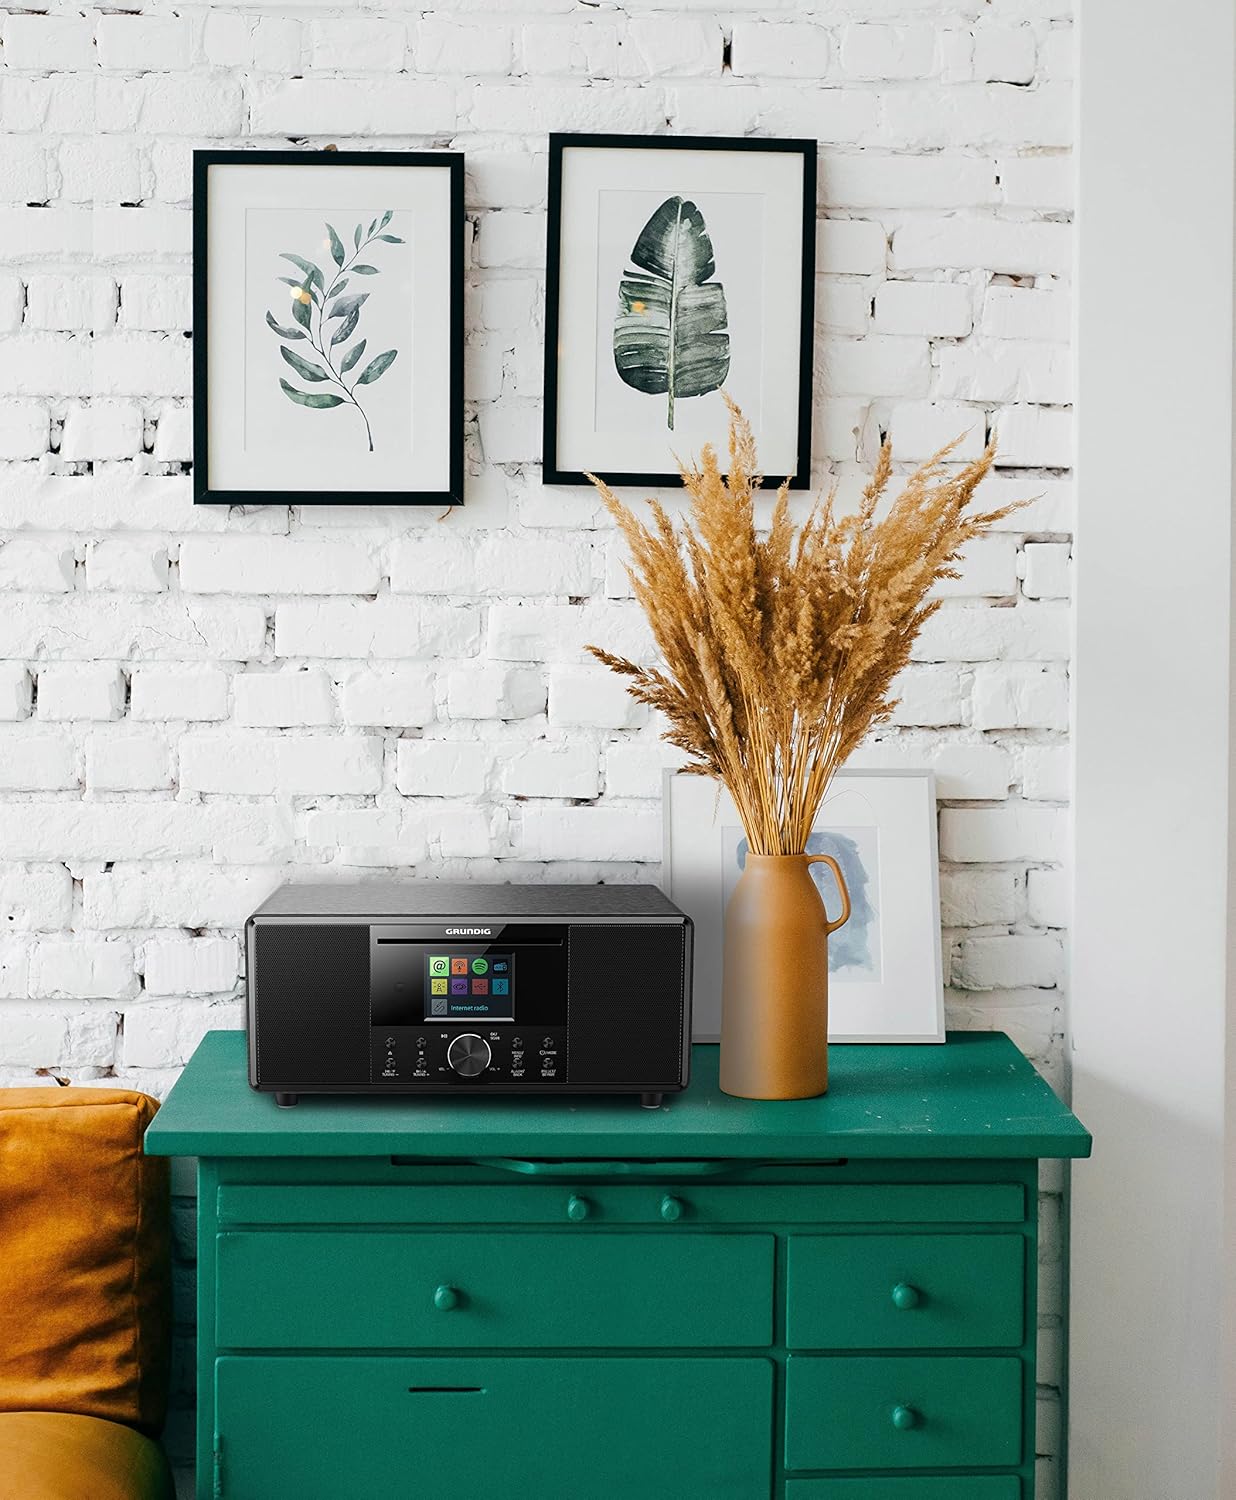
Figure 2: Lifestyle View - The GRUNDIG DTR 4500 is shown placed on a green cabinet in a room with white brick walls and decorative frames, illustrating its compact size and aesthetic integration into a home environment.

Figure 3: Angled Front View - A slightly angled view of the GRUNDIG DTR 4500, showcasing its brushed black finish and the side speaker grille, providing a better perspective of its design and dimensions.

Figure 4: Alternative Angled View - Similar to Figure 3, this image offers another angled perspective of the DTR 4500, emphasizing its compact form factor and the integration of the display and controls.
Controls and Display:
- Display: 2.4-inch TFT color display with 3 brightness levels.
- Control Knob: For volume adjustment (VOL+/-) and menu navigation (NAVIGATE). Press to confirm (OK/SCAN).
- Power/Mode Button: Turns the unit on/off and switches between modes.
- Tuning Buttons (▲/TUNING+, ▼/TUNING-): For adjusting radio frequencies or navigating menus.
- Preset/BT Pair Button: Saves/recalls radio presets or initiates Bluetooth pairing.
- Menu/Info Button: Accesses system menus or displays information.
- Alarm/Back Button: Sets alarms or returns to the previous menu.
5. Setup
5.1. Power Connection
- Connect the power adapter to the DC IN port on the back of the DTR 4500.
- Plug the power adapter into a wall outlet.
- The unit will power on or enter standby mode.
5.2. Initial Setup
Upon first power-on, the device may guide you through an initial setup process, including language selection and time/date settings. Follow the on-screen prompts.
6. Operating Instructions
6.1. Power On/Off and Mode Selection
- Press the Power/Mode button to turn the unit on or off.
- Press the Power/Mode button repeatedly to cycle through available modes: DAB+ Radio, FM Radio, Bluetooth, CD (if applicable), USB.
6.2. DAB+ Radio Operation
- Select DAB+ mode using the Power/Mode button.
- The unit will automatically scan for available DAB+ stations upon first use or if no stations are found.
- Use the Tuning ▲/▼ buttons or the Control Knob to navigate through the station list.
- Press the OK/SCAN button (center of control knob) to select a station.
- To save a preset: Press and hold Preset/BT Pair, select a preset number, and press OK/SCAN.
- To recall a preset: Briefly press Preset/BT Pair, select the preset number, and press OK/SCAN.
6.3. FM Radio Operation
- Select FM mode using the Power/Mode button.
- Press OK/SCAN to auto-scan for available FM stations.
- Use the Tuning ▲/▼ buttons for manual tuning or to step through scanned stations.
- Saving and recalling presets works similarly to DAB+ mode.
6.4. Bluetooth Audio Streaming
- Select Bluetooth mode using the Power/Mode button. The display will show "Pairing" or "Waiting for connection".
- On your smartphone or tablet, enable Bluetooth and search for "GRUNDIG DTR 4500".
- Select the device to pair. Once connected, the display will confirm.
- Play audio from your device, and it will stream wirelessly to the DTR 4500.
- To disconnect or pair with a new device, press and hold the Preset/BT Pair button.
6.5. CD/MP3 Playback (if applicable)
The product description mentions CD R/RW/MP3, but some reviews indicate a lack of CD player. Please verify your specific model. If equipped:
- Insert a CD into the CD slot.
- Select CD mode using the Power/Mode button.
- Playback should start automatically. Use the Tuning ▲/▼ buttons to skip tracks.
6.6. USB Playback/Charging
The DTR 4500 features a USB port for playing MP3 files from a USB drive or charging compatible devices.
- Insert a USB flash drive containing MP3 files into the USB port.
- Select USB mode using the Power/Mode button.
- Use the Control Knob and OK/SCAN button to navigate and select files.
- To charge a device, simply connect it to the USB port.
6.7. Alarm, Sleep, and Snooze Functions
- Setting Alarms: Press the Alarm/Back button to access alarm settings. You can set two independent alarms with different sources (buzzer, radio) and volumes.
- Sleep Timer: Access the Sleep Timer function via the Menu/Info button. Set a duration (e.g., 15, 30, 60 minutes) after which the unit will automatically turn off.
- Snooze: When an alarm sounds, press any button (except Power) to activate the snooze function, pausing the alarm for a short period.
6.8. Display Settings
Adjust the brightness of the 2.4-inch TFT color display through the system menu. There are three levels of brightness available for optimal readability in various lighting conditions.
7. Maintenance
7.1. Cleaning
- Wipe the unit with a soft, dry cloth.
- Do not use abrasive cleaners, waxes, or solvents.
- For stubborn marks, lightly dampen the cloth with water.
7.2. Storage
If storing the unit for an extended period, unplug it from the power outlet and store it in a cool, dry place.
8. Troubleshooting
| Problem | Possible Cause | Solution |
|---|---|---|
| No power | Power adapter not connected or faulty outlet. | Check power connections. Try a different outlet. |
| No sound | Volume too low, mute activated, or incorrect source selected. | Increase volume. Check if mute is active. Ensure correct input source is selected. |
| Poor radio reception | Weak signal, antenna not extended, or interference. | Extend the antenna fully. Reposition the unit. Perform a new station scan. |
| Bluetooth pairing fails | Device too far, Bluetooth not enabled on source, or unit not in pairing mode. | Ensure devices are close. Enable Bluetooth on your device. Put DTR 4500 in pairing mode. |
| Remote control not working | Batteries depleted or incorrect orientation. Obstruction between remote and unit. | Replace batteries (2x AAA). Ensure clear line of sight to the unit's sensor. |
9. Specifications
| Feature | Detail |
|---|---|
| Brand | Grundig |
| Model Number | DTR 4500 |
| Color | Black |
| Connectivity Technology | Bluetooth (V5.0) |
| Tuning Technology | DAB+, FM (RDS) |
| Supported Radio Bands | AM/FM |
| Audio Output | Stereo 2.0, 10W RMS |
| Display | 2.4-inch TFT Color LCD with 3 brightness levels |
| Special Features | Portable, Dual Alarm, Sleep Timer, Snooze, Remote Control |
| Compatible Devices | Laptop, Smartphone, Tablet, Earphones |
| Power Source | Mixed (AC Adapter) |
| Batteries (Remote) | 2 AAA (included) |
| Product Dimensions | 21L x 11.5W x 12H cm |
| Manufacturer | Grundig (Germany) |
10. Warranty and Support
For warranty information and technical support, please refer to the warranty card included with your product or visit the official Grundig website. Keep your proof of purchase for any warranty claims.
For further assistance, you may contact Grundig customer service through their official channels.