Introduction
This manual provides detailed instructions for the installation, operation, and maintenance of your Eogifee UC7083T Ceiling Fan Remote Control. This remote is designed as a replacement for original Hampton Bay UC7083T remotes and is compatible with various Hampton Bay and Harbor Breeze ceiling fans that utilize a receiver with matching dip switches. Please read this manual thoroughly before use to ensure proper function and safety.
Safety Information
- Ensure the ceiling fan's power is turned off at the circuit breaker before any installation or maintenance.
- This remote control is a transmitter only. It requires an existing compatible receiver within your ceiling fan.
- Do not expose the remote control to water or excessive moisture.
- Keep batteries out of reach of children.
- Dispose of used batteries responsibly according to local regulations.
Package Contents
- 1 x Eogifee UC7083T Remote Control Transmitter
- 1 x Wall Mount Bracket
- 2 x Mounting Screws
Note: A 12V "A23" battery is required and is not included in this package. This package does not include a receiver.

Image: The Eogifee UC7083T remote control, its retail packaging, the wall mount bracket, and two mounting screws.
Product Overview
Familiarize yourself with the buttons and features of your remote control.

Image: Front view of the Eogifee UC7083T remote control, showing the fan speed buttons (HI, MED, LOW), light control button, and OFF button.
- Light Button: Controls the ceiling fan light. Press to turn on/off. For incandescent bulbs, press and hold to dim.
- HI Button: Sets fan speed to High.
- MED Button: Sets fan speed to Medium.
- LOW Button: Sets fan speed to Low.
- OFF Button: Turns the ceiling fan off.
- Indicator Light: Illuminates when a button is pressed. If it stays on, the battery may be low.
Setup
1. Battery Installation
- Locate the battery compartment cover on the back of the remote control.
- Press firmly below the arrow on the cover and slide it off.
- Insert one 12V "A23" battery, ensuring correct polarity (+/-).
- Replace the battery compartment cover.

Image: The back of the remote control with the battery compartment open, revealing the slot for a 12V "A23" battery and the four dip switches.
2. Setting the Dip Switches
The remote control and your ceiling fan's receiver must have matching dip switch settings to communicate. There are 16 possible code combinations.
- Identify Receiver Dip Switches: Locate the dip switches on your ceiling fan's receiver. This is typically found within the fan's canopy or motor housing. Note the current ON/OFF (or UP/DOWN) positions of these switches.
- Access Remote Dip Switches: With the battery cover removed from your Eogifee UC7083T remote, you will see four small switches (numbered 1-4) inside the battery compartment.
- Match Settings: Using a small screwdriver or a pen, slide the dip switches on the remote control to match the exact ON/OFF (or UP/DOWN) positions of the dip switches on your ceiling fan's receiver. All four switches must match.
- Replace the battery cover on the remote control.
Important Note: Before setting the code, ensure your fan is operated in "HIGH speed" and the light is in the "ON" condition at the switch knob (if applicable) for optimal setup.

Image: The retail packaging for the Eogifee UC7083T remote control, displaying detailed instructions for setting the dip switches on both the transmitter and receiver.
3. Wall Mount Installation
The included wall mount bracket allows for convenient storage of your remote control.
- Choose a suitable location on a wall, away from direct sunlight or heat sources.
- Use the wall mount bracket as a template to mark the positions for the two mounting screws.
- Drill pilot holes if necessary.
- Secure the wall mount bracket to the wall using the provided screws.
- Slide the remote control into the mounted bracket.

Image: The Eogifee UC7083T remote control shown alongside its wall mount bracket, illustrating how the remote fits into the bracket.
Operating Instructions
Once the dip switches are matched and the battery is installed, your remote is ready for use.
- Fan Speed Control:
- Press HI for high fan speed.
- Press MED for medium fan speed.
- Press LOW for low fan speed.
- Press OFF to turn the fan off.
- Light Control:
- Press the Light Button to toggle the light on or off.
- If using incandescent bulbs, press and hold the Light Button to dim or brighten the light. Release when the desired brightness is reached.
- Note: If using LED bulbs, the light button will typically only control on/off functionality and may not support dimming, depending on the LED bulb and fan receiver capabilities.
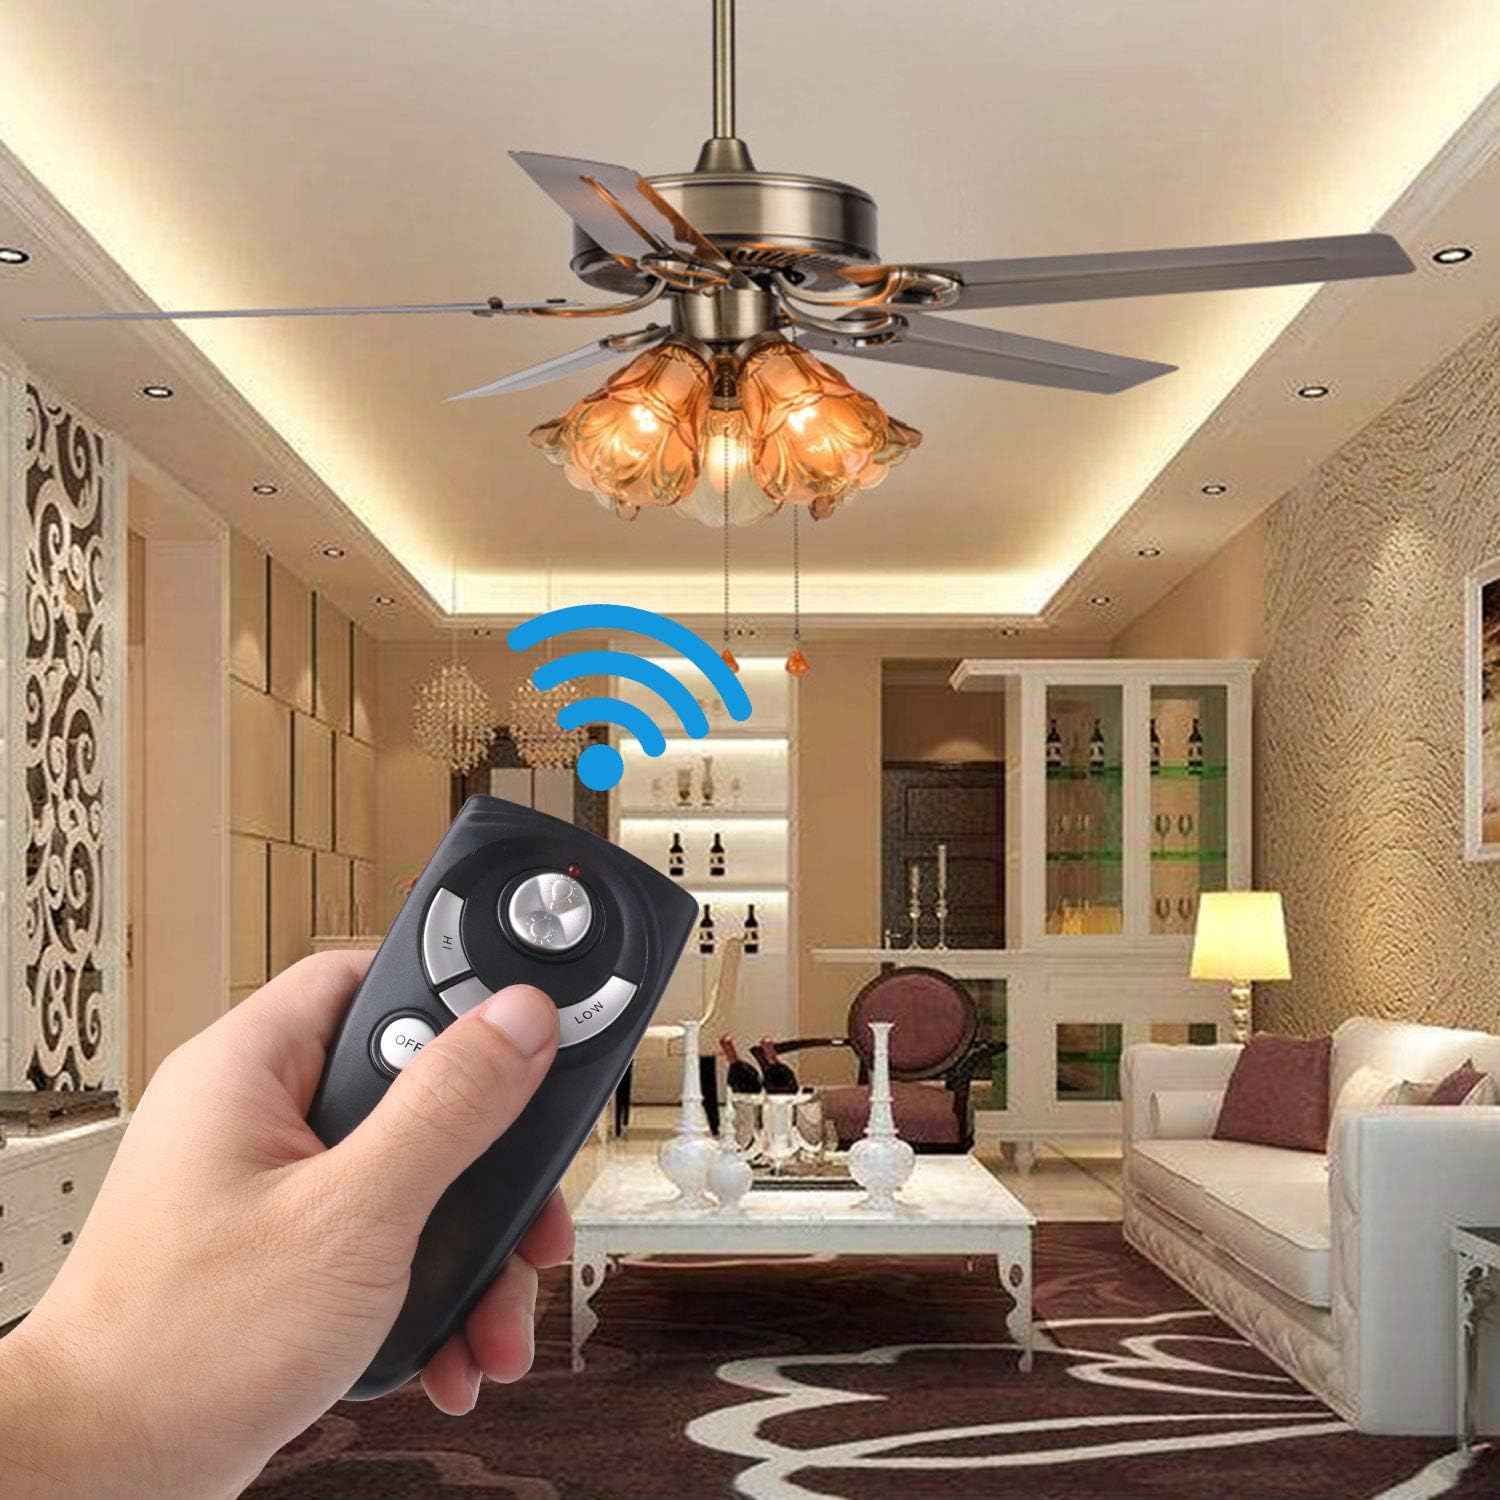
Image: A hand holding the Eogifee UC7083T remote control, with a ceiling fan and its lights visible in the background, illustrating the remote in active use.
Troubleshooting
| Problem | Possible Cause | Solution |
|---|---|---|
| Remote does not control the fan/light. |
|
|
| Indicator light stays on. | Low battery power. | Replace the 12V "A23" battery. |
| Light does not dim. |
|
|
| Fan does not reverse direction. | This remote does not have a reverse function. | The UC7083T remote control does not support fan reverse. This function is typically controlled by a switch on the fan motor housing itself. |
Specifications
- Model: UC7083T
- Brand: Eogifee
- Power Source: 1 x 12V "A23" battery (not included)
- Dimensions: Approximately 4 x 2 x 0.01 inches (10.16 x 5.08 x 0.025 cm)
- Weight: Approximately 3.2 ounces (90.7 grams)
- Compatibility: Hampton Bay and Harbor Breeze ceiling fans with UC7083T compatible receivers.
- Features: 3-speed fan control (High, Medium, Low), Light On/Off, Light Dimming (for incandescent bulbs).
Maintenance
- Clean the remote control with a soft, dry cloth. Do not use abrasive cleaners or solvents.
- If the remote will not be used for an extended period, remove the battery to prevent leakage.
- Replace the battery when the indicator light stays on or when the remote's range decreases.
Warranty and Support
For warranty information or technical support, please refer to the seller's contact information or visit the Eogifee store on Amazon. Keep your purchase receipt for warranty claims.
Eogifee Store: Visit the Eogifee Store on Amazon