LUCKY HERP B08C7PKKP5
LUCKY HERP Aluminum Reptile Heat Lamp (Model B08C7PKKP5) User Manual
Comprehensive instructions for safe and effective use.
1. Introduction
Thank you for choosing the LUCKY HERP Aluminum Reptile Heat Lamp. This product is designed to provide essential heat and light for your reptile's terrarium, supporting their health and well-being. The lamp features a durable aluminum reflector dome, an E26 ceramic socket, and an integrated on/off switch for convenient operation. This manual provides detailed instructions for proper setup, operation, maintenance, and troubleshooting to ensure safe and optimal performance.

Figure 1: LUCKY HERP Aluminum Reptile Heat Lamp, 5.5-inch deep model.
2. Important Safety Information
Please read all safety instructions carefully before using the product. Failure to follow these instructions may result in electric shock, fire, or serious injury.
- Indoor Use Only: This lamp is designed for indoor use in terrariums. Do not use outdoors or in wet conditions.
- Electrical Safety: Ensure the power outlet voltage matches the lamp's requirements (100-120 Volts, 60 Hertz). Do not overload electrical outlets.
- Bulb Wattage: Use bulbs with a maximum wattage of 100W. Exceeding this limit can cause overheating and fire hazards.
- Heat Hazard: The lamp and bulb become extremely hot during operation. Avoid direct contact with skin. Allow sufficient cooling time before handling.
- Placement: Position the lamp securely to prevent it from falling into the terrarium or onto flammable materials. Ensure adequate clearance from terrarium inhabitants to prevent burns.
- Ventilation: Do not block the ventilation holes on the lamp dome. Proper airflow is essential for heat dissipation.
- Cord Management: Keep the power cord away from heat sources, sharp edges, and areas where it could be pinched or damaged. Do not modify the plug.
- Children and Pets: Keep the lamp out of reach of children and unsupervised pets.
- Damaged Product: Do not operate the lamp if the cord, plug, or lamp housing is damaged. Contact customer support for assistance.
3. Setup Instructions
3.1 Unpacking
- Carefully remove all components from the packaging.
- Verify that all parts are present: 1 x Reptile Lamp.
- Inspect the lamp for any signs of damage during transit. If damaged, do not proceed with setup and contact customer support.
3.2 Bulb Installation
The lamp is equipped with an E26 ceramic socket, compatible with various bulb types up to 100 Watts.
- Ensure the lamp is unplugged from the power source.
- Carefully screw the desired E26 base bulb (e.g., UVB, heat, incandescent, ceramic heat lamp) into the ceramic socket until it is finger-tight. Do not overtighten.
- Confirm the bulb is securely seated in the socket.

Figure 2: Close-up view of the E26 ceramic socket for bulb installation.

Figure 3: Illustration of various compatible bulb types, including Infrared, Basking, UVB, Halogen, and Ceramic Heat Bulbs.
3.3 Lamp Placement
The lamp can be placed directly on a terrarium screen top or suspended using the integrated hanging hook.
- On Terrarium Screen: Place the lamp securely on a sturdy metal screen top of the terrarium. Ensure the screen can support the lamp's weight and heat.
- Suspended: Use a suitable lamp stand or hook to suspend the lamp above the terrarium. Ensure it is stable and cannot be easily dislodged. Maintain a safe distance from the reptile to prevent burns.
- Reflector Dome: The aluminum reflector dome is designed to maximize UVA and UVB output from compatible bulbs.
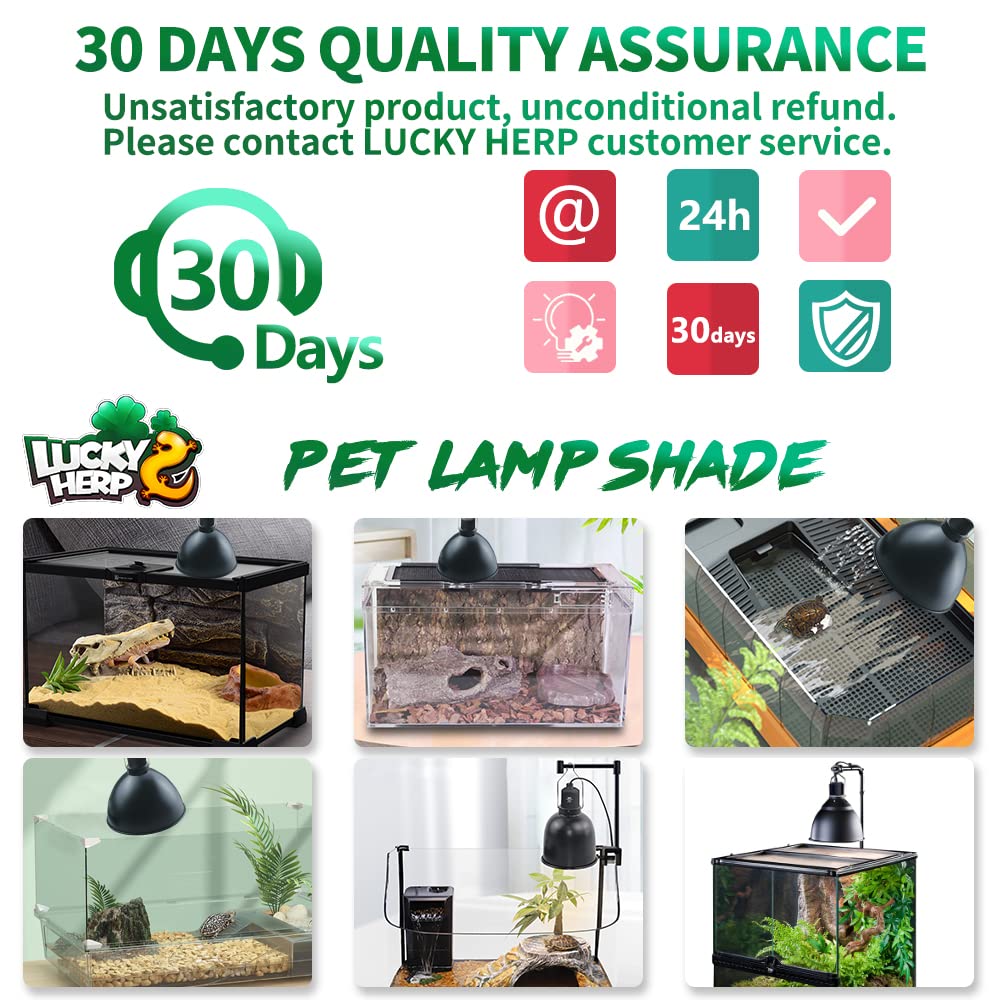
Figure 4: Example of the heat lamp installed above a reptile terrarium.

Figure 5: Interior view of the aluminum reflector dome, designed to enhance light and heat output.
4. Operating Instructions
4.1 Power Connection and Operation
- Once the bulb is installed and the lamp is securely placed, plug the 180 cm power cable into a suitable electrical outlet.
- Locate the on/off switch on the power cable.
- Flip the switch to the "ON" position to activate the lamp.
- Flip the switch to the "OFF" position to turn off the lamp.

Figure 6: Key features including the on/off switch, power cable, and ventilation holes.
4.2 Optimal Use
- This lamp is ideal for use with UVB lamps, heat lamps, and ceramic heat lamps to create a suitable environment for reptiles.
- Monitor terrarium temperatures and humidity levels regularly to ensure they meet the specific requirements of your reptile species.
- Consider using a thermostat or timer for precise control over heating and lighting cycles.
5. Maintenance
5.1 Cleaning
- Always unplug the lamp and allow it to cool completely before cleaning.
- Wipe the exterior of the lamp dome with a soft, dry cloth.
- Do not use abrasive cleaners or immerse the lamp in water.
- Ensure ventilation holes are free from dust and debris to maintain proper heat dissipation.
5.2 Bulb Replacement
- Unplug the lamp and allow the bulb to cool down completely.
- Carefully unscrew the old bulb from the E26 ceramic socket.
- Screw in a new E26 base bulb (max 100W) until finger-tight.
- Dispose of old bulbs according to local regulations.
6. Troubleshooting
If you encounter issues with your LUCKY HERP Reptile Heat Lamp, refer to the following common problems and solutions:
| Problem | Possible Cause | Solution |
|---|---|---|
| Lamp does not turn on. |
|
|
| Insufficient heat/light output. |
|
|
| Lamp is overheating. |
|
|
If the problem persists after attempting these solutions, please contact LUCKY HERP customer support.
7. Product Specifications
| Brand | LUCKY HERP |
| Model Name | Reptile Heat Lamp (5.5-inch deep) |
| Part Number | B08C7PKKP5_CA NARF |
| ASIN | B08C7PKKP5 |
| Material | Aluminum |
| Color | Black |
| Bulb Base | E26 Ceramic Socket |
| Max Wattage | 100 Watts |
| Voltage | 100-120 Volts |
| Frequency | 60 Hertz |
| Power Cable Length | 180 cm (approx. 71 inches) |
| Dimensions (Deep Model) | 5.5 inches (Width) x 5.5 inches (Length) x 7.9 inches (Height) |
| Item Weight | 0.38 Kilograms (381 g) |
| Special Features | Easy to install, Ventilation holes, On/Off switch |
| Included Components | 1 x Reptile Lamp |
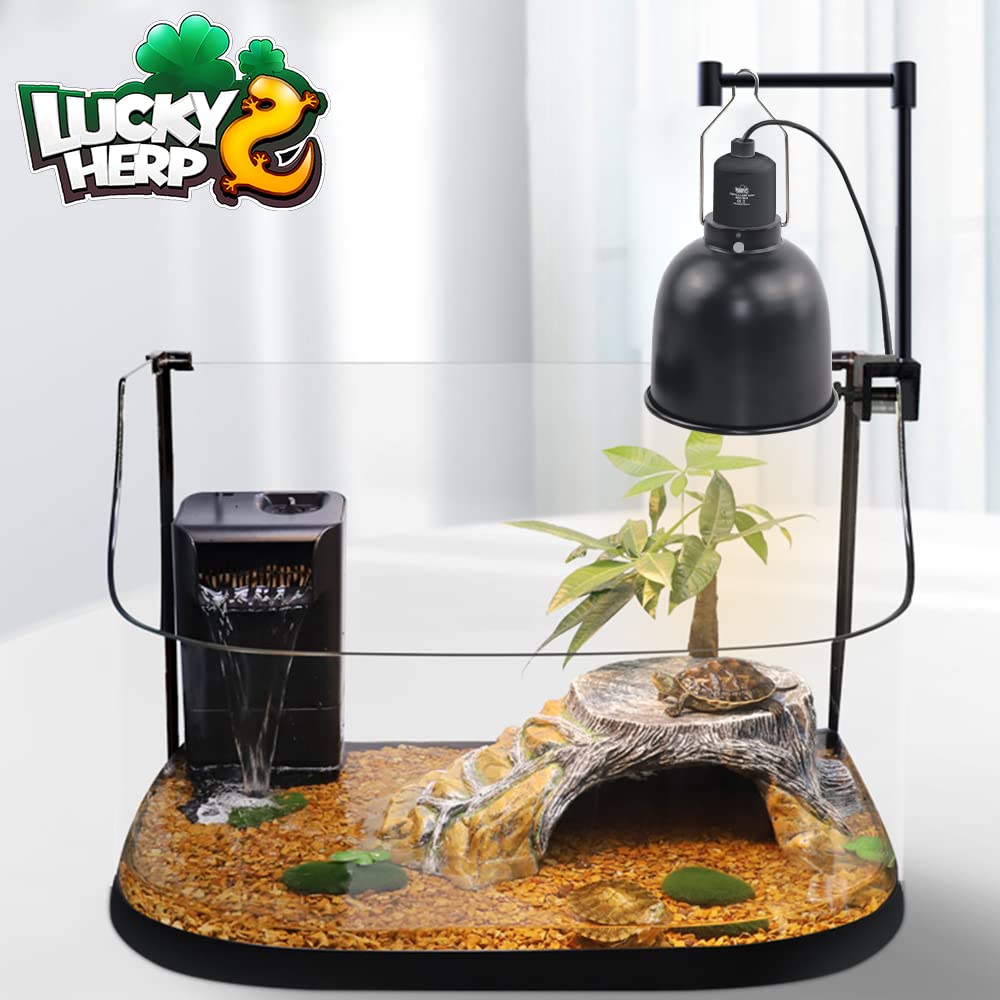
Figure 7: Dimensional comparison between shallow and deep models. This manual refers to the 5.5-inch deep model.
8. Warranty and Customer Support
LUCKY HERP offers a 1-month quality assurance for this product. If you encounter any issues or have questions regarding the operation, maintenance, or performance of your reptile heat lamp, please contact LUCKY HERP customer service.
Timely communication can help resolve your concerns efficiently. Please have your product model number (B08C7PKKP5) and purchase details ready when contacting support.