
1. Overview
This manual provides detailed instructions for replacing the LCD screen on your iPhone 11. The bokman replacement kit includes all necessary tools and components to facilitate a successful repair. Please read all instructions carefully before beginning the installation process.
2. Compatibility
This screen replacement kit is designed exclusively for the iPhone 11 6.1-inch model. It is compatible with the following iPhone 11 models:
- A2111
- A2221
- A2223
Please verify your iPhone model before purchase to ensure compatibility. This kit is not compatible with iPhone 11 Pro, iPhone 11 Pro Max, iPhone XR, or any other iPhone models.

3. Kit Contents
The bokman screen replacement kit includes the following items to assist with the installation:
- New LCD Screen Replacement
- Waterproof Adhesive
- Screen Protector
- Precision Screwdrivers (Tri-point, Pentalobe, Cross)
- Suction Cup
- Triangular Plectrum (Opening Pick)
- Nylon Spudger (Pry Tool)
- SIM Card Ejector Pin


4. Key Features
4.1 Display Quality and Touch Response
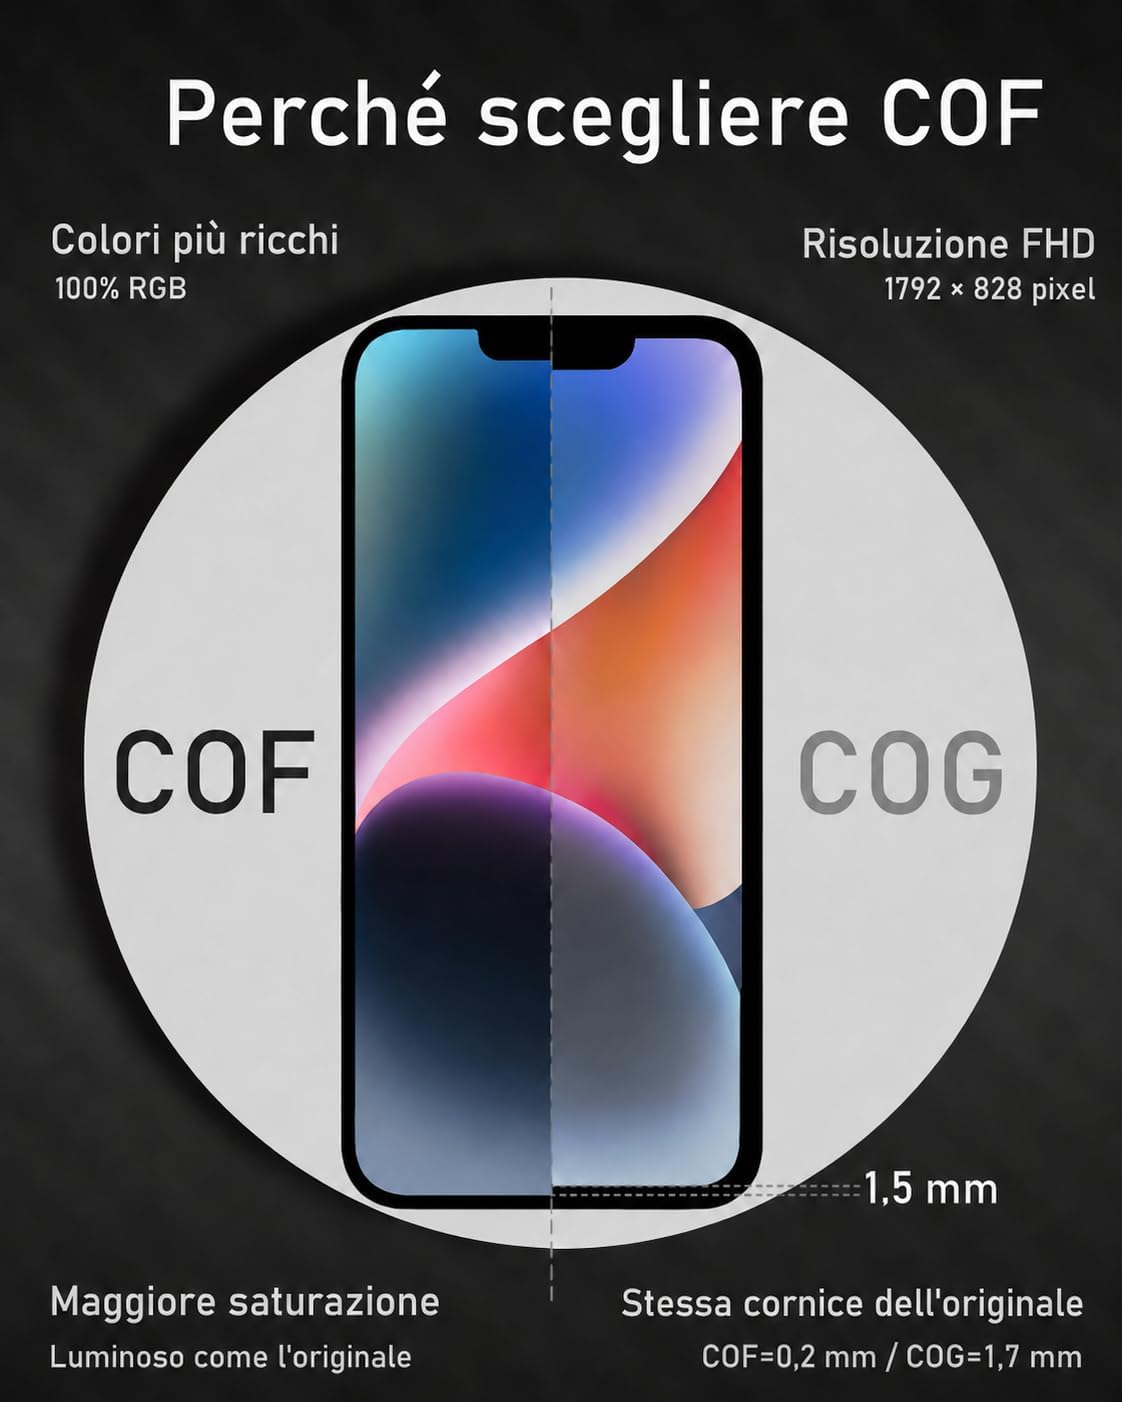
The replacement LCD screen is tested before shipment to ensure clear images, balanced colors, and stable touch response. It is designed for daily use and repair, providing a practical solution for common screen issues.


4.2 Essential Functions (Face ID, True Tone)
Face ID functionality can be maintained if the original components are transferred correctly during installation. True Tone functionality may require a professional programmer and the transfer of data from the original screen. Accurate installation is recommended for optimal performance.

5. Installation Guide (Setup)
Performing a screen replacement requires careful attention to detail. It is recommended to watch a detailed video tutorial for your specific iPhone model before starting. Always work in a clean, well-lit environment.
5.1 Safety Precautions
- Power Off: Ensure your iPhone is completely powered off before beginning.
- Disconnect Battery: Always disconnect the battery before handling internal components to prevent short circuits.
- Static Electricity: Take precautions against static electricity, such as using an anti-static wrist strap.
- Organize Screws: Keep track of all screws, as they vary in size and length. Using the wrong screw in the wrong place can cause permanent damage.
5.2 Step-by-Step Procedure (General)
- Remove Pentalobe Screws: Use the pentalobe screwdriver to remove the two screws located at the bottom edge of the iPhone, next to the charging port.
- Heat the Edges (Optional but Recommended): Gently heat the edges of the screen with a hairdryer or heat gun to soften the adhesive.
- Open the Screen: Use the suction cup to lift the screen slightly from the bottom edge. Insert a triangular plectrum or nylon spudger into the gap and carefully pry around the edges to separate the screen from the frame.
- Disconnect Battery: Once the screen is partially open, locate and disconnect the battery connector using a spudger. This is crucial for safety.
- Disconnect Display Cables: Carefully disconnect the flex cables connecting the old display to the logic board.
- Transfer Components: Transfer the earpiece speaker, front camera assembly, and home button (if applicable for your model) from your old screen to the new replacement screen. These components are essential for Face ID and other functions.
- Connect New Screen: Connect the flex cables of the new screen to the logic board.
- Reconnect Battery: Reconnect the battery connector.
- Test Functionality: Before fully reassembling, power on the iPhone and test the screen's touch response, display quality, and other functions (Face ID, True Tone if applicable).
- Apply Waterproof Adhesive: If satisfied with the test, power off the iPhone, disconnect the battery, and apply the new waterproof adhesive strip around the frame.
- Reassemble: Carefully close the screen, ensuring all clips align. Reinsert the two pentalobe screws at the bottom.


6. Troubleshooting
This replacement screen is designed to address common issues such as:
- Cracked or shattered screen
- Black screen or no display
- Lines or white spots on the display
- Unstable display or flickering
- Faulty or unresponsive touch

6.1 Common Issues and Solutions
| Problem | Possible Cause | Solution |
|---|---|---|
| Screen not turning on | Loose display cable, disconnected battery | Check all flex cable connections and battery connector. Ensure they are securely seated. |
| Unresponsive touch | Loose touch digitizer cable, debris on connector | Ensure the touch digitizer flex cable is properly connected. Clean connectors if necessary. |
| Display issues (lines, discoloration) | Damaged flex cable, faulty screen | Recheck display flex cable connections. If issues persist, the screen may be faulty and require replacement. |
| Face ID not working | Front camera/sensor assembly not transferred correctly or damaged | Ensure the original front camera and sensor assembly is transferred carefully and connected properly. Damage to these components can permanently disable Face ID. |
| True Tone not working | Ambient light sensor not transferred or data not programmed | Ensure the ambient light sensor is transferred. True Tone may require a specialized programmer to transfer data from the original screen. |
7. Specifications
| Feature | Detail |
|---|---|
| Product Weight | 150 g |
| Product Dimensions | 5.5 x 4.8 x 0.01 cm |
| Model Number | BKHEI11GDA |
| Display Type | LCD |
| Compatibility | iPhone 11 (A2111, A2221, A2223) |
8. Warranty and Support
For warranty information regarding your bokman iPhone 11 LCD screen replacement kit, please refer to the purchase documentation or contact the seller directly. For technical support or further assistance with installation, please reach out to bokman customer service through the platform where the product was purchased.