1. Introduction
This manual provides important information regarding the installation, operation, and maintenance of your SITERWELL Carbon Monoxide (CO) Detector, Model GS811-A. Please read this manual thoroughly before installation and retain it for future reference. This device is designed to detect carbon monoxide gas and alert occupants to its presence, helping to prevent CO poisoning.

Image: The SITERWELL Carbon Monoxide Detector actively monitors for CO gas, which is colorless and odorless. The device is designed for 24/7 protection against potential CO poisoning.
2. Important Safety Information
WARNING: This carbon monoxide alarm is designed to detect carbon monoxide gas from any source of combustion. It is NOT designed to detect smoke or fire. This alarm is not a substitute for a smoke alarm. This device is not suitable for use in hazardous locations as defined in the National Electrical Code.
- Never ignore any alarm. Ignoring the alarm may result in serious injury or death.
- Test the detector weekly to ensure proper operation.
- Do not paint the detector. Paint can clog the openings and interfere with the sensor's ability to detect CO.
- Keep the detector away from direct sunlight, high humidity, and extreme temperatures.
- Do not install in areas with high air velocity, such as near vents, fans, or open windows, as this can affect detection accuracy.
3. Product Features
The SITERWELL Carbon Monoxide Detector Model GS811-A incorporates advanced technology for reliable CO detection and user convenience.
- 7-Year Product Life: Designed for extended operational lifespan.
- Electrochemical Sensor: Utilizes a highly sensitive and accurate Figaro electrochemical sensor for CO detection.
- LED Indicator: Provides visual status updates (Status, Alarm).
- Test & Silence Button: Allows for easy testing of the alarm and silencing during non-emergency events.
- Battery Operated: Ensures continuous protection even during power outages.
- Low Battery Warning: Alerts users when battery replacement is needed.
- UL 2034 Standards: Complies with recognized safety standards for carbon monoxide alarms.
- 85dB Audible Alarm: A loud alarm sound to alert occupants.

Image: An internal view of the SITERWELL CO detector highlighting its 7-year product life, electrochemical sensor, AA replaceable battery compartment, and low battery warning feature.

Image: An exploded view illustrating the internal components of the SITERWELL CO detector, including the High Quality Infra-Red LED, Intelligent Chipset, Electrochemical Sensor, Test/Silence Button, DC 4.5V (3xAA 1.5V) power source, and Fire-Retardant PC Plastic Material casing.
4. Setup & Installation
4.1 Package Contents
Your SITERWELL Carbon Monoxide Detector package typically includes:
- SITERWELL Carbon Monoxide Detector units (e.g., 4-pack)
- Mounting hardware (screws and anchors)
- Adhesive magnetic mounting pads
- User Manual (this document)

Image: A pack of four SITERWELL Carbon Monoxide Detectors, shown with included 3M adhesive magnetic mounting pads for easy installation.
4.2 Battery Installation
The detector requires three (3) AA 1.5V alkaline batteries. Ensure batteries are installed correctly according to polarity markings inside the battery compartment.
- Twist the back cover of the detector counter-clockwise to open the battery compartment.
- Insert three AA 1.5V alkaline batteries, matching the (+) and (-) terminals.
- Close the battery compartment by aligning the cover and twisting clockwise until secure.
4.3 Mounting the Detector
You can choose between screw mounting or magnetic adhesive mounting.

Image: Illustration of two installation methods: (1) using magnetic pads for easy attachment to a surface, and (2) using screws and anchors for a more permanent fixture.
Screw Mounting:
- Select a suitable location (see 4.4 Placement Recommendations).
- Mark the positions for the two mounting holes on the wall or ceiling using the detector's base as a template.
- Drill two holes and insert the provided wall anchors.
- Secure the mounting bracket to the wall/ceiling with the provided screws.
- Attach the detector to the mounting bracket by twisting it clockwise until it clicks into place.
Magnetic Adhesive Mounting:
- Ensure the mounting surface is clean, dry, and smooth.
- Peel the protective film from one side of the magnetic adhesive pad and firmly attach it to the back of the detector.
- Peel the protective film from the other side of the magnetic adhesive pad.
- Press the detector firmly against the desired wall or ceiling location for at least 30 seconds.
4.4 Placement Recommendations
For optimal performance and safety, consider the following:
- Install at least one CO detector on each level of your home, especially near sleeping areas.
- Place detectors at least 5 feet (1.5 meters) away from fuel-burning appliances to avoid nuisance alarms.
- Mount on a wall about 5 feet (1.5 meters) from the floor, or on the ceiling.
- Avoid placing in garages, kitchens, or bathrooms where high humidity or exhaust fumes could trigger false alarms or damage the sensor.
5. Operation
5.1 Power-On and Initial Test
After battery installation, the detector will perform a self-test. The LED indicators will flash, and the alarm may sound briefly. This indicates the unit is functioning correctly.
5.2 LED Indicators
| Indicator | Color | Meaning |
|---|---|---|
| STATUS | Green | Normal operation (flashes periodically) |
| ALARM | Red | CO detected / Alarm condition |
| STATUS | Yellow | Fault or Low Battery Warning |
5.3 Test / Silence Button
The large central button serves two functions:
- Test Function: Press and hold the button for a few seconds to test the alarm. The alarm will sound, and the red ALARM LED will flash. Release the button to stop the test. Perform this test weekly.
- Silence Function: During a CO alarm, pressing the button will temporarily silence the audible alarm for a period (e.g., 5 minutes). The red ALARM LED will continue to flash. If CO levels remain high, the alarm will reactivate after the silence period. For low battery warnings, the silence function may last up to 48 hours.

Image: A close-up of the SITERWELL CO detector, highlighting the central Test/Reset button and the Status (green) and Alarm (red) LED indicators. Icons for Low Battery Silent (48 Hours) and Silence Alarm (5 Minutes) are also shown.
5.4 Alarm Conditions
When carbon monoxide is detected at dangerous levels, the detector will emit a loud 85dB alarm sound, and the red ALARM LED will flash rapidly. Follow these steps if the alarm sounds:
- Immediately move to fresh air outdoors or open all doors and windows to ventilate the area.
- Do a head count to check that all persons are accounted for.
- Do not re-enter the premises until the alarm has stopped and the area has been thoroughly ventilated.
- Call the fire department or a qualified technician to investigate the source of CO.
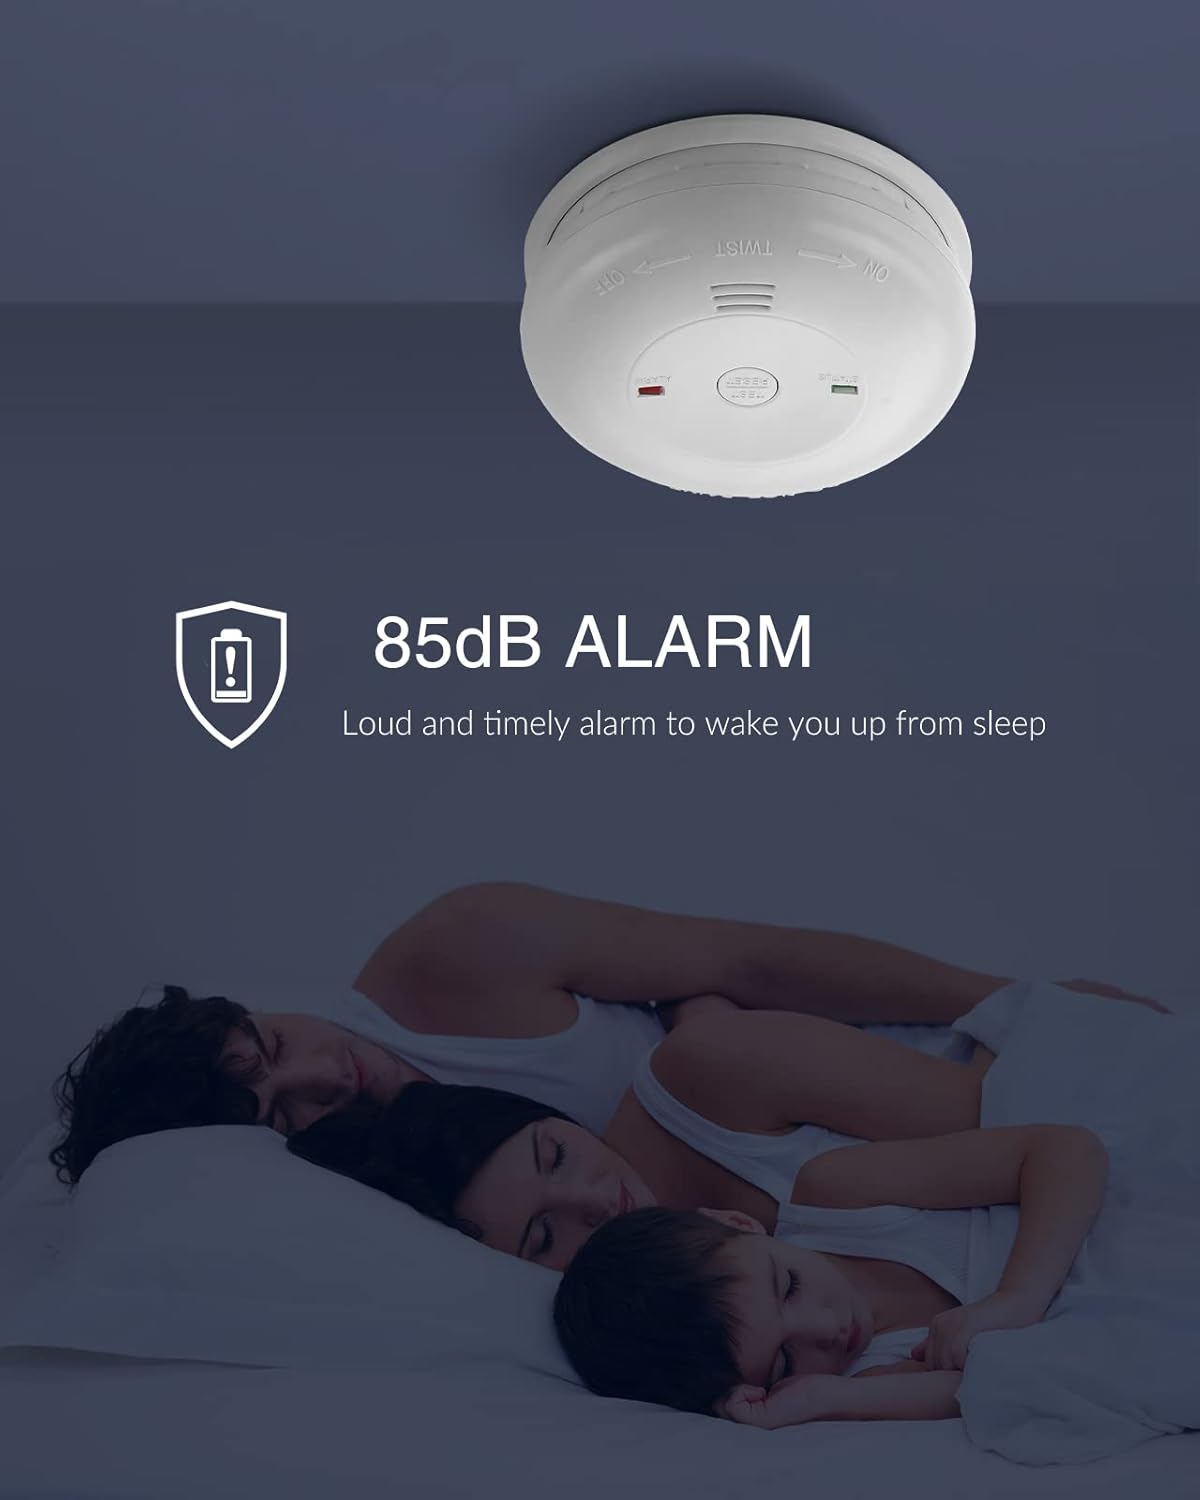
Image: A SITERWELL CO detector installed on a ceiling, illustrating its function to provide an 85dB alarm to alert sleeping occupants to the presence of carbon monoxide.
6. Maintenance
6.1 Weekly Testing
Test your CO detector weekly by pressing and holding the Test/Silence button until the alarm sounds. This confirms the electronic circuitry, alarm, and battery are working.
6.2 Cleaning Your Detector
Clean the detector regularly to prevent dust and debris from accumulating and affecting its performance.
- Use a soft, damp cloth to wipe the exterior of the detector.
- Do not use cleaning solvents or chemicals, as they can damage the sensor.
- Do not spray air fresheners, hair spray, or other aerosols near the detector.
6.3 Battery Replacement
When the detector's batteries are low, the yellow STATUS LED will flash, and the unit will chirp periodically. Replace all three AA 1.5V alkaline batteries immediately. Refer to section 4.2 for battery installation instructions.
6.4 End-of-Life Indication
The SITERWELL Carbon Monoxide Detector has a 7-year product life. After approximately 7 years from the date of manufacture, the unit will indicate its end-of-life by a specific chirp pattern or LED sequence. At this point, the entire unit must be replaced.
7. Troubleshooting
| Problem | Possible Cause | Solution |
|---|---|---|
| Alarm sounds intermittently or continuously | CO detected; Nuisance alarm; Faulty unit | Evacuate and ventilate immediately. If no CO source is found, check for nuisance sources (e.g., exhaust fumes, strong chemicals). If problem persists, replace unit. |
| Detector chirps periodically, yellow LED flashes | Low battery warning | Replace all three AA 1.5V alkaline batteries immediately. |
| Detector does not respond to Test button | No power; Faulty unit | Check battery installation and ensure batteries are fresh. If still unresponsive, the unit may be faulty and needs replacement. |
| Detector makes a continuous chirp/beep after 7 years | End-of-life warning | Replace the entire CO detector unit. |
8. Specifications
Detailed technical specifications for the SITERWELL Carbon Monoxide Detector Model GS811-A.
| Feature | Detail |
|---|---|
| Model Number | GS811-A |
| Sensor Type | Electrochemical (Figaro) |
| Power Source | 3 x AA 1.5V Alkaline Batteries |
| Alarm Loudness | 85dB at 1 meter |
| Product Life | 7 Years |
| Operating Temperature | 40°F (4.4°C) to 100°F (37.8°C) |
| Operating Humidity | 10% to 95% Relative Humidity (non-condensing) |
| Dimensions | Approx. Ø 4.21 inches x 1.5 inches (Ø 107mm x 38mm) |
| Standards | UL 2034 Compliant |
| Item Weight | Approx. 2.25 pounds (for a 4-pack) |
| UPC | 783907508502 |

Image: The SITERWELL CO detector displaying its compact design with dimensions (Ø 4.21" x 1.5"), along with UL certification, CO symbol, 85dB alarm rating, recommended coverage area (20-40m² / 216-431sq.ft), and 7-year life time.
9. Warranty and Support
9.1 Warranty Information
SITERWELL products are manufactured to high-quality standards. For specific warranty details, please refer to the warranty card included with your product or contact SITERWELL customer support. The warranty typically covers defects in materials and workmanship under normal use.
9.2 Customer Support
If you have any questions, require technical assistance, or need to report an issue with your SITERWELL Carbon Monoxide Detector, please contact SITERWELL customer support through their official website or the contact information provided with your purchase. You can also visit the SITERWELL Store on Amazon for more product information.