1. Product Overview
This HOMCOM shoe cabinet is designed to provide an organized storage solution for your footwear. Its slim design makes it suitable for various spaces, including hallways and entryways, helping to keep your home tidy and shoes out of sight. The cabinet features three compartments, each with adjustable internal dividers, offering storage for up to 18 pairs of shoes.

Image 1.1: The HOMCOM shoe cabinet in a typical home environment, showcasing its slim profile and modern design.
2. Safety Information
Please read all safety instructions before assembly and use. Failure to follow these instructions may result in injury or damage to the product.
- Tipping Hazard: To prevent unintended tipping, it is strongly recommended to fix the furniture to the wall using the provided anti-tip hardware.
- Weight Limit: Do not exceed the maximum load capacity of 15 kg (33 lbs) for the entire unit. Overloading can compromise stability and safety.
- Assembly: Assemble the unit on a soft, clean surface to prevent scratches. Ensure all screws and fasteners are securely tightened before use.
- Children: Keep children away from the assembly area. Small parts can be a choking hazard. Do not allow children to climb on or play with the cabinet.
3. Package Contents
Verify that all components are present before beginning assembly. If any parts are missing or damaged, please contact customer support.
- Cabinet panels (top, bottom, sides, back)
- Drawer fronts and internal mechanisms
- Adjustable dividers
- Hardware pack (screws, dowels, cam locks, handles, protective pads, anti-tip kit)
- Assembly instructions
4. Setup and Assembly
Follow these steps carefully for proper assembly. Two people are recommended for assembly.
- Unpack and Identify Parts: Lay out all components on a clean, soft surface. Refer to the parts list in the included assembly guide to identify each piece.
- Assemble the Main Frame: Connect the side panels to the top and bottom panels using the provided hardware (e.g., cam locks and dowels). Ensure the back panel groove is correctly aligned.
- Install Drawer Mechanisms: Attach the drawer runners and pivot mechanisms to the inside of the cabinet frame according to the instructions.
- Assemble Drawers: Attach the internal dividers to the drawer fronts. The dividers have 3 adjustable positions to accommodate different shoe sizes.
- Attach Protective Pads: Apply the protective pads to the bottom of the cabinet feet to prevent floor scratches.
- Secure to Wall (Recommended): Position the cabinet in its desired location. Use the anti-tip kit to secure the cabinet to a wall stud. This is crucial for stability and safety.
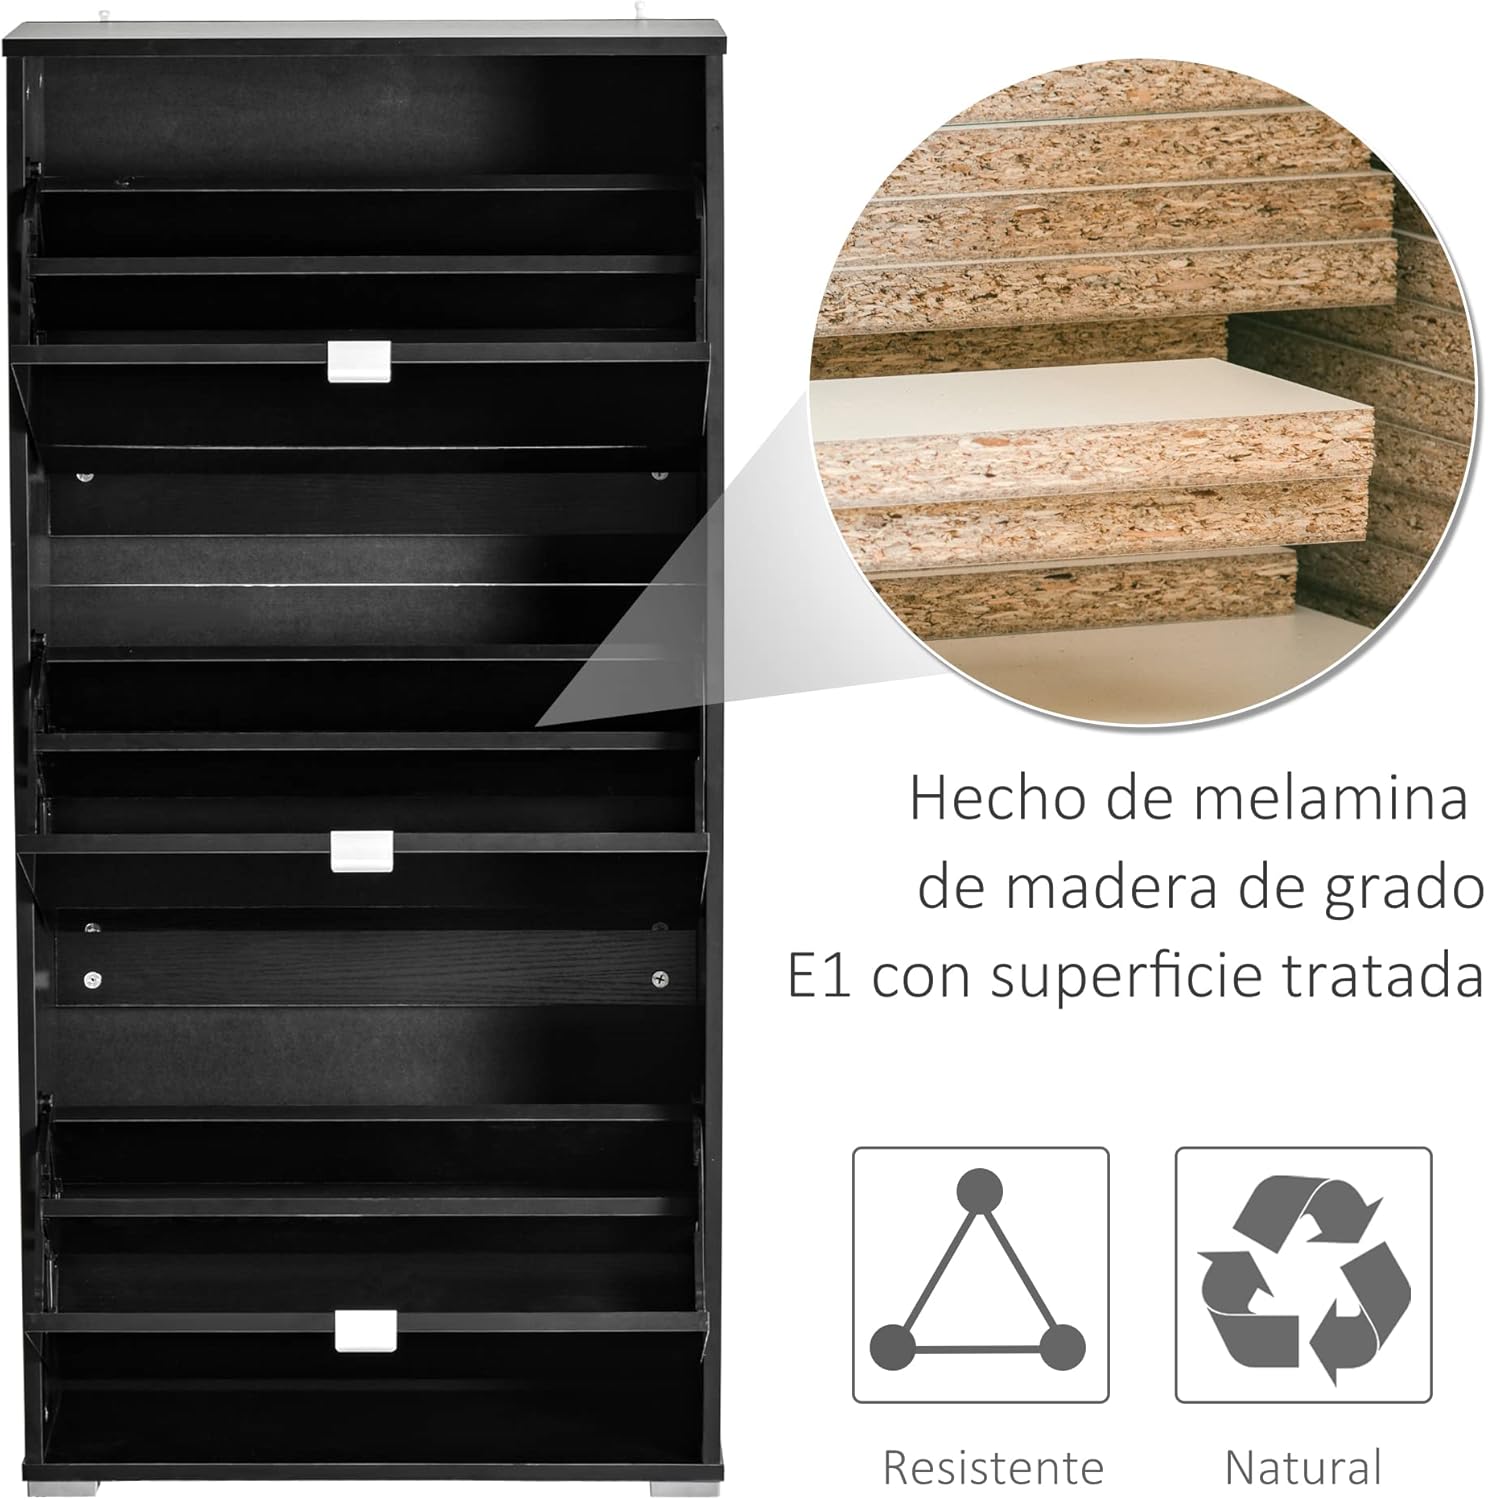
Image 4.1: Interior view of the cabinet, highlighting the E1 grade melamine wood material and adjustable shelf positions.
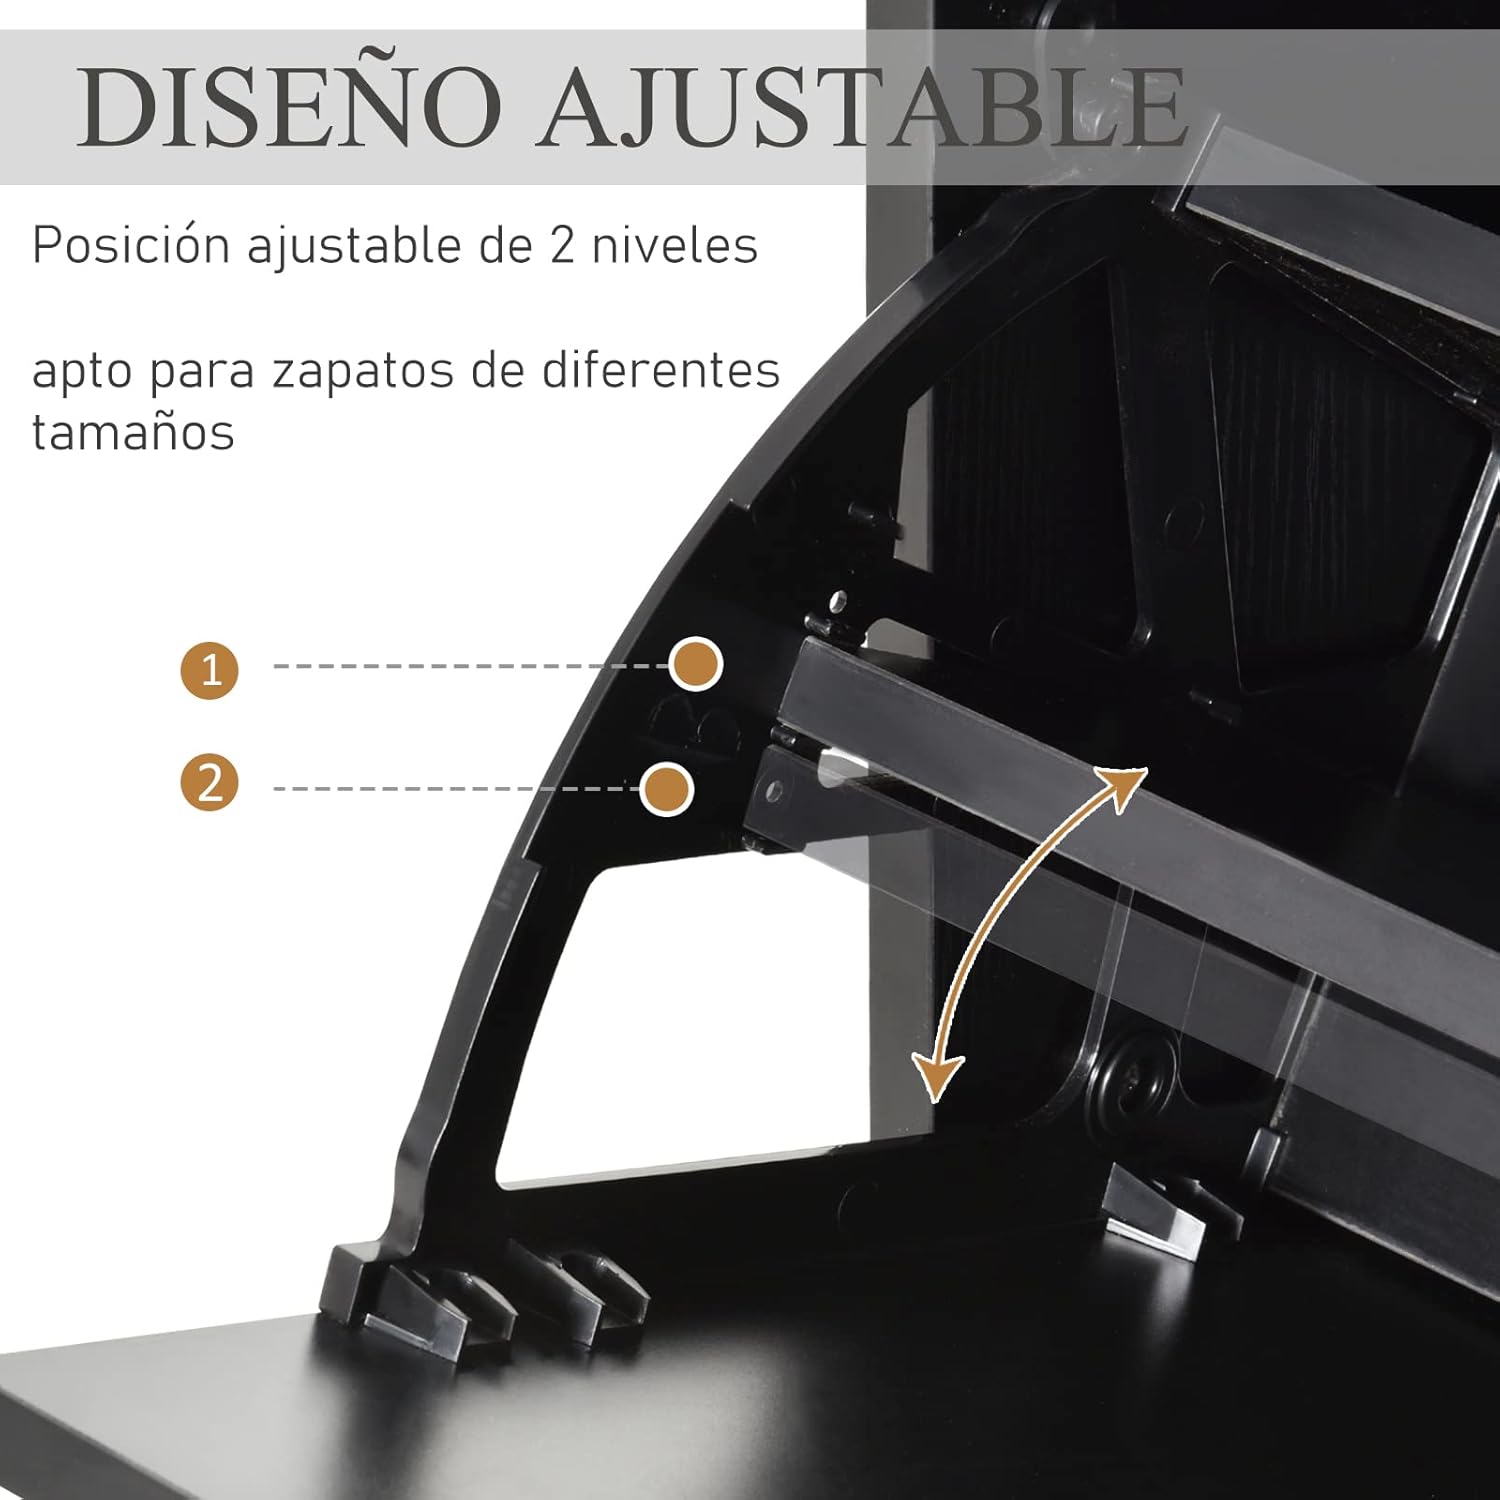
Image 4.2: Detail of the adjustable divider design, allowing customization for various shoe types and sizes.
5. Operating Instructions
The HOMCOM shoe cabinet is designed for simple and efficient use.
- Opening Drawers: Gently pull the handle on each drawer front to open the compartment. The drawers pivot outwards.
- Storing Shoes: Place shoes on the internal dividers. Each compartment can hold multiple pairs depending on shoe size and the divider's position. The double-level design maximizes storage.
- Adjusting Dividers: To adjust the height of the internal dividers, carefully remove them and reinsert them into one of the 3 available slots to best fit your footwear.
- Closing Drawers: Push the drawer front back into the cabinet until it is flush with the main frame.

Image 5.1: The shoe cabinet with a drawer open, demonstrating how shoes are stored on the internal divider.
6. Maintenance
Regular maintenance will help prolong the life and appearance of your shoe cabinet.
- Cleaning: Wipe the cabinet surfaces with a soft, damp cloth. Avoid using harsh chemicals or abrasive cleaners, as these can damage the finish.
- Dusting: Dust regularly with a dry, soft cloth.
- Hardware Check: Periodically check all screws and fasteners to ensure they remain tight. Retighten if necessary.
- Avoid Moisture: Do not expose the cabinet to excessive moisture or direct sunlight, which can cause warping or fading.
7. Troubleshooting
If you encounter any issues with your shoe cabinet, refer to the following common solutions:
- Drawers not closing properly:
- Check for obstructions inside the drawer or along the closing mechanism.
- Ensure shoes are not overhanging the dividers, preventing the drawer from closing flush.
- Verify that the drawer mechanisms are correctly installed and not damaged.
- Cabinet feels wobbly:
- Ensure all assembly screws are securely tightened.
- Confirm the cabinet is placed on a level surface.
- Verify that the anti-tip kit is properly installed and secured to the wall.
- Scratches on floor:
- Ensure the protective pads are correctly attached to all feet of the cabinet.
8. Specifications
| Feature | Detail |
|---|---|
| Brand | HOMCOM |
| Model Number | 837-060BK |
| Color | Black |
| Material | Engineered Wood (E1 grade melamine) |
| Overall Dimensions (LxWxH) | 60 x 26 x 124 cm (23.6 x 10.2 x 48.8 inches) |
| Weight Capacity | 15 kg (33 lbs) |
| Number of Drawers | 3 |
| Shoe Capacity | Up to 18 pairs (depending on shoe size) |
| Special Features | Adjustable Dividers, Slim Design, Anti-tip Mechanism |
| Mounting Type | Floor Mount (Wall-mountable for safety) |
| Recommended Use | Shoe storage in entryways, hallways, living rooms |

Image 8.1: Dimensional drawing of the shoe cabinet.
9. Warranty and Support
For warranty information or customer support, please refer to the documentation included with your purchase or contact the retailer where the product was acquired. Please have your model number (837-060BK) and purchase date available when contacting support.