
Emliviar WE212B-2PK BK
Emliviar Outdoor Wall Light Fixtures WE212B-2PK BK User Manual
Model: WE212B-2PK BK
Introduction
This manual provides instructions for the safe installation, operation, and maintenance of your Emliviar Outdoor Wall Light Fixtures (Model WE212B-2PK BK). Please read this manual thoroughly before installation and retain it for future reference.
Safety Information
- WARNING: Risk of electric shock. Disconnect power at the fuse or circuit breaker before installation or servicing.
- All electrical connections must be in accordance with local codes and the National Electric Code (NEC). If you are unfamiliar with proper electrical wiring connections, contact a qualified electrician.
- Do not install this fixture in hazardous locations.
- Use only bulbs of the specified type and wattage.
- Ensure the fixture is securely mounted to a structural element.
Package Contents
Verify that all components are present before beginning installation:
- 2 x Outdoor Wall Lights
- 1 x User Manual
- 1 x Installation Accessories Pack (includes mounting hardware)

Image: Emliviar outdoor wall light fixtures in their packaging.
Components Overview
Familiarize yourself with the main parts of your Emliviar outdoor wall light:

Image: Detailed view of the light fixture components, including anti-corrosion aluminum, E26 socket, clear glass, and open bottom.
Installation Instructions
Follow these steps to install your Emliviar outdoor wall light fixtures. Professional installation is recommended if you are unsure about electrical wiring.
- Prepare for Installation: Turn off power at the circuit breaker or fuse box to avoid electrical shock.
- Mount the Fixture: Securely attach the mounting bracket to the junction box using the provided screws. Ensure the bracket is level.
- Wire the Fixture: Connect the fixture's wires to your household electrical wires.
- Connect the black wire (Live) from the fixture to the black wire (Live) from the junction box.
- Connect the white wire (Neutral) from the fixture to the white wire (Neutral) from the junction box.
- Connect the ground wire (copper or green) from the fixture to the ground wire from the junction box.
- Secure all connections with wire nuts and electrical tape.
- Attach the Fixture: Carefully tuck the wires into the junction box. Align the fixture with the mounting bracket and secure it with the provided screws or decorative nuts.
- Install Bulb: Insert one E26 base bulb (Max. 60W, not included) into the socket. Compatible with LED, Incandescent, or CFL bulbs. The open bottom design allows for easy bulb replacement.
- Restore Power: Turn on power at the circuit breaker or fuse box. Test the light fixture.
Video: A closer look at the Emliviar outdoor wall light fixtures, demonstrating components and potential installation steps.
Video: Detailed information about the Emliviar outdoor wall lights, including features and installation guidance.
Operating Instructions
The Emliviar outdoor wall light fixtures are designed for simple operation.
- Power On/Off: Control the light fixture using your existing wall switch.
- Bulb Type: Use one E26 base bulb per light, with a maximum wattage of 60W.
- Control Method: The primary control method is via a push button switch (wall switch).
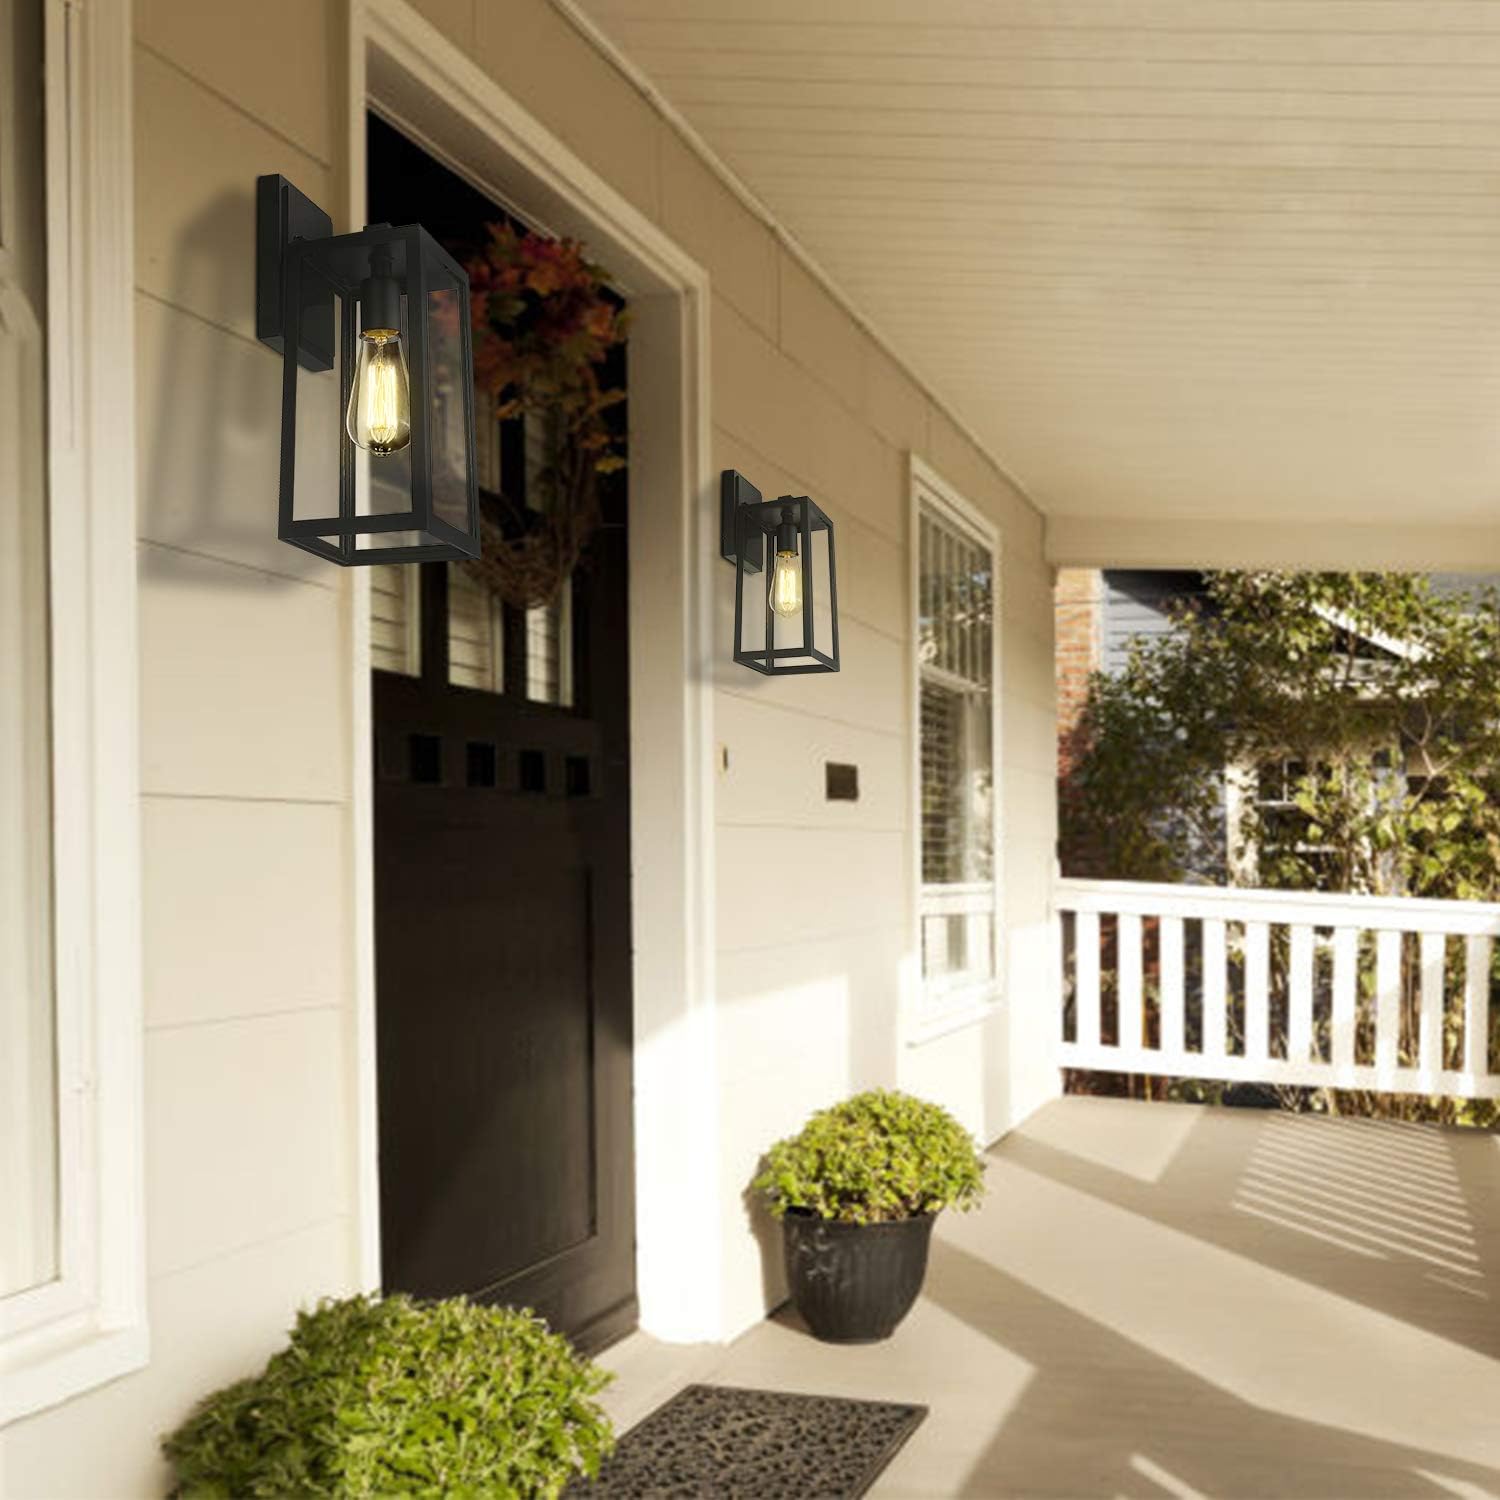
Image: Emliviar outdoor wall lights providing illumination on a porch.
Maintenance
- Cleaning: Clean the fixture with a soft, damp cloth. Do not use abrasive cleaners or solvents.
- Bulb Replacement: Ensure power is off before replacing bulbs. The open bottom design allows for easy access to the E26 socket.
- Weather Resistance: The fixture is weather resistant and suitable for wet locations. Periodically check for any debris accumulation that might affect performance.
Troubleshooting
| Problem | Possible Cause | Solution |
|---|---|---|
| Light does not turn on. |
|
|
| Light flickers. |
|
|
Specifications
- Model: WE212B-2PK BK
- Brand: Emliviar
- Material: Aluminum, Glass
- Finish: Black
- Dimensions (L x W x H): 5.8" x 6.5" x 13.8"
- Back Plate Dimensions (W x H): 4.8" x 6.3"
- Bulb Base: E26
- Max Wattage: 60W per light
- Voltage: 120 volts
- Light Source: Incandescent, LED, or CFL (bulb not included)
- Indoor/Outdoor Usage: Outdoor
- Special Features: Weather Resistant
- Certification: ETL Listed

Image: Dimensional drawing of the Emliviar outdoor wall light.
Warranty and Support
Emliviar provides a two-year warranty for these outdoor wall light fixtures, covering defects in materials and workmanship under normal use.
For technical support, warranty claims, or any questions regarding your product, please contact Emliviar customer service. Refer to the contact information provided with your purchase or visit the official Emliviar website.
Online Support: Visit the Emliviar Store on Amazon
Ask a question about this manual
Ask about setup, troubleshooting, compatibility, parts, safety, or missing instructions. Manuals+ will review the question and use this page’s manual context to help answer it.