TERRAMASTER F2-422
TerraMaster F2-422 10GbE NAS User Manual
Model: F2-422
1. Product Overview
The TerraMaster F2-422 is a high-performance 2-bay Network Attached Storage (NAS) server designed for small and medium businesses, as well as demanding home users. Featuring an Apollo J3455 Quad-core CPU and a 10GbE RJ45 port, it delivers exceptional data transfer speeds and robust data protection capabilities. This manual provides comprehensive instructions for setting up, operating, maintaining, and troubleshooting your F2-422 NAS.
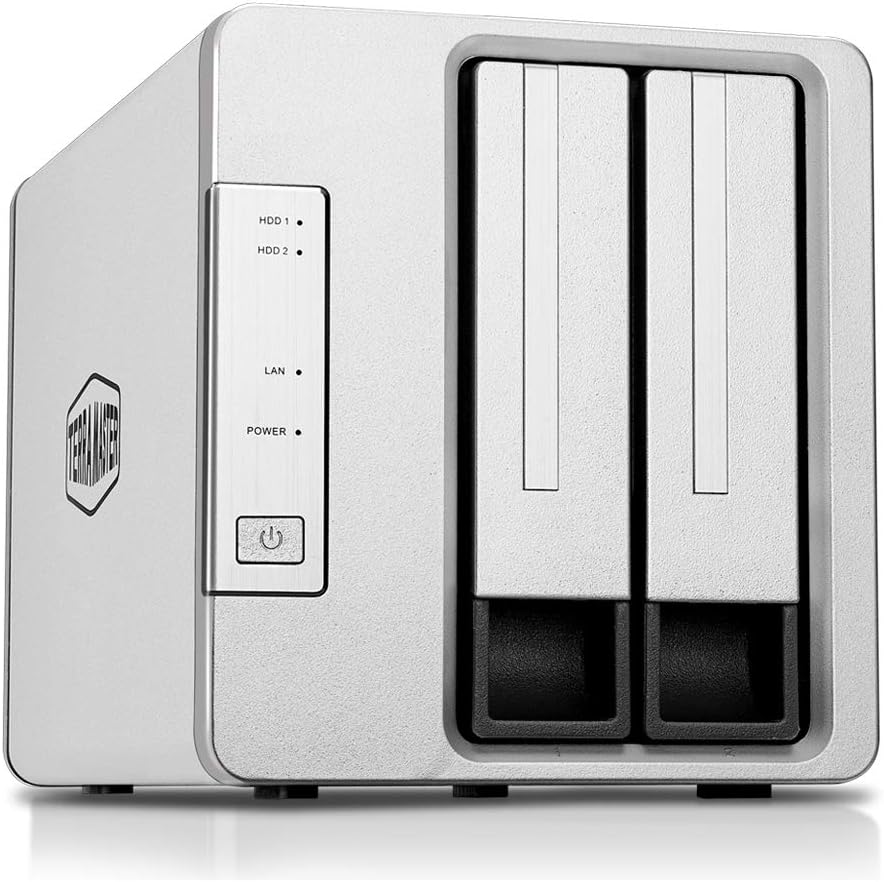
Figure 1: Front view of the TerraMaster F2-422 NAS, showing the two drive bays and indicator lights.
Key Features:
- Powerful Hardware: Apollo Quad-core 1.5GHz CPU with 4GB of RAM (expandable up to 8GB).
- High-Speed Connectivity: 1x10GbE RJ45 port offering speeds up to 670MB/s reading and 650MB/s writing. Includes dual 1GbE LAN with failover and Link Aggregation support.
- Enhanced Data Security: AES hardware encryption engine for shared folders and network data transmission.
- Advanced File System: Btrfs file system with support for 71,680 system-wide snapshots and 1,024 snapshots per shared folder.
- 4K Video Transcoding: Real-time hardware transcoding for up to two concurrent 4K video streams.
- Efficient Cooling: Aluminum-alloy shell and intelligent temperature control ultra-quiet fan for optimal heat dissipation.
- Storage Capacity: Supports up to 32 TB raw capacity (16 TB drive x 2), compatible with 3.5" and 2.5" SATA HDD, 2.5" SATA SSD.
2. Setup Guide
2.1 Package Contents
Before proceeding, ensure all items are present in the package:
- TerraMaster F2-422 NAS Unit
- Power Adapter
- Ethernet Cable
- Quick Installation Guide
- Screws for 3.5" and 2.5" drives
2.2 Hardware Installation
- Install Hard Drives:
Carefully slide open the drive trays from the front of the NAS. Mount your 3.5-inch or 2.5-inch SATA HDDs/SSDs into the trays using the provided screws. Ensure the drives are securely fastened. Slide the trays back into the NAS until they click into place.
- Connect Network Cable:
Connect one end of the Ethernet cable to the 10GbE RJ45 port (or one of the 1GbE ports) on the back of the F2-422 and the other end to your router or network switch.

Figure 2: Rear view of the TerraMaster F2-422, highlighting the 10GbE RJ45 port, Gigabit LAN ports, and USB 3.0 ports.
- Connect Power:
Connect the power adapter to the DC IN 12V port on the back of the F2-422 and plug the other end into a power outlet. Press the power button on the front of the unit to turn it on.
2.3 Initializing the NAS (TOS Operating System)
Once powered on, the F2-422 will begin its boot sequence. You will need to initialize the NAS and install the TerraMaster Operating System (TOS) via a web browser on a computer connected to the same network.
- Discover the NAS:
Open a web browser on your computer and navigate to start.terra-master.com or use the TerraMaster TNAS PC client software to locate your device on the network.
- Follow On-Screen Instructions:
The web interface will guide you through the initialization process, which includes formatting the hard drives, installing the latest TOS firmware, and creating an administrator account. It is recommended to use the Btrfs file system for its advanced data protection features.
3. Operating the F2-422
3.1 Accessing the TOS Desktop
After initialization, you can access the TOS desktop by entering the NAS's IP address or hostname in your web browser. Log in with your administrator credentials. The TOS desktop provides a user-friendly interface for managing your NAS.
3.2 File Management and Sharing
The File Manager application within TOS allows you to browse, upload, download, and manage files and folders on your NAS. You can create shared folders and assign user permissions for secure data access.
- Creating Shared Folders: Navigate to Control Panel > Shared Folders to create new shared directories.
- User and Group Management: Manage user accounts and groups under Control Panel > User & Group to control access permissions.
- Network Protocols: The F2-422 supports various network file sharing protocols including SMB/CIFS, AFP, NFS, FTP, and WebDAV.
3.3 Data Protection and Backup
The F2-422 offers multiple layers of data security and backup options:
- AES Hardware Encryption: Enable encryption for shared folders to protect sensitive data from unauthorized access.
- Btrfs Snapshots: Utilize the Btrfs file system's snapshot feature to create point-in-time copies of your data, allowing for easy recovery from accidental deletion or corruption.
- Backup & Restore: Configure scheduled backups to external USB drives, remote NAS devices (Rsync), or cloud storage services.
- Cloud Synchronization: Sync files between your NAS and various cloud storage platforms.
- Time Machine Support: Compatible with Apple Time Machine for macOS backups.

Figure 3: Overview of data backup and synchronization features.
3.4 Multimedia Features
The F2-422 is equipped with hardware transcoding capabilities for multimedia content.
- 4K UHD Video Transcoding: Stream 4K videos to various devices, even if they don't natively support the video format, thanks to real-time transcoding.
- Multimedia Server: Utilize the built-in Multimedia Server to organize and stream your media library to DLNA/UPnP compatible devices.

Figure 4: The F2-422 supports 4K Ultra HD video transcoding for seamless streaming.
4. Maintenance
4.1 System Updates
Regularly check for and install TOS system updates to ensure optimal performance, security, and access to new features. Updates can be found under Control Panel > Update & Restore.
4.2 Drive Health Monitoring
Monitor the health of your installed hard drives using the Storage Manager application. This tool provides S.M.A.R.T. information and allows you to perform health checks to prevent data loss due to drive failure.
4.3 Cleaning
Keep the NAS unit clean and free from dust to ensure proper airflow and cooling. Use a soft, dry cloth for external cleaning. Avoid using liquid cleaners directly on the device.
5. Troubleshooting
Common Issues and Solutions:
- NAS Not Found on Network:
Ensure the Ethernet cable is securely connected to both the NAS and your router/switch. Verify that the NAS is powered on. Try restarting your router and the NAS. Check your network settings to ensure the NAS is receiving an IP address.
- Slow Data Transfer Speeds:
Confirm that your network infrastructure (router, switch, cables, client devices) supports 10GbE speeds to fully utilize the F2-422's capabilities. Ensure Link Aggregation is properly configured if using dual 1GbE ports. Check for network congestion or background tasks on the NAS.

Figure 5: Understanding 10GbE network benefits and potential bottlenecks.
- Hard Drive Not Recognized:
Ensure the hard drive is properly seated in its tray and the tray is fully inserted into the NAS. Check if the drive is compatible (3.5" or 2.5" SATA HDD/SSD). If it's a new drive, it may need to be initialized and formatted via Storage Manager.
- Forgot Administrator Password:
Refer to the TerraMaster support website for instructions on how to reset the administrator password. This usually involves a physical reset button on the device, which may reset network settings but not user data.
6. Specifications
| Feature | Specification |
|---|---|
| Brand | TERRAMASTER |
| Model | F2-422 |
| CPU | Apollo Quad-core 1.5GHz (Intel J3455) |
| RAM | 4GB (expandable up to 8GB) |
| Drive Bays | 2 |
| Compatible Drive Types | 3.5" SATA HDD, 2.5" SATA HDD, 2.5" SATA SSD |
| Maximum Internal Raw Capacity | 32 TB (16 TB drive x 2) |
| Network Ports | 1 x 10GbE RJ45, 2 x 1GbE LAN |
| USB Ports | USB 3.0 (quantity not specified, but visible in image) |
| File System | Btrfs, EXT4 |
| Dimensions (L x W x H) | 22.71 x 13.31 x 11.91 cm |
| Weight | 2.38 kg |
| Material | Aluminum |
7. Warranty and Support
7.1 Product Warranty
TerraMaster products typically come with a limited warranty. Please refer to the warranty card included with your product or visit the official TerraMaster website for detailed warranty terms and conditions specific to your region.
7.2 Technical Support
For technical assistance, troubleshooting, or further inquiries, please contact TerraMaster customer support through their official website. You can find FAQs, knowledge base articles, and contact information for support tickets or live chat.
TerraMaster Official Website: www.terra-master.com
Related Documents - F2-422
 |
TerraMaster NAS F2-425: Основы и введение Руководство пользователя для сетевого хранилища TerraMaster NAS модели F2-425, охватывающее основы, установку оборудования, настройку программного обеспечения и начало работы. |
 |
TERRAMASTER QNAP TS-416 NAS: Instruction Manual Included This document confirms that all TERRAMASTER QNAP TS-416 NAS product packaging includes an instruction manual for setup and operation. Features Cortex A55 quad-core processor and NPU. |
 |
TERRAMASTER F2-423 2-Bay NAS: Wydajna Obudowa Sieciowa z 2.5 GbE TERRAMASTER F2-423 to wysokowydajna 2-zatokowa obudowa NAS dla profesjonalistów i małych firm (SMB). Posiada czterordzeniowy procesor N5105/5095, 4 GB DDR4 RAM, łączność 2.5 GbE, obsługę do 40 TB pamięci, RAID 0/1 oraz gniazdo M.2 NVMe SSD. |
 |
TERRAMASTER D4-320 4-Bay USB 3.2 Gen 2 Type-C External Hard Drive Enclosure High-performance TERRAMASTER D4-320 external hard drive enclosure with 4 bays, USB 3.2 Gen 2 Type-C interface for 10 Gb/s speeds. Features hot-swapping, tool-less drive installation, and quiet operation for efficient data storage and management. |
 |
TerraMaster F8 SSD NAS Desktop Server - Intel N95, 8GB DDR5 Detailed specifications for the TerraMaster F8 SSD NAS Desktop server, featuring an Intel N95 processor, 8GB DDR5 RAM, and support for multiple storage configurations. Ideal for Home & Home Office environments. |
Ask a question about this manual
Ask about setup, troubleshooting, compatibility, parts, safety, or missing instructions. Manuals+ will review the question and use this page’s manual context to help answer it.