Introduction
This manual provides essential instructions for the installation, operation, and maintenance of your BLACK+DECKER 26-Bottle Wine Fridge, Model BD61536. Please read this manual thoroughly before using the appliance to ensure safe and efficient operation. Keep this manual for future reference.
Important Safety Information
Always follow basic safety precautions when using electrical appliances to reduce the risk of fire, electric shock, and injury.
- Read all instructions before using the appliance.
- Do not touch cold surfaces immediately after the unit has been plugged in.
- Ensure the appliance is properly grounded.
- Do not use mechanical devices or other means to accelerate the defrosting process, other than those recommended by the manufacturer.
- Do not damage the refrigerant circuit.
- This appliance uses R600A refrigerant, which is flammable. Handle with care.
- Keep ventilation openings clear of obstruction.
- Unplug the appliance before cleaning or performing maintenance.
- Do not store explosive substances such as aerosol cans with a flammable propellant in this appliance.
Setup Instructions
1. Unpacking
Carefully remove all packaging materials, including foam and adhesive tape. Inspect the unit for any damage. Keep packaging materials out of reach of children. It is recommended to retain the original packaging for future transport of the appliance.
2. Placement
This wine fridge is designed for freestanding installation. Ensure there is adequate space around the unit for proper ventilation. Avoid placing the unit in direct sunlight or near heat sources (e.g., ovens, radiators). The dimensions are approximately 17.5" W x 19.7" D x 31.5" H.

3. Leveling the Unit
The wine fridge is equipped with adjustable leveling legs. Adjust these legs to ensure the unit is stable and level on the floor. Proper leveling helps reduce vibration and ensures efficient operation of the cooling system.

4. Power Connection
Before plugging in, allow the unit to stand upright for at least 2-4 hours. This allows the refrigerant to settle. Connect the appliance to a dedicated, grounded 120 Volt AC outlet. Do not use extension cords or adapter plugs.
5. Initial Cooling
After plugging in, allow the unit to operate empty for several hours (e.g., 24 hours) to reach its stable operating temperature before loading bottles.
Operating Instructions
1. Temperature Control
The wine fridge features a mechanical temperature control knob located inside the unit. This knob allows you to adjust the internal temperature between 40°F (4°C) and 64°F (18°C). Turn the knob towards 'White' for colder temperatures and 'Red' for warmer temperatures. The 'OFF' position turns the cooling system off.
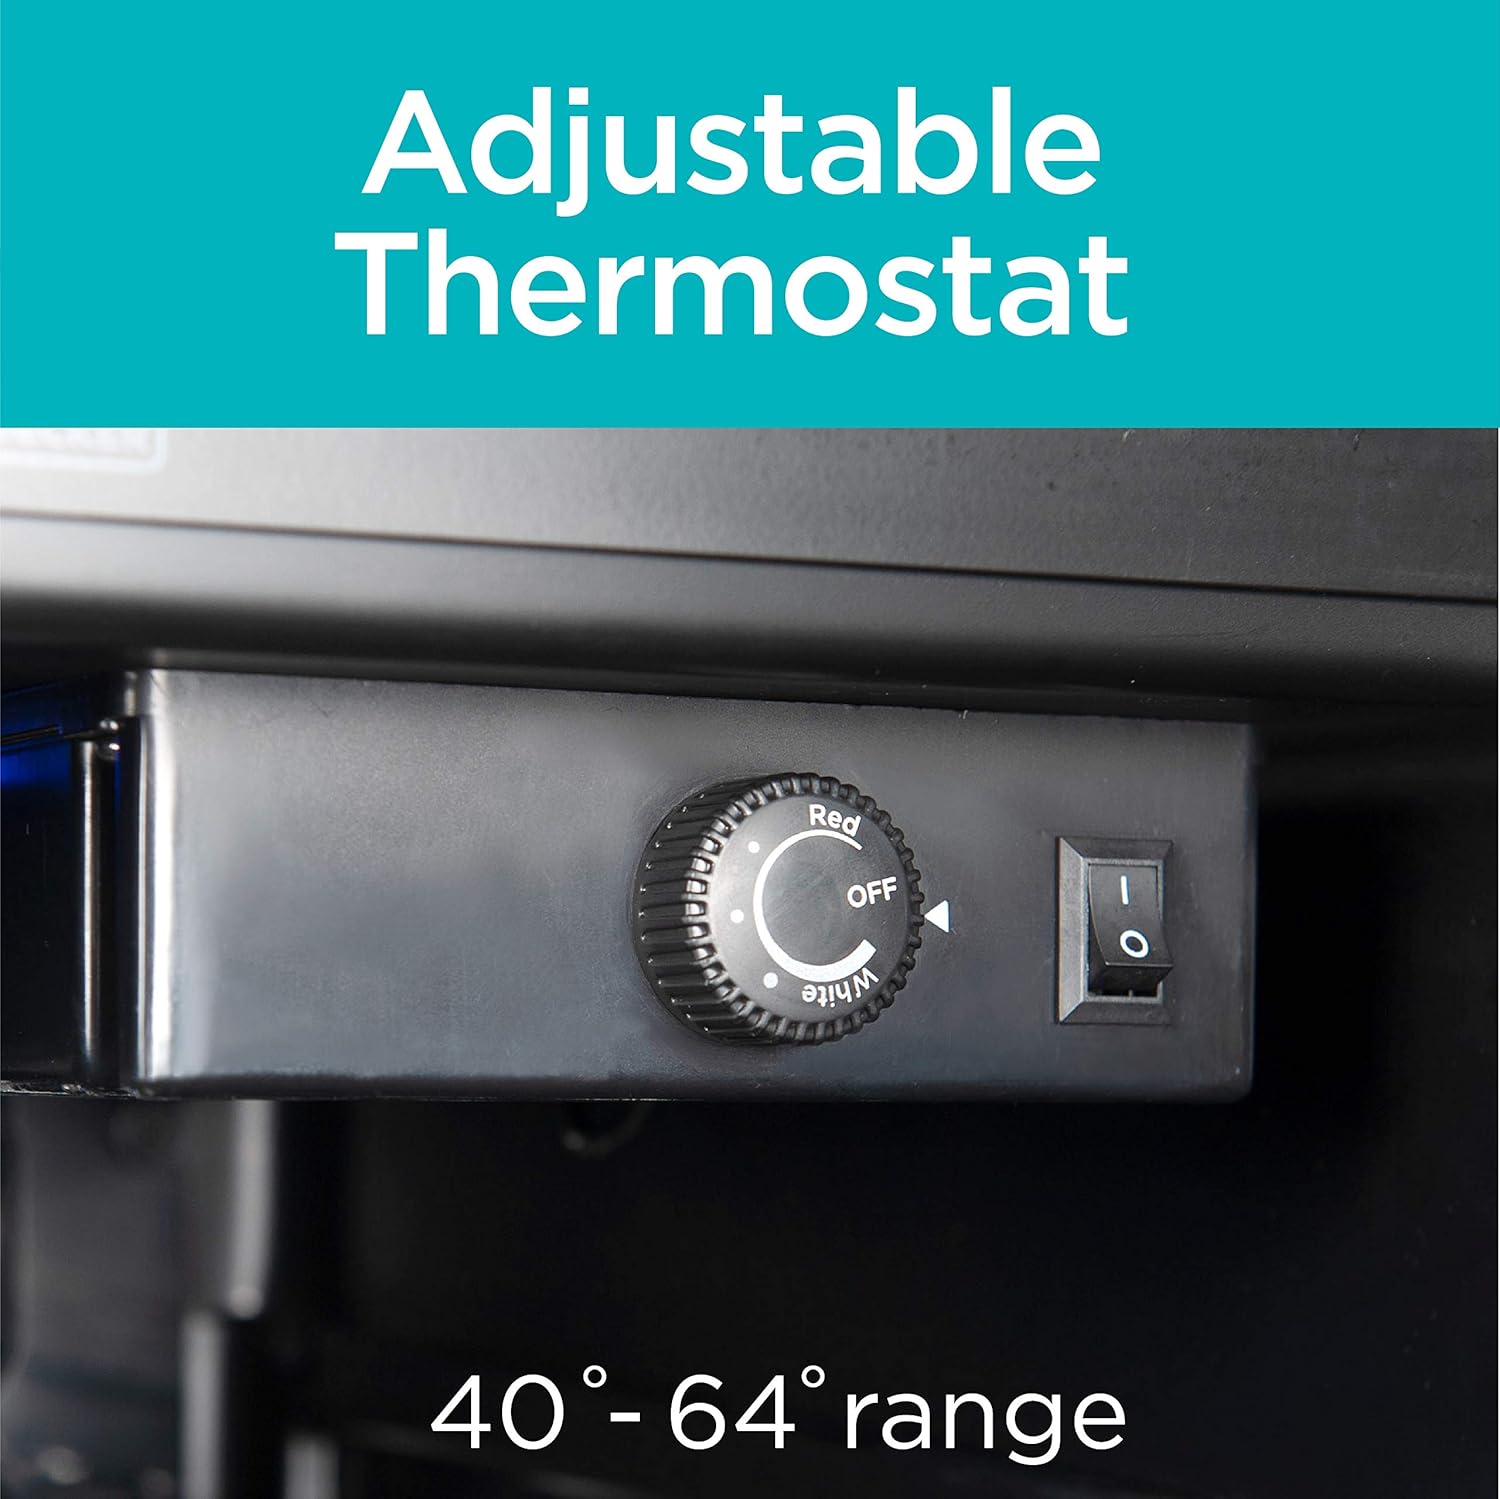
2. Interior Light
The unit includes an interior light for visibility. This light can be turned on or off using the switch located next to the temperature control knob. It is recommended to keep the light off when not needed to conserve energy and minimize heat transfer.

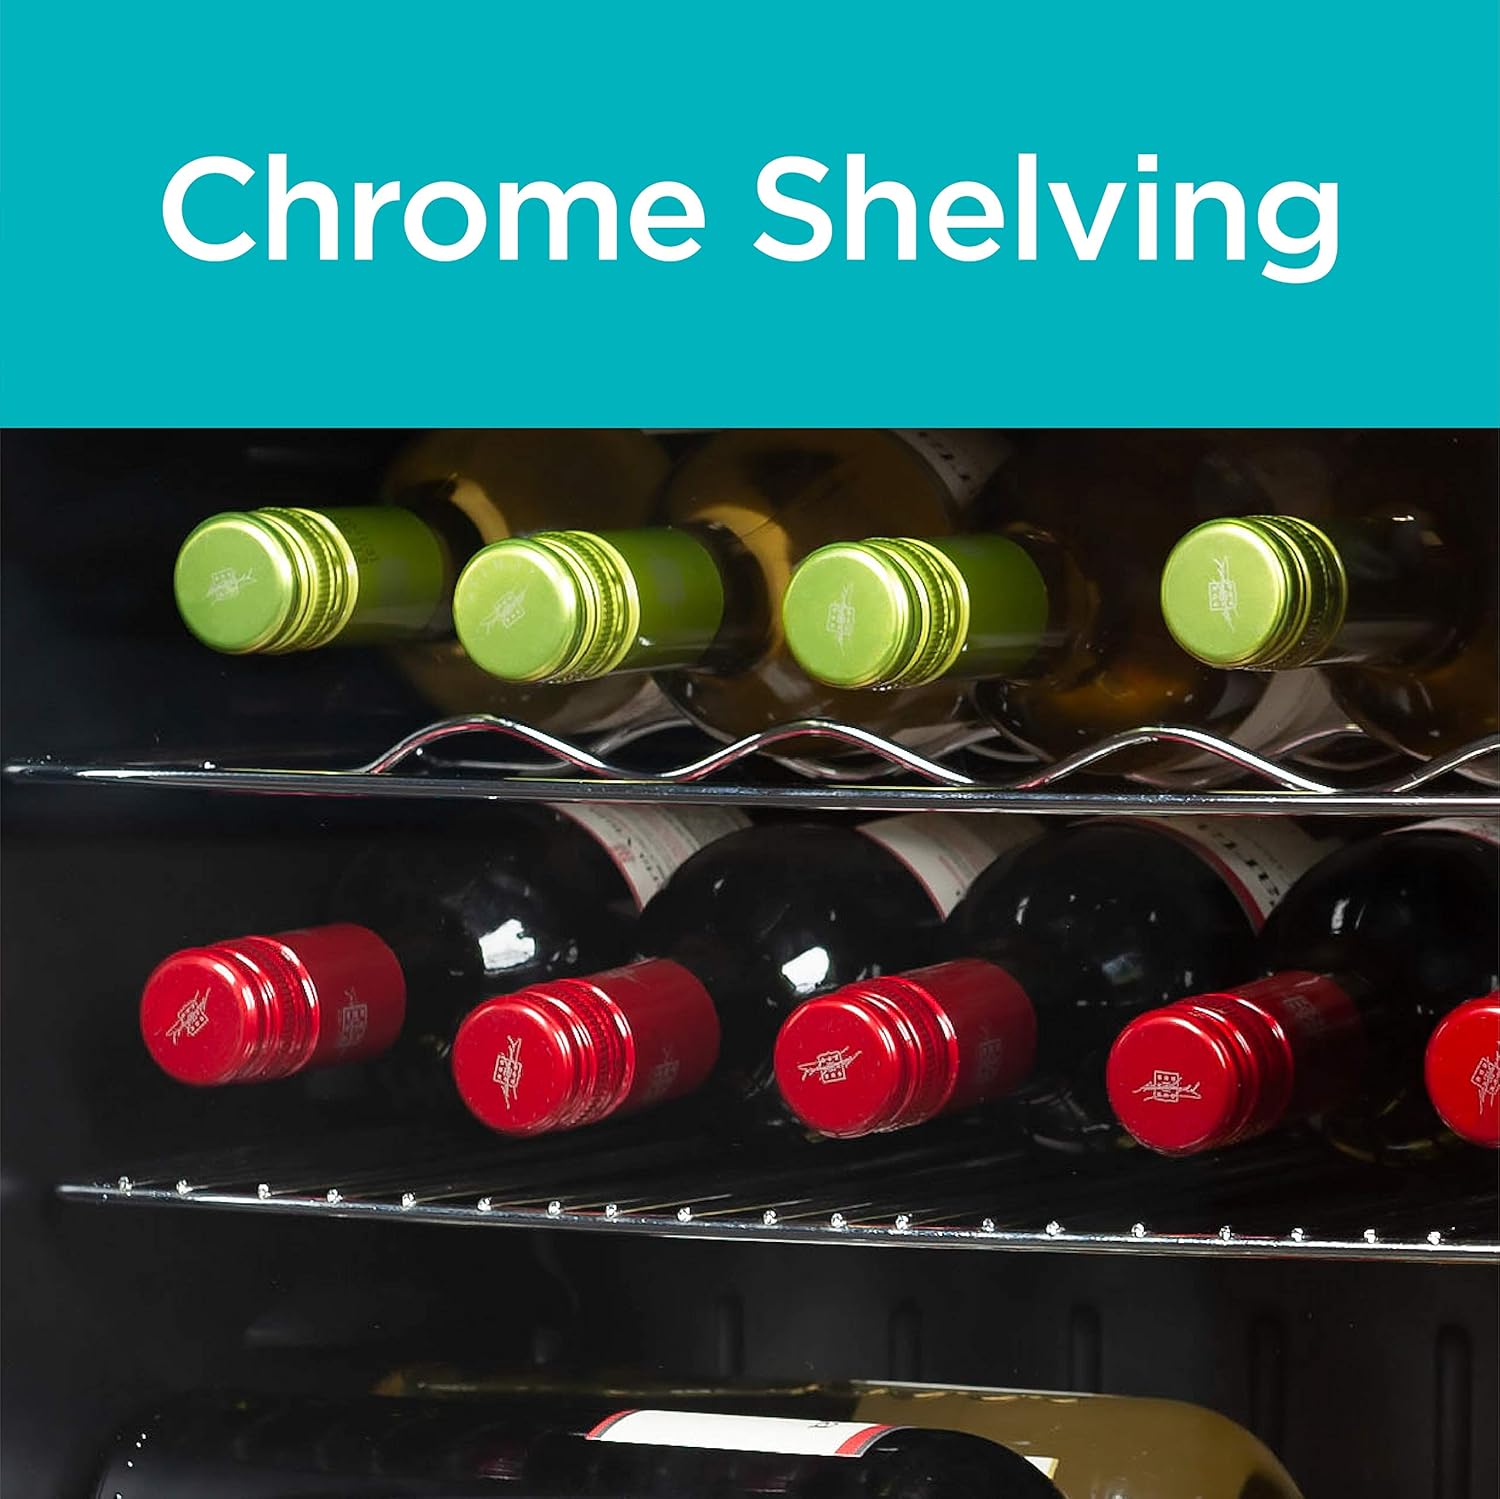
3. Loading Bottles
The wine fridge is equipped with 4 chrome full-width wine racks, 1 full-width flat shelf, and 1 chrome bottom compartment wine rack. These are designed to accommodate various bottle sizes, including standard wine bottles, champagne, and magnum bottles in the bottom compartment.

4. Double Pane Glass Door
The clear double pane glass door helps maintain optimal cooling efficiency and protects your wine from harmful UV light. Minimize opening the door to maintain a consistent internal temperature.

Maintenance
1. Cleaning
Always unplug the unit before cleaning. Clean the interior and exterior surfaces with a soft cloth and a mild detergent. Do not use abrasive cleaners or solvents. The door gasket should be cleaned regularly to ensure a proper seal.
2. Defrosting
This appliance features manual defrost. Frost buildup on the evaporator can reduce cooling efficiency. When frost accumulates to a thickness of about 1/4 inch (6mm), unplug the unit and allow the frost to melt naturally. Remove melted water with a towel. Do not use sharp objects to remove frost.
Troubleshooting Guide
| Problem | Possible Cause | Solution |
|---|---|---|
| Unit does not operate | Not plugged in; Circuit breaker tripped; Temperature control set to 'OFF' | Ensure plug is secure; Reset circuit breaker; Turn temperature control to desired setting. |
| Temperature is not cold enough | Door opened too frequently; Door not closed properly; Unit located near a heat source; Insufficient ventilation; Excessive frost buildup | Minimize door openings; Ensure door seals tightly; Relocate unit; Ensure proper clearance; Manually defrost the unit. |
| Unit is noisy | Unit not level; Loose parts; Normal compressor operation | Adjust leveling legs; Check for loose items inside; Some operational noise from the compressor is normal. |
| Vibration | Unit not level; Unit touching a wall or other object | Adjust leveling legs; Move unit away from contact points. |
Specifications
- Brand: BLACK+DECKER
- Model: BD61536
- Capacity: 26 Bottles
- Dimensions (D x W x H): 19.7" x 17.5" x 31.5"
- Item Weight: 48.5 pounds
- Installation Type: Freestanding
- Temperature Control: Mechanical, 40°F - 64°F (4°C - 18°C)
- Refrigerant: R600A
- Voltage: 120 Volts
- Annual Energy Consumption: 180 Kilowatt Hours Per Year
- Special Features: Chrome Racks, Double Pane Glass Door, Interior Light
- Defrost System: Manual
- Door Material Type: Glass
- Material Type: Stainless Steel (trim)
Warranty & Support
This BLACK+DECKER appliance typically comes with a standard manufacturer's warranty. For specific warranty details and duration, please refer to the warranty card included with your product or visit the official BLACK+DECKER website. Registering your product may extend the warranty period.
For technical assistance, parts, or service inquiries, please contact BLACK+DECKER customer support. Contact information can usually be found on the manufacturer's website or in the product packaging.