1. Introduction
This manual provides essential information for the proper installation, use, and maintenance of your Comgrow Creality FEP (Fluorinated Ethylene Propylene) Release Films. These films are designed for use with various LCD, SLA, and DLP 3D resin printers, ensuring high transparency and stable release force for optimal printing results.
Each package contains 6 FEP films, each measuring 200 x 140 x 0.15mm, suitable for a wide range of desktop resin 3D printers.
2. Product Features
- High Transparency: Over 95% light transmittance ensures stable UV light exposure for precise curing.
- Stable Release Force: Designed for long-lasting durability with a low-friction, non-wettable surface to facilitate easy print removal.
- Optimal Dimensions: Each film measures 200 x 140 x 0.15mm, compatible with many popular resin 3D printers.
- Quality Material: Perfectly smooth, scratch-free, and precisely cut for consistent performance.

Image: The FEP film exhibits high light transmittance, crucial for effective resin curing during 3D printing.

Image: Example of 3D printed models successfully released from the FEP film, demonstrating its stable release properties.
3. Setup and Installation
Replacing the FEP film in your resin vat is a critical maintenance task. Follow these steps carefully to ensure proper installation and prevent damage to your printer or the new film.
3.1. Required Tools
- Hex key (usually provided with your 3D printer)
- Clean, lint-free cloths
- Isopropyl alcohol (for cleaning)
- New Comgrow Creality FEP Film
- Optional: Two pieces of adhesive tape (scotch tape)
3.2. Installation Steps
- Prepare the Resin Vat: Carefully remove the resin vat from your 3D printer. Ensure it is empty and clean of any cured resin.
- Disassemble the Vat Frame: Locate and remove the screws that hold the two steel rings (or frame components) of the resin vat together. This will detach the old FEP film.
- Remove Old FEP Film: Discard the old FEP film. Clean the steel rings thoroughly with isopropyl alcohol and a lint-free cloth to remove any resin residue.
- Remove Protective Films: The new FEP film comes with protective films on both sides. These must be removed before installation. If you find it difficult to peel them off, apply two small pieces of adhesive tape to opposite sides of a corner on the FEP film, one on each side. Gently pull the tape pieces apart to separate and remove the protective layers.
- Position New FEP Film: Place the new FEP film between the two clean steel rings. Ensure it is centered and free of wrinkles.
- Reassemble and Tension: Carefully reassemble the steel rings, ensuring the FEP film is properly sandwiched. Begin tightening the screws in a cross-pattern, gradually increasing tension. The film should be taut but not over-tightened, which could cause damage. A slight drum-like sound when gently tapped indicates appropriate tension.
- Final Check: Inspect the installed FEP film for any creases, tears, or debris. Ensure it is clean and properly tensioned before returning the vat to the printer.

Image: Visual guide showing the six steps for replacing the FEP film in a resin vat, from disassembly to reassembly.
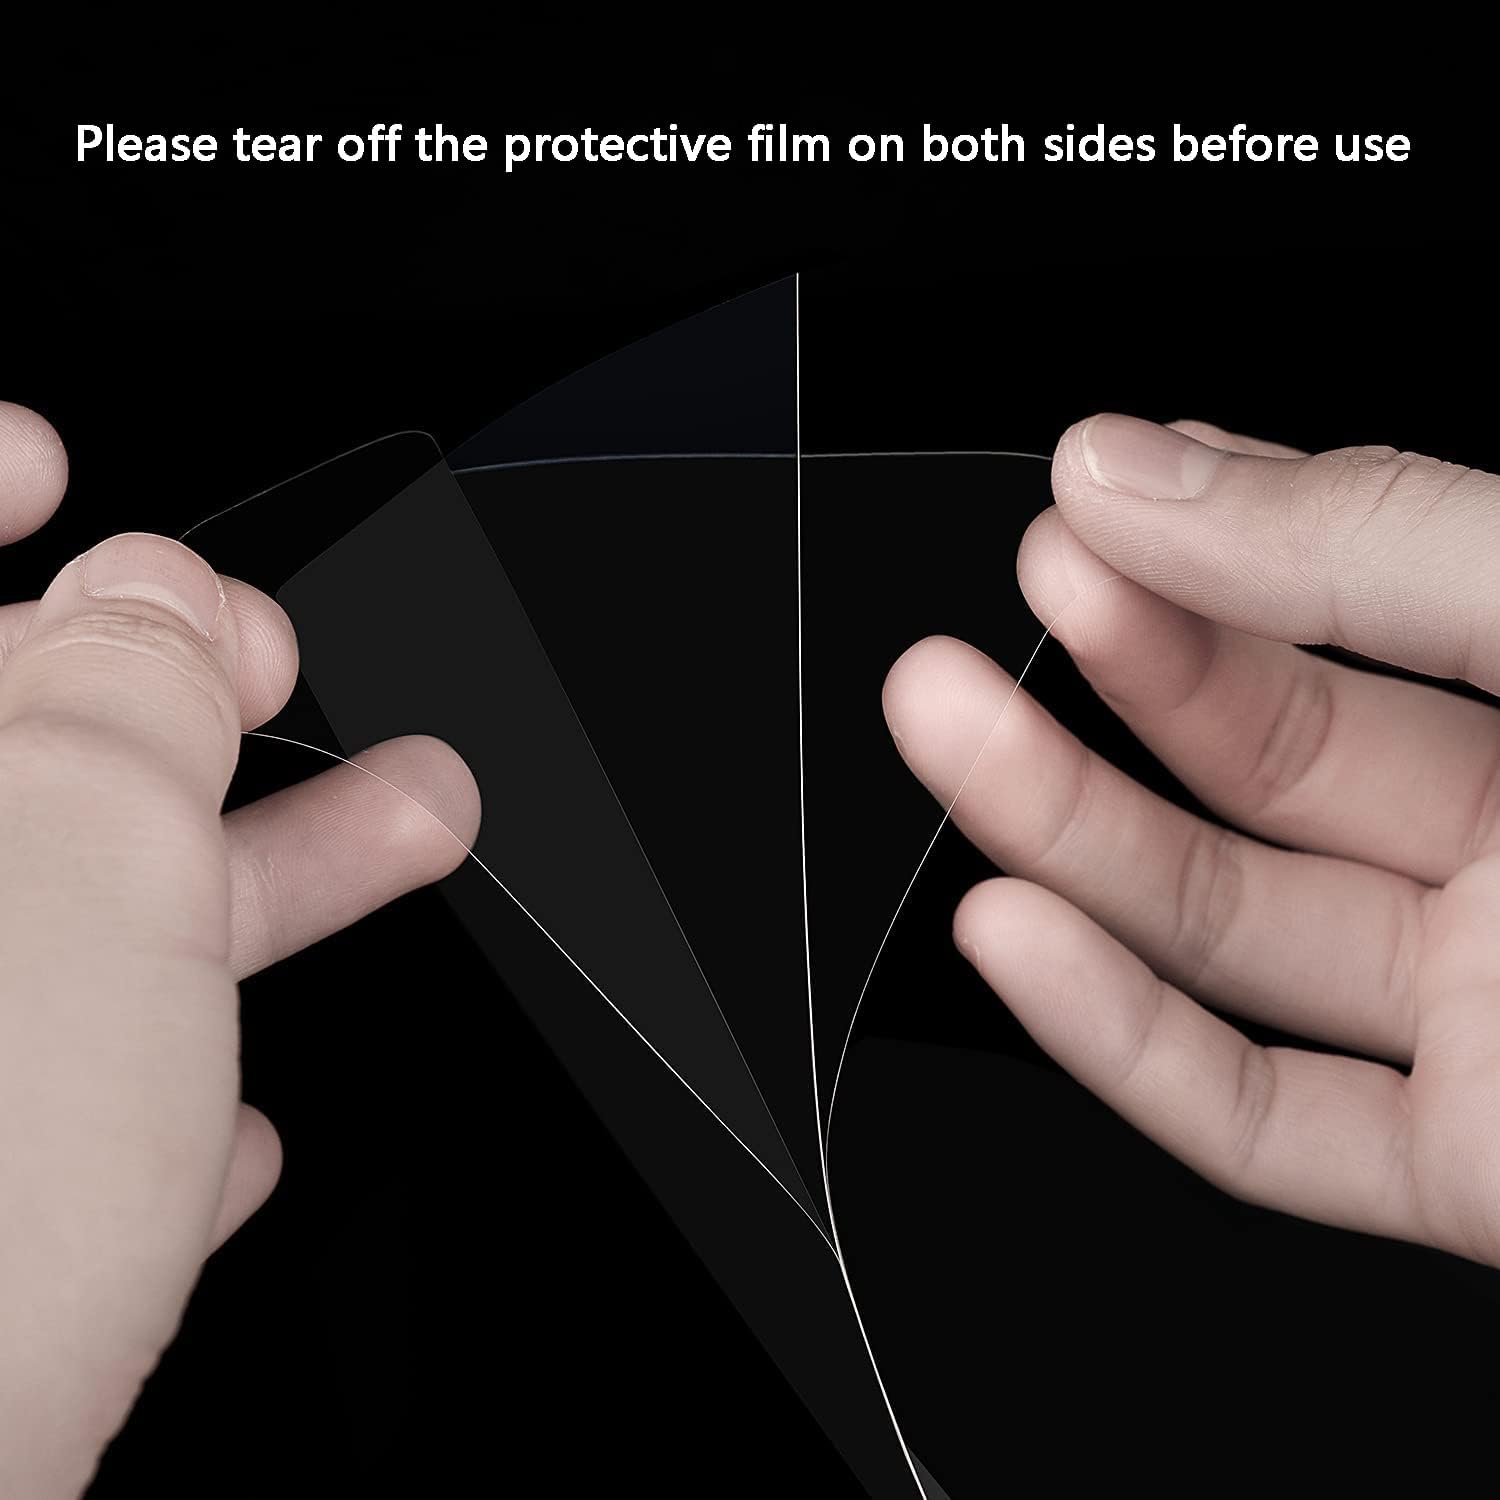
Image: Illustration of how to remove the protective film from both sides of the FEP sheet before use.
4. Operating Guidelines
Once the FEP film is correctly installed, it functions as an integral part of your resin 3D printing process. The film's high transparency allows UV light to pass through efficiently, curing the resin layer by layer.
- Printer Settings: Ensure your 3D printer's exposure settings are calibrated correctly for your specific resin and printer model. Incorrect exposure times can lead to print failures or premature FEP film wear.
- Resin Handling: Always use fresh, well-mixed resin. Avoid pouring old or contaminated resin into the vat.
- Environmental Conditions: Maintain a stable room temperature as recommended by your resin manufacturer for optimal printing performance.
5. Maintenance
Proper maintenance extends the lifespan of your FEP film and ensures consistent print quality.
- Regular Cleaning: After each print, or if you notice any resin residue, gently clean the FEP film. Use a soft, lint-free cloth and isopropyl alcohol. Avoid using sharp objects or abrasive materials that could scratch the film.
- Inspect for Damage: Periodically inspect the FEP film for any signs of wear, scratches, punctures, or cloudiness. Even minor damage can affect print quality and lead to print failures.
- Resin Removal: If cured resin adheres to the FEP film, do not attempt to scrape it off forcefully. Instead, try gently pushing from the underside of the film or using a small amount of fresh resin to soften the cured piece before carefully peeling it away.
6. Troubleshooting
Here are some common issues and their potential solutions related to FEP film usage:
- Prints Not Sticking to Build Plate / Sticking to FEP Film:
Possible Causes: Insufficient bottom layer exposure time, FEP film too loose or too tight, FEP film worn out, build plate not level or clean.
Solutions: Increase bottom layer exposure time in your slicer settings. Re-tension the FEP film. Replace the FEP film if worn. Re-level and clean the build plate. - Cloudy or Scratched FEP Film:
Possible Causes: Normal wear and tear, improper cleaning, failed prints causing damage.
Solutions: Replace the FEP film. Always use soft cloths and isopropyl alcohol for cleaning. - Resin Curing on FEP Film (not part of print):
Possible Causes: Light leakage, FEP film damage, old resin.
Solutions: Ensure your printer's cover is properly seated. Inspect FEP film for pinholes or damage. Use fresh resin.
7. Specifications
| Feature | Detail |
|---|---|
| Unit Size | 200 x 140 mm |
| Film Thickness | 0.15 mm |
| Package Quantity | 6 Pieces |
| Light Transmittance | Over 95% |
| Compatibility | ANYCUBIC Photon, Elegoo Mars (Mars, Mars 2 Pro, Mars 3), Phrozen Sonic Mini 4K, Halot-one, LD-002R, LD-002H, and other desktop LCD/SLA 3D Printers with print size up to 200 x 140mm. |
| Manufacturer Reference | US-XHLXM |
| Item Weight | 100 g |

Image: Dimensional diagram of the FEP film, indicating its 140mm width and 200mm length.

Image: A visual representation of the wide compatibility of the FEP film with various 3D printer models, including Creality, Elegoo, and Anycubic.
8. Support
Comgrow is committed to providing high-quality products and excellent customer service. If you encounter any issues or have questions regarding your FEP films, please contact Comgrow customer support. Our technical staff is available to provide professional assistance.
For further assistance, please visit the Comgrow Store on Amazon.


