Guangshuohui 3X6m, 6-sided (2 doors)
Guangshuohui 3x6m 6-Sided Waterproof Gazebo Tent Instruction Manual
Model: 3X6m, 6-sided (2 doors)
1. Safety Information
Please read all instructions carefully before assembly and use. Failure to follow these instructions may result in injury or damage to the product.
- Do not assemble or use the tent in strong winds, heavy rain, or snow.
- Ensure all connections are secure before use.
- Keep away from open flames and heat sources.
- This tent is designed for temporary use. Do not leave unattended for extended periods.
- Adult assembly required.
2. Package Contents
Verify all components are present before beginning assembly.
- Iron Tubes (various sizes: Φ31 / 24 / 18 / 0.55 / 0.45 / 0.45mm)
- PE Cloth Top (90G / M2 PE)
- Side Walls (6-sided, including 2 doors)
- Connectors / Joints
- Ropes and Stakes (for securing)
- User's Manual (this document)
3. Setup Instructions
Follow these steps for proper assembly of your gazebo tent. It is recommended to have at least two people for assembly.
3.1. Frame Assembly
- Unpack all components and lay them out on a clear, flat surface.
- Identify the different lengths and diameters of the iron tubes.
- Begin by connecting the base frame tubes using the appropriate connectors. Ensure the spiral interfaces are securely tightened for stability.
- Attach the vertical support tubes to the base frame.
- Assemble the roof frame structure, connecting the peak and ridge tubes.
- Carefully lift the roof frame and connect it to the vertical support tubes. Ensure all connections are firm.

Image 1: The fully assembled iron frame of the gazebo tent, showing the interconnected tubes and connectors.
3.2. Canopy and Side Wall Attachment
- Drape the PE cloth top over the assembled roof frame. Ensure it is centered and evenly distributed.
- Secure the canopy to the frame using any integrated fasteners or ties.
- Attach the side walls to the frame, starting from one corner. The 6-sided design includes two door panels for easy access.
- Ensure all side walls are properly aligned and secured to the frame and to each other, typically using hook-and-loop fasteners or zippers.

Image 2: The white gazebo tent fully assembled with the canopy and side walls, showing one side wall partially open.

Image 3: The white gazebo tent with several side walls rolled up or open, providing a view of the interior space.
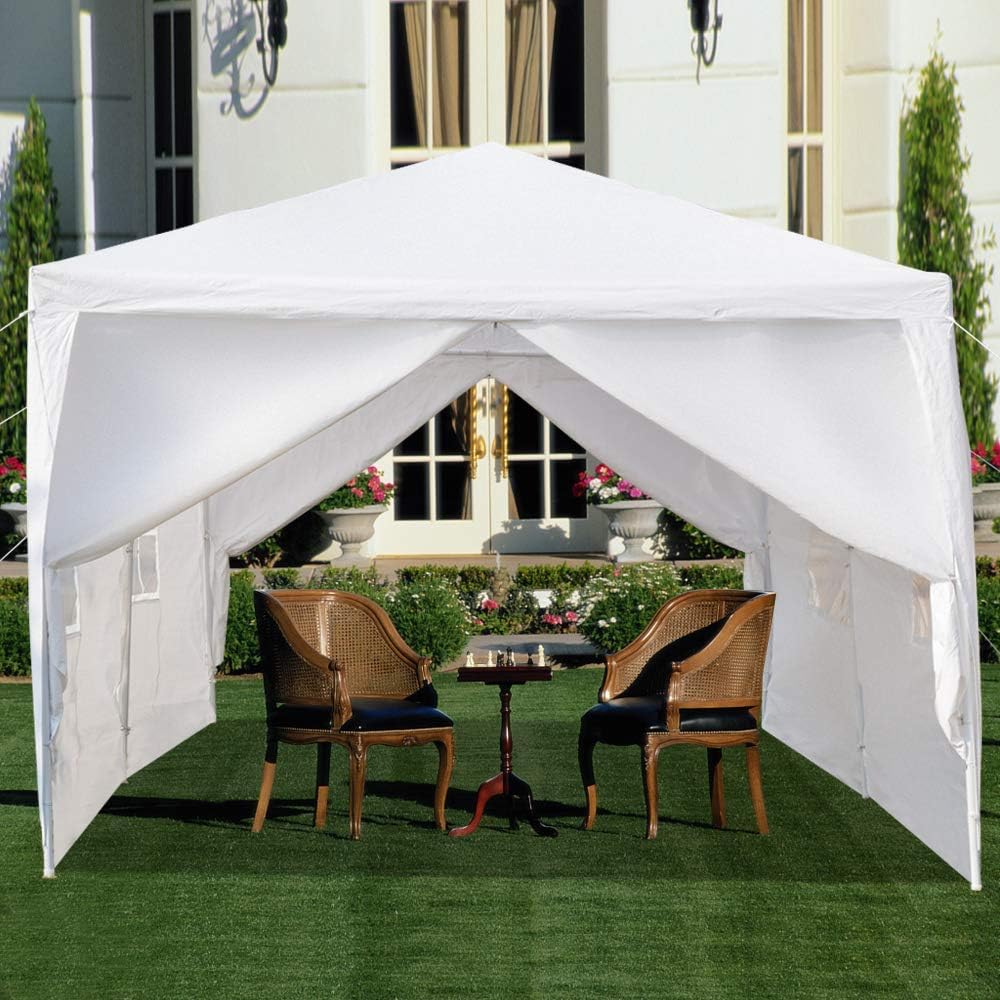
Image 4: The white gazebo tent fully assembled in a backyard setting, providing shade over patio furniture.
3.3. Securing the Tent
- Once the tent is fully assembled, use the provided ropes and stakes to secure the tent to the ground.
- Anchor each leg and any additional tie-down points to prevent the tent from lifting in windy conditions.
4. Operating Instructions
This gazebo tent is designed for temporary outdoor use, providing shade and shelter for various events.
- Weather Conditions: While waterproof, avoid using the tent in extreme weather conditions such as heavy winds, thunderstorms, or snow. Disassemble the tent if severe weather is anticipated.
- Ventilation: Utilize the two door panels and other side walls to adjust ventilation as needed.
- Stability: Regularly check that all frame connections and ground anchors remain secure, especially during prolonged use.
5. Maintenance
- Cleaning: Clean the PE cloth top and side walls with a mild soap and water solution. Do not use harsh chemicals or abrasive cleaners. Allow to air dry completely before storage.
- Frame Care: Inspect the iron tubes for any signs of rust or damage. Clean and dry the frame components as needed.
- Storage: Disassemble the tent and store all components in a dry, cool place away from direct sunlight when not in use. Ensure the fabric is completely dry to prevent mildew.
- Inspection: Periodically check all ropes, stakes, and connectors for wear and tear. Replace damaged parts as necessary.
6. Troubleshooting
| Problem | Possible Cause | Solution |
|---|---|---|
| Tent is unstable | Loose frame connections; insufficient anchoring. | Ensure all spiral interfaces are tightened. Use all provided ropes and stakes to secure the tent firmly to the ground. Avoid use in high winds. |
| Water pooling on canopy | Canopy not taut; improper setup. | Adjust canopy to ensure it is stretched tightly over the frame, allowing water to run off. Recheck frame assembly for correct height and tension. |
| Difficulty assembling frame | Incorrect tube matching; connectors not aligned. | Refer to the assembly diagrams (if available in physical manual) and ensure correct tubes are used for each section. Align connectors properly before pushing together. |
7. Specifications
- Model: 3X6m, 6-sided (2 doors)
- Dimensions (L x W x H): 600 x 300 x 260 cm (236.22" x 118.11" x 102.36")
- Material: Iron Tube & PE Cloth
- Frame Material: Iron (Tube diameters: Φ31 / 24 / 18 / 0.55 / 0.45 / 0.45mm)
- Top Cloth Material: 90G / M2 PE
- Color: White
- Weight: 21.5 kg (47.4 lbs)
- Water Resistance Level: Waterproof
- Assembly Required: Yes
- UPC: 791543030271
- ASIN: B08BC4HSFJ
8. Warranty and Support
For warranty information or technical support, please contact your retailer or the manufacturer, Guangshuohui. Please have your model number (3X6m, 6-sided (2 doors)) and ASIN (B08BC4HSFJ) available when contacting support.
No specific warranty period or direct support contact information was provided in the product details. Please refer to your purchase documentation for details.
9. Product Videos
No official product videos from the seller were found in the provided product information.
Ask a question about this manual
Ask about setup, troubleshooting, compatibility, parts, safety, or missing instructions. Manuals+ will review the question and use this page’s manual context to help answer it.