1. Introduction
Thank you for choosing the iHave Automatic Wall-Mounted Toothpaste Dispenser, Model E105. This device is designed to provide a hygienic and convenient way to dispense toothpaste, making your daily routine easier. It features a unique dual-position technology suitable for both children and adults, allowing for variable toothpaste output based on pressure.
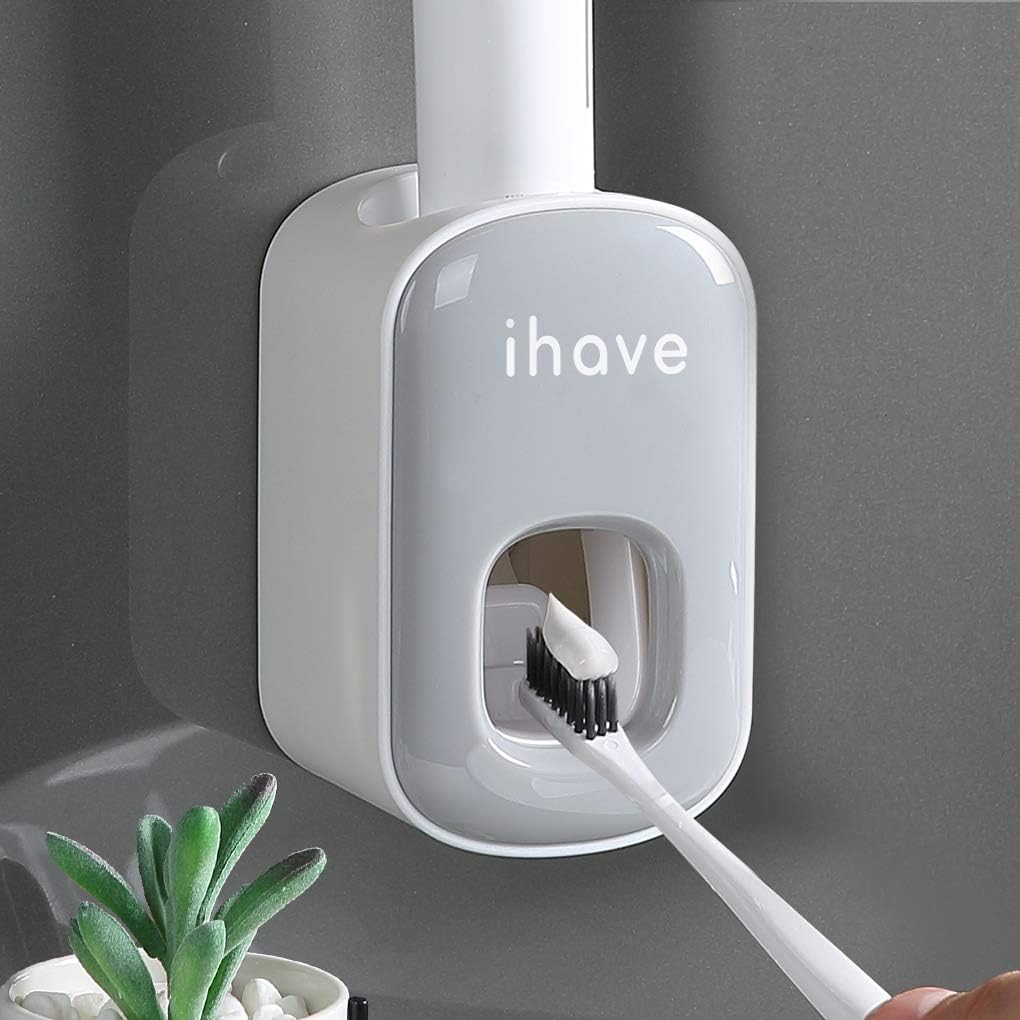
Figure 1: iHave Automatic Wall-Mounted Toothpaste Dispenser (Grey model shown).
2. Package Contents
Please verify that all items are included in your package:
- 1 x iHave Automatic Toothpaste Dispenser (Model E105)
- 1 x Non-marking Adhesive Strip for installation
- Nails for reinforcement (optional, for uneven surfaces)
3. Specifications
| Feature | Detail |
|---|---|
| Brand | iHave |
| Model Number | E105 |
| Material | Acrylonitrile Butadiene Styrene (ABS) |
| Color | Grey |
| Product Dimensions (L x W x H) | 2.7" x 2.6" x 4.56" |
| Mounting Type | Wall Mount (Adhesive or Nails) |
| Item Weight | 0.27 Pounds |
| Unit Count | 1 Count |
4. Setup and Installation
The iHave Toothpaste Dispenser offers two installation methods: adhesive for smooth surfaces and nails for uneven or delicate surfaces like wallpaper.
4.1 Adhesive Installation (No Drill)
- Clean the Wall: Ensure the wall surface is clean and dry.
- Apply Adhesive: Peel off the protective film from the non-marking adhesive strip. Press the adhesive strip firmly onto the desired wall location, ensuring it bonds completely.
- Wait: Allow the adhesive to set for at least 24 hours before hanging the dispenser.
- Mount Dispenser: Slide the toothpaste dispenser onto the adhesive bracket.
- Install Toothpaste: Insert your toothpaste tube into the top opening of the dispenser. Squeeze the tube several times to extract air and prime the dispenser until toothpaste appears at the nozzle.

Figure 2: Visual guide for adhesive installation.
4.2 Reinforced Installation (with Nails)
For uneven walls, painted surfaces, or wallpaper, use the provided nails for reinforcement:
- Punch a Hole: Use a drill to create a hole at the desired mounting point.
- Install Swelling Tube: Insert the swelling tube into the drilled hole.
- Tighten with Screws: Place the adhesive strip over the hole and secure it with the provided screws.
- Mount Dispenser: Slide the main dispenser body onto the secured bracket.
- Install Toothpaste: Insert your toothpaste tube into the top opening of the dispenser. Squeeze the tube several times to extract air and prime the dispenser until toothpaste appears at the nozzle.

Figure 3: Installation options for various wall types.
4.3 Important Note on Dispenser Orientation
The toothpaste dispenser must be placed vertically downwards for optimal performance. Incorrect orientation may affect its dispensing function.
Video 1: Official iHave demonstration of toothpaste dispenser installation and usage.
5. Operating Instructions
Using your iHave Automatic Toothpaste Dispenser is simple and hands-free:
- Insert Toothbrush: Gently push your toothbrush into the dispensing lever located at the bottom of the dispenser.
- Dispense Toothpaste: The dispenser will automatically release toothpaste onto your brush. The amount dispensed can be adjusted by the pressure applied to the lever; a lighter push for less, a firmer push for more.
- Remove Toothbrush: Once the desired amount of toothpaste is on your brush, pull your toothbrush away.

Figure 4: Demonstrating how to dispense toothpaste using a toothbrush.

Figure 5: Toothpaste dispensed onto a toothbrush.
6. Maintenance and Cleaning
Regular cleaning ensures optimal performance and hygiene of your toothpaste dispenser.
- Disassemble: The toothpaste squeezer mechanism can be detached from the main body. Gently pull the front cover and the internal dispensing components apart.
- Wash: Wash the detached components directly with water. If there is solidified toothpaste, use warm water to help dissolve it.
- Dry and Reassemble: Ensure all parts are completely dry before reassembling the dispenser.
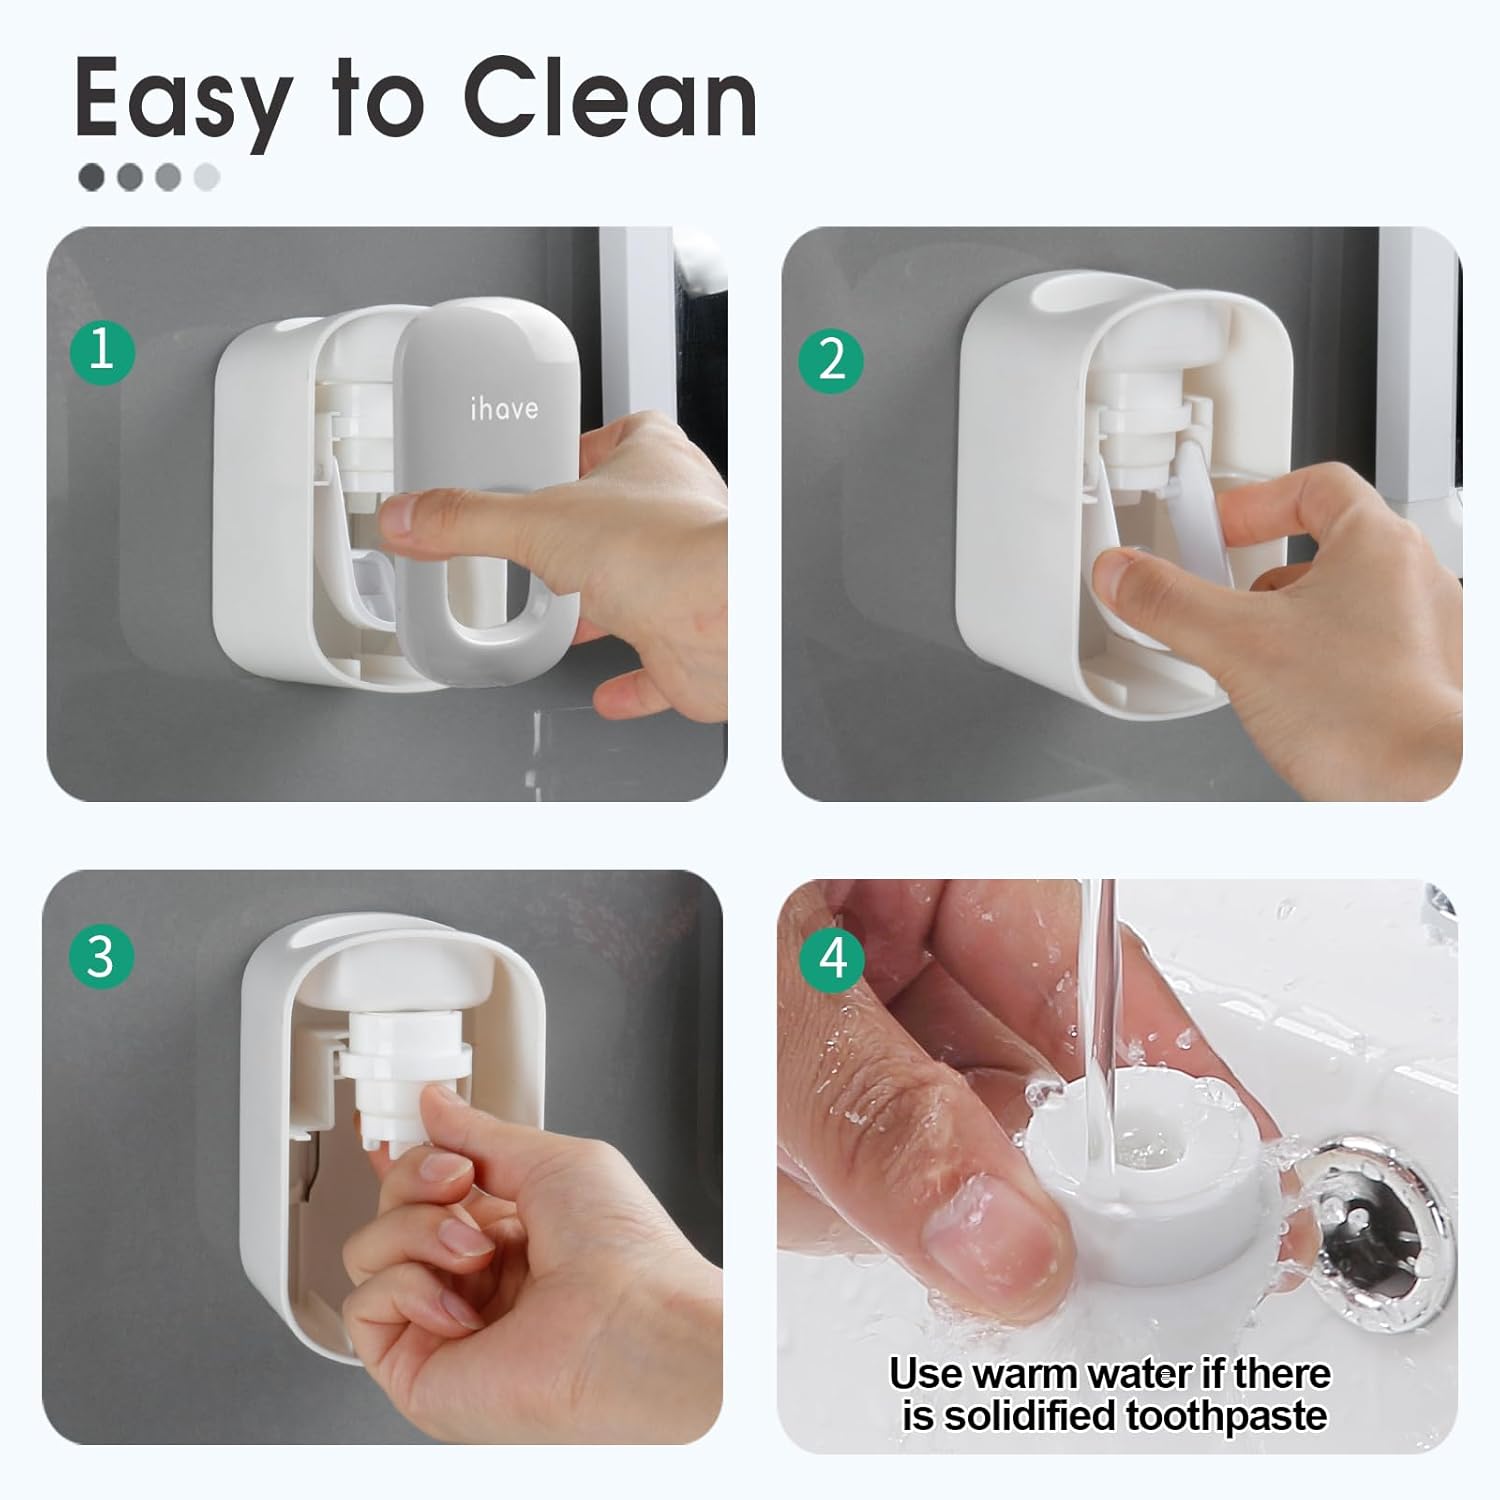
Figure 6: Steps for disassembling and cleaning the dispenser.
7. Troubleshooting
7.1 Toothpaste Not Dispensing or Dispensing Poorly
- Prime the Dispenser: For first use or after changing toothpaste, squeeze the toothpaste tube several times until toothpaste appears at the dispenser's nozzle. This removes any air pockets.
- Check Toothpaste Compatibility: The dispenser is suitable for toothpaste tubes with a nozzle diameter between 0.39-0.47 inches (10-12mm) and a nozzle length greater than 0.4 inches (10mm). Ensure your toothpaste tube meets these specifications.
- Clean the Dispenser: Solidified toothpaste can block the mechanism. Follow the cleaning instructions in Section 6.
- Correct Orientation: Ensure the dispenser is mounted vertically downwards.

Figure 7: Compatible toothpaste nozzle dimensions.
8. Warranty and Support
For warranty information or technical support, please refer to the product packaging or contact iHave customer service directly. Keep your purchase receipt for warranty claims.


