EWANYO EWANYO984988489
EWANYO 3-Speed Benchtop Drill Press User Manual
Model: EWANYO984988489 | Brand: EWANYO
Introduction
This manual provides essential information for the safe and effective operation of your EWANYO 3-Speed Benchtop Drill Press. Please read it thoroughly before initial use and keep it for future reference. This drill press is designed for precise drilling in materials such as wood, plastic, resin, aluminum, composite panels, and other non-hard materials, making it suitable for DIY projects, jewelry making, woodworking, and light metal drilling.
Safety Instructions
Always follow basic safety precautions to reduce the risk of fire, electric shock, and personal injury.
- Read all instructions: Familiarize yourself with the drill press and its operation.
- Wear eye protection: Always wear safety goggles or a face shield.
- Secure workpiece: Always clamp the workpiece firmly to the drill press table. Never hold it by hand.
- Keep work area clean: Cluttered areas invite accidents.
- Avoid dangerous environment: Do not use power tools in damp or wet locations, or expose them to rain. Keep work area well lit.
- Keep children away: All visitors should be kept a safe distance from work area.
- Dress properly: Do not wear loose clothing or jewelry. Contain long hair.
- Use right tool: Do not force small tool or attachment to do the work of a heavy duty tool.
- Disconnect power: Always disconnect the drill press from the power source before making adjustments, changing accessories, or servicing.
- Maintain tools with care: Keep tools sharp and clean for better and safer performance. Follow instructions for lubricating and changing accessories.
- Check for damaged parts: Before further use of the tool, a guard or other part that is damaged should be carefully checked to determine that it will operate properly and perform its intended function.
- Stay alert: Watch what you are doing, use common sense. Do not operate tool when you are tired.
Product Overview and Components
The EWANYO Benchtop Drill Press is designed for precision and ease of use. Below are the key components of the machine.

Figure 1: Complete view of the EWANYO Benchtop Drill Press with included accessories.

Figure 2: Detailed diagram showing the main components: Cover, Handle, Power switch, Speed adjuster, Scale, Drill head, Height fix screw, Power wire, and Base.

Figure 3: Close-up view highlighting the power switch, speed adjust switch, and operate handle.
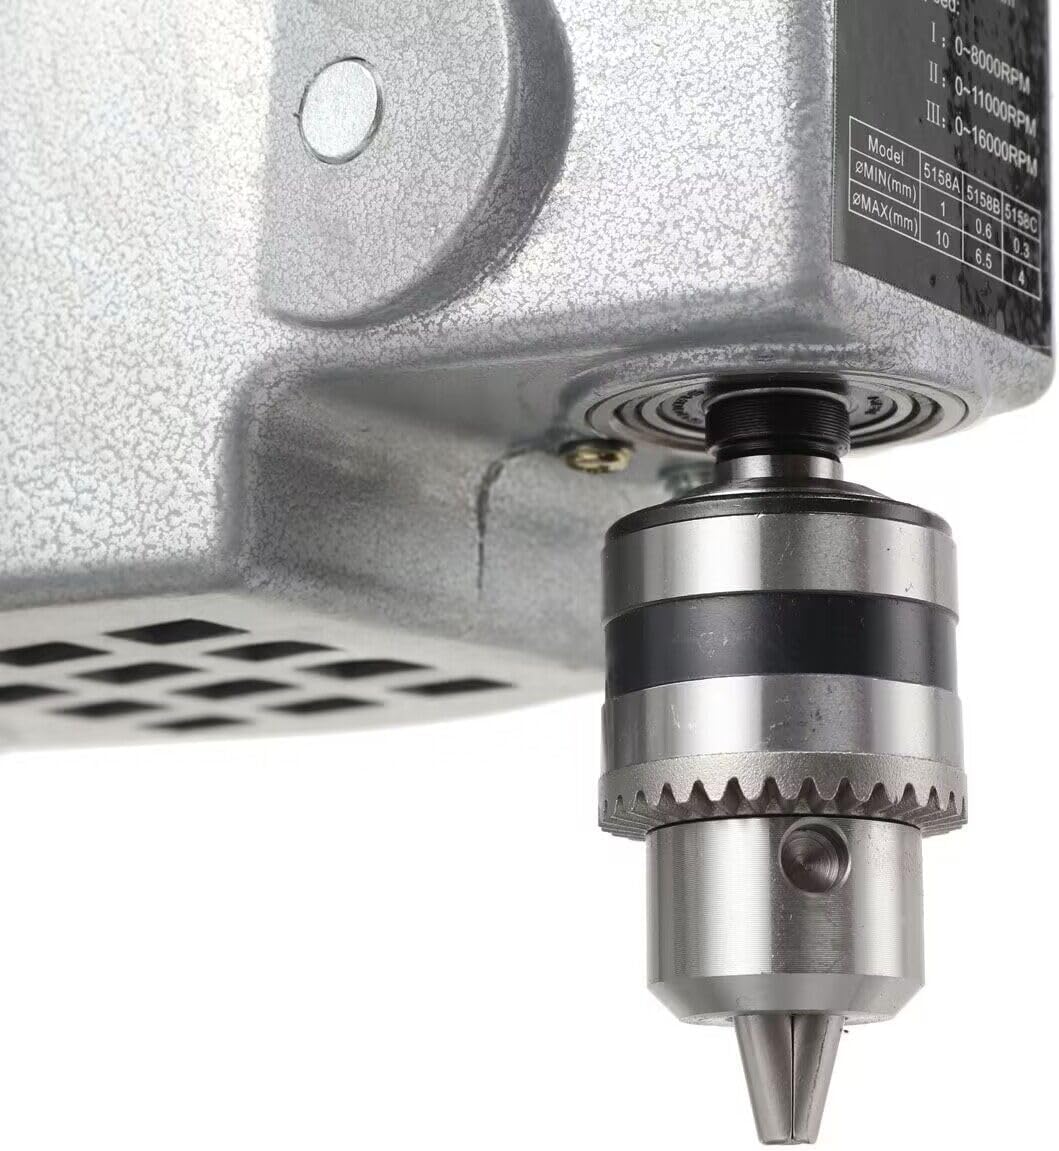
Figure 4: Close-up of the drill chuck, which holds the drill bits securely.
Key components include:
- Base: Provides stability for the drill press.
- Column: The vertical support for the drill head assembly.
- Drill Head: Contains the motor, chuck, and drilling mechanism.
- Chuck: Adjustable jaws to hold various drill bit sizes (up to 10mm).
- Operate Handle: Used to lower the drill bit into the workpiece.
- Speed Control Switch: Allows adjustment of drilling speed.
- Power Switch: Turns the unit on and off.
- Height Fix Screw: Secures the drill head at the desired height on the column.
Setup
Before operating your drill press, ensure it is properly set up on a stable and level workbench.
- Unpacking: Carefully remove all components from the packaging. Inspect for any shipping damage.
- Placement: Place the drill press base on a sturdy, level workbench. Ensure there is adequate space around the machine for safe operation and workpiece handling.
- Securing the Unit: For added stability, the base can be bolted to the workbench using appropriate fasteners (not included) through the pre-drilled holes in the base.
- Power Connection: Connect the power cord to a standard 110V AC outlet. Ensure the power switch is in the "OFF" position before plugging in.
- Installing Drill Bit: Open the chuck jaws using the chuck key. Insert the desired drill bit into the chuck, ensuring it is centered and fully seated. Tighten the chuck jaws firmly with the chuck key.
Operating Instructions
Follow these steps for safe and effective drilling with your benchtop drill press.
- Prepare Workpiece: Mark the drilling location on your workpiece. Securely clamp the workpiece to the drill press base or a suitable drill press vise. Never hold the workpiece by hand during drilling.
- Adjust Drill Head Height: Loosen the height fix screw and adjust the drill head assembly up or down the column until the drill bit is just above the workpiece. Tighten the height fix screw firmly.
- Set Drilling Depth (Optional): The drill press features a scale and adjustable stop on the operate handle spindle. To set a specific drilling depth, loosen the locking mechanism on the scale, lower the drill bit to the desired depth, and then secure the locking mechanism. This will prevent the drill bit from going deeper than intended.
- Select Speed: Use the speed control switch and dial to select the appropriate drilling speed for your material and drill bit size. The drill press offers 3 speeds: I (0-8000 RPM), II (0-11000 RPM), and III (0-16000 RPM). Refer to the specifications table for recommended speeds for different materials.
- Start Drilling: Turn the power switch to the "ON" position. Slowly lower the drill bit into the workpiece using the operate handle, applying steady, even pressure. Allow the drill bit to do the work; do not force it.
- Clear Chips: Periodically raise the drill bit to clear chips from the hole, especially when drilling deep holes. This prevents clogging and overheating.
- Finish Drilling: Once the desired depth is reached, raise the drill bit completely out of the workpiece. Turn the power switch to the "OFF" position.

Figure 5: Proper hand placement on the operate handle for controlled drilling.

Figure 6: The speed control dial allows for precise adjustment of the rotational speed.

Figure 7: The power switch (ON/OFF) and the speed control switch (MAX/MIN) for operational control.

Figure 8: The drill press in action, demonstrating its capability for precise drilling in wood.
Maintenance
Regular maintenance ensures the longevity and optimal performance of your drill press.
- Cleaning: After each use, disconnect the power and clean the drill press. Remove all dust, chips, and debris from the base, column, and drill head using a brush or compressed air. Do not use solvents that may damage painted surfaces.
- Lubrication: Periodically apply a light machine oil to moving parts, such as the column and quill mechanism, to ensure smooth operation.
- Belt Inspection and Replacement: The drill press uses drive belts for speed transmission. Regularly inspect the belts for wear, cracks, or stretching. If replacement is needed, refer to Figure 9 for belt access. Ensure the power is disconnected before opening the cover.
- Chuck Care: Keep the chuck jaws clean and free of debris. If the chuck becomes stiff, apply a small amount of light oil to the jaws.
- Storage: Store the drill press in a clean, dry place away from direct sunlight and moisture.

Figure 9: Internal view of the drill head, showing the drive belts and motor assembly. This area is accessed for belt inspection and replacement.
Troubleshooting
This section addresses common issues you might encounter with your drill press.
| Problem | Possible Cause | Solution |
|---|---|---|
| Drill press does not start | No power supply; Power switch off; Motor overload. | Check power cord connection and outlet; Ensure power switch is ON; Allow motor to cool down. |
| Excessive vibration or noise | Loose components; Worn or misaligned drive belt; Unbalanced drill bit. | Check all screws and bolts for tightness; Inspect and adjust/replace drive belt; Replace or re-seat drill bit. |
| Drill bit not cutting efficiently or burning wood | Dull drill bit; Incorrect speed for material; Too much feed pressure. | Replace or sharpen drill bit; Adjust speed setting; Reduce feed pressure. |
| Chuck comes loose during operation | Chuck not properly seated or tightened. | Ensure chuck is fully seated on the spindle and tightened securely with the chuck key. |
Specifications
Technical details for the EWANYO 3-Speed Benchtop Drill Press.
| Feature | Detail |
|---|---|
| Brand | EWANYO |
| Model Number | EWANYO984988489 |
| Power Source | Corded Electric |
| Voltage | 110 Volts |
| Amperage | 3.09 Amps |
| Maximum Power | 340 Watts |
| Number of Speeds | 3 |
| Speed Range I | 0-8000 RPM |
| Speed Range II | 0-11000 RPM |
| Speed Range III | 0-16000 RPM |
| Maximum Chuck Size | 10 Millimeters |
| Drilling Capacity (Wood) | 11 Millimeters |
| Product Dimensions (L x W x H) | 6.69"L x 6.69"W x 15.16"H |
| Item Weight | 5.59 Kilograms (12.29 pounds) |
| Color | Silver, Black, Grey |
| Special Feature | Portable |
| UPC | 791543175941 |
Warranty and Support
For warranty information or technical support, please contact EWANYO customer service. Keep your purchase receipt and model number handy for faster service.
While specific warranty details are not provided in this manual, EWANYO is committed to providing high-quality products. For any questions or issues, please refer to the contact information provided at the point of purchase or on the official EWANYO website.
Ask a question about this manual
Ask about setup, troubleshooting, compatibility, parts, safety, or missing instructions. Manuals+ will review the question and use this page’s manual context to help answer it.