Introduction
This manual provides detailed instructions for the safe and effective use of the CPS BLACKMAX BFT850MD Manual or Drill-Powered Flaring Tool. This tool is designed for creating precise 45-degree flares on soft copper and aluminum tubing, suitable for various HVAC and plumbing applications.
Safety Information
Always prioritize safety when operating any tool. Adhere to the following guidelines:
- Wear appropriate personal protective equipment, including safety glasses, to protect against flying debris.
- Ensure the workpiece (tubing) is securely held in the flaring bar before beginning the flaring process.
- Read and understand all instructions in this manual before operating the tool.
- Keep hands and fingers clear of moving parts during operation.
- Do not use the tool for purposes other than its intended use.
Product Overview
The BLACKMAX BFT850MD flaring tool is engineered for durability and precision, offering both manual and drill-powered operation.
- Construction: Features a cast and precision machined aluminum body, making it 50% lighter than traditional steel designs, combined with rugged steel components for strength.
- Flaring Cone: Utilizes an eccentric cone to form precise 45-degree flared ends.
- Tube Compatibility: Designed for 6, 8, 12, 15, 16, 18, 19 mm O.D. soft copper and aluminum tubing.
- Quick-Change Positions: Seven quick-change positions allow for easy adjustment to different tube sizes.
- Slide Gauge: A built-in slide gauge assists in setting the tube at the exact position for consistent flares.
- Over-Compression Prevention: A built-in clutch mechanism prevents over-compression, ensuring optimal flare integrity.
- Dual Operation: Includes a ratchet handle for manual use and an attachment for cordless drill operation.
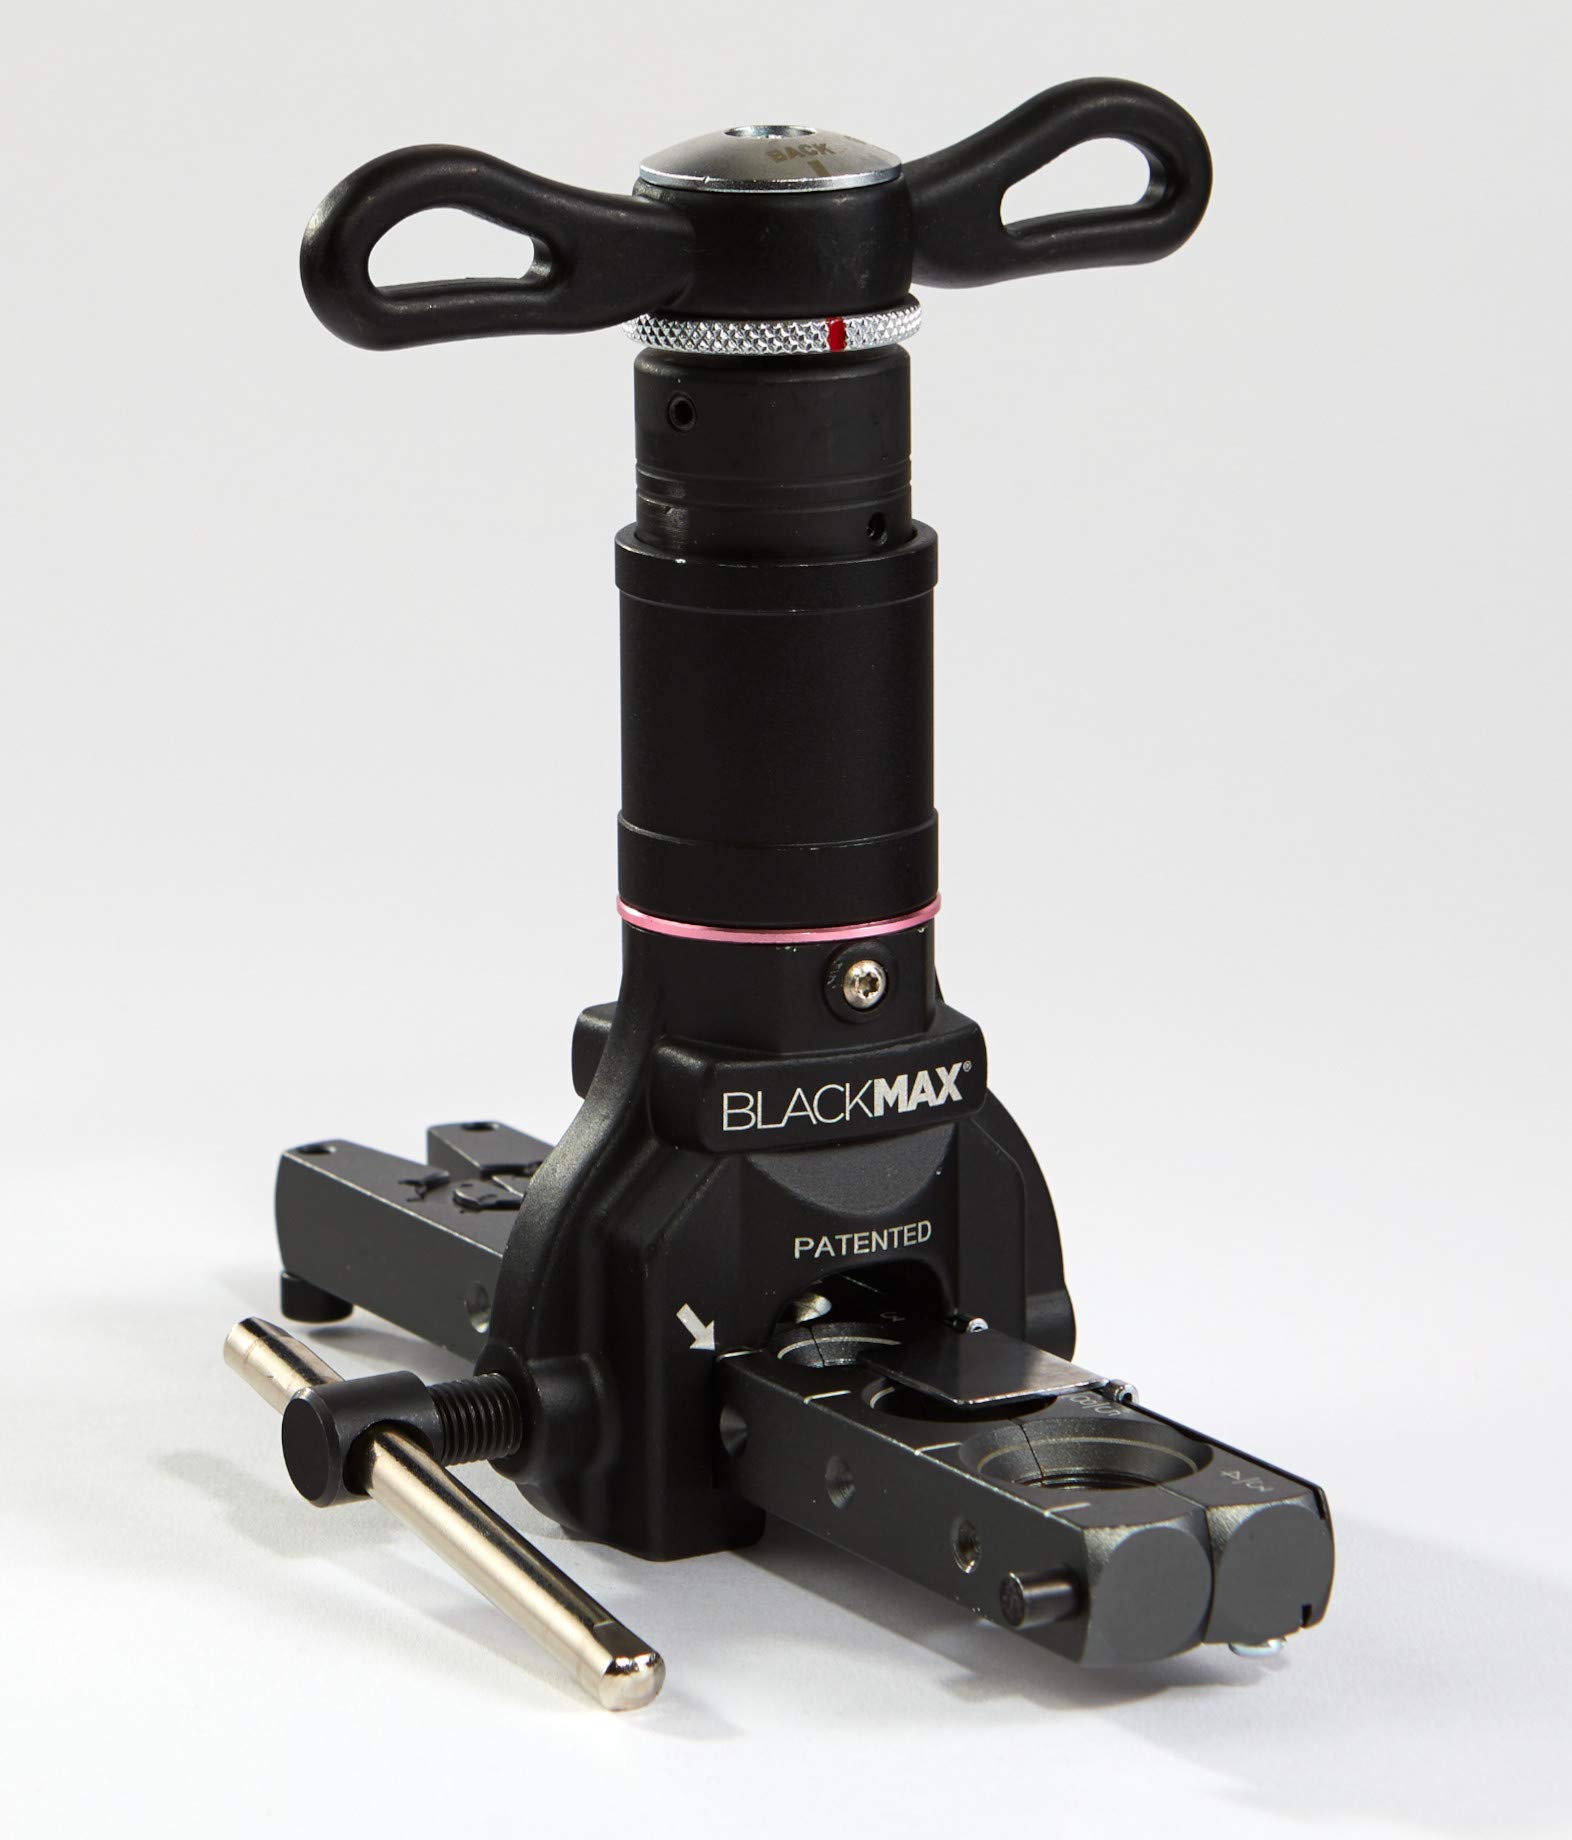
Image of the CPS BLACKMAX BFT850MD Flaring Tool, showcasing its compact design and ratchet handle.
Setup
Preparing the Tubing
- Cut: Cut the tubing to the desired length, ensuring the cut is clean and square.
- Deburr: Deburr the inside and outside edges of the tubing to remove any sharp edges or burrs. This prevents leaks and damage to the flare.
- Clean: Clean the tubing thoroughly to remove any debris, oil, or contaminants.
Attaching the Tubing to the Tool
- Open Flaring Bar: Loosen the appropriate clamp on the flaring bar to open it.
- Select Hole Size: Choose the correct hole size on the flaring bar that matches the outer diameter (O.D.) of your tubing (6, 8, 12, 15, 16, 18, 19 mm).
- Insert Tubing: Insert the prepared tubing into the selected hole.
- Set Extension: Use the slide gauge to set the tube at the exact position for flaring. The tube end should extend slightly above the flaring bar, as indicated by the gauge.
- Secure Clamp: Securely tighten the flaring bar clamp to hold the tubing firmly in place. Ensure there is no movement.
Operating Instructions
Manual Flaring (with Ratchet Handle)
- Position Cone: Position the eccentric cone directly over the center of the tubing opening.
- Begin Flaring: Begin turning the ratchet handle clockwise. The eccentric cone will gradually advance and expand the tubing, forming the flare.
- Complete Flare: Continue turning until the built-in clutch engages. This indicates that the flare is complete and prevents over-compression.
- Retract Cone: Turn the ratchet handle counter-clockwise to retract the eccentric cone.
- Remove Tubing: Loosen the flaring bar clamp and carefully remove the flared tubing.
Drill-Powered Flaring
- Attach Drill: Attach a cordless drill to the designated drill attachment point on the flaring tool.
- Drill Settings: Ensure the drill is set to a low speed and an appropriate torque setting to avoid damaging the tool or tubing.
- Position Cone: Position the eccentric cone directly over the center of the tubing opening.
- Begin Flaring: Activate the drill to rotate the eccentric cone clockwise. The cone will advance and form the flare.
- Complete Flare: Continue until the built-in clutch engages, preventing over-compression.
- Retract Cone: Reverse the drill direction to retract the eccentric cone.
- Remove Tubing: Loosen the flaring bar clamp and carefully remove the flared tubing.
Maintenance
Regular maintenance is crucial for ensuring the longevity and optimal performance of your flaring tool.
- Cleaning: After each use, wipe down the tool with a clean, dry cloth to remove any metal shavings, dust, or debris.
- Lubrication: Periodically apply a light machine oil to the eccentric cone and the screw mechanism to ensure smooth operation and prevent wear.
- Storage: Store the tool in a clean, dry environment, away from excessive moisture, corrosive substances, or extreme temperatures.
- Inspection: Regularly inspect the flaring bar, eccentric cone, and ratchet mechanism for any signs of wear, damage, or deformation. Replace components if necessary to maintain precision.
Troubleshooting
Refer to the table below for common issues and their solutions:
| Problem | Possible Cause | Solution |
|---|---|---|
| Uneven Flare | Tubing not cut square or deburred properly. | Ensure tubing is cut square and deburred before flaring. |
| Tubing slips during flaring | Flaring bar clamp not tightened sufficiently. | Tighten the flaring bar clamp securely to prevent tubing movement. |
| Flare is too thin or cracked | Tubing extended too far from the flaring bar. | Adjust tubing using the slide gauge to the correct extension. |
| Flare is too thick or incomplete | Tubing not extended far enough from the flaring bar. | Adjust tubing using the slide gauge to the correct extension. |
| Tool difficult to operate | Lack of lubrication or debris in mechanism. | Clean and lubricate the eccentric cone and screw mechanism. |
Specifications
- Model: BFT850MD
- Flaring Type: 45-degree eccentric cone
- Tube O.D. Compatibility: 6, 8, 12, 15, 16, 18, 19 mm
- Material: Cast aluminum body, steel components
- Operation: Manual (ratchet handle) or Drill-Powered
- Features: Built-in clutch, slide gauge, quick-change positions
- Approximate Weight: 2.11 kg
- Manufacturer: CPS
Warranty Information
Specific warranty details for the CPS BLACKMAX BFT850MD Flaring Tool are not provided in the product information available. Please refer to the manufacturer's official website or contact their customer support directly for comprehensive warranty terms and conditions.
Customer Support
For technical assistance, inquiries about spare parts, or any further questions regarding your CPS BLACKMAX BFT850MD Flaring Tool, please contact CPS customer service. Contact information, including phone numbers and email addresses, is typically available on the manufacturer's official website (www.cpsproducts.com).