
T-DAGGER T-TGK311-BL
T-Dagger Bali T-TGK311-BL Mechanical Gaming Keyboard User Manual
Introduction
Thank you for choosing the T-Dagger Bali T-TGK311-BL Mechanical Gaming Keyboard. This manual provides essential information for setting up, operating, maintaining, and troubleshooting your new keyboard. Please read this manual thoroughly to ensure optimal performance and longevity of your device.
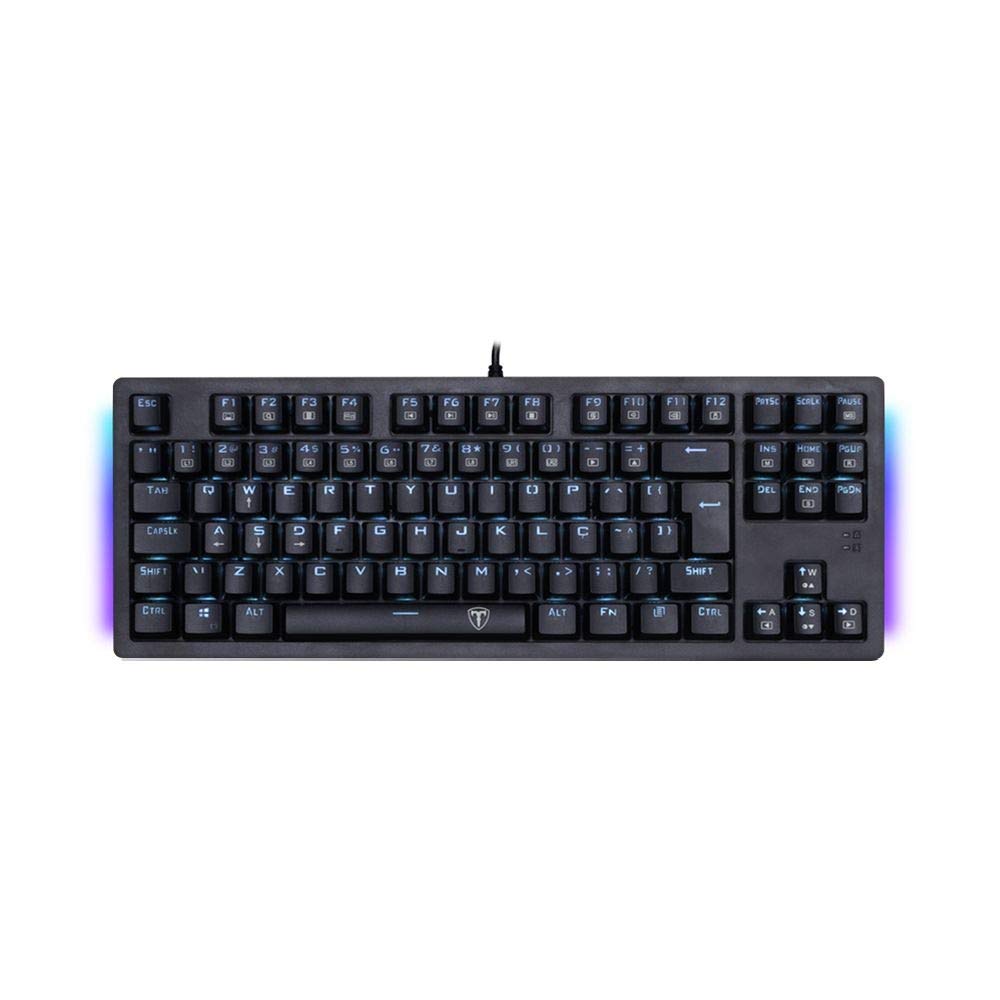
Image: T-Dagger Bali T-TGK311-BL Mechanical Gaming Keyboard, top-down view, showcasing its black keys and Ice Blue backlighting.
Package Contents
Ensure all the following items are present in your package:
- T-Dagger Bali T-TGK311-BL Mechanical Gaming Keyboard
- 5x Spare Outemu Blue Switches
- Keycap Remover Tool
- Switch Remover Tool
- User Manual (this document)
If any items are missing or damaged, please contact your retailer or T-Dagger support.
Setup Instructions
Follow these steps to connect and begin using your T-Dagger Bali keyboard:
- Unpack the Keyboard: Carefully remove the keyboard and all accessories from the packaging.
- Connect to PC: Locate an available USB 2.0 port on your computer. Insert the gold-plated USB connector of the keyboard into the USB port.
- Driver Installation: The keyboard is plug-and-play. Your operating system will automatically detect and install the necessary drivers. No additional software installation is typically required.
- Test Functionality: Open a text editor or browser and type to confirm that the keyboard is functioning correctly.

Image: Close-up of the T-Dagger Bali keyboard's USB cable, highlighting the gold-plated connector for enhanced durability and signal integrity.
Operating Instructions
The T-Dagger Bali keyboard features several functions to enhance your gaming and typing experience.
Standard Key Functions
The keyboard features a standard ABNT2 layout, including the 'Ç' key. All keys function as labeled for standard typing and command input.
Anti-Ghosting
The keyboard is equipped with full N-key rollover (Anti-Ghosting) on all keys. This ensures that every key press is registered accurately, even when multiple keys are pressed simultaneously, which is crucial for fast-paced gaming.
Win-Key Lock Function
To prevent accidental minimization of your game during intense sessions, you can disable the Windows key:
- Press Fn + Win key to lock the Windows key.
- Press Fn + Win key again to unlock the Windows key.
Ice Blue LED Backlighting
The keyboard features Ice Blue LED backlighting. While specific controls for brightness or modes are not detailed in the product description, typically these are controlled via Fn key combinations:
- Look for Fn + Arrow Up/Down for brightness control.
- Look for Fn + Ins/Home/PgUp/Del/End/PgDn for lighting modes (if available).
Refer to the keycaps for specific icons indicating LED functions.
Maintenance
Cleaning the Keyboard
To maintain the appearance and functionality of your keyboard:
- Disconnect the keyboard from your computer before cleaning.
- Use a soft, lint-free cloth slightly dampened with water or a mild cleaning solution to wipe the keycaps and chassis.
- For dust and debris between keys, use compressed air.
- Avoid using harsh chemicals, abrasives, or solvents.
Replacing Switches
Your T-Dagger Bali keyboard comes with 5 spare Outemu Blue switches and a switch remover tool, allowing for easy replacement of faulty switches.
- Remove Keycap: Use the included keycap remover tool to gently pull off the keycap from the switch you wish to replace.
- Remove Switch: Use the included switch remover tool. Align the prongs of the tool with the two clips on the top and bottom of the switch housing. Squeeze the clips and gently pull the switch upwards to remove it from the PCB.
- Insert New Switch: Take a new Outemu Blue switch. Align the pins on the bottom of the switch with the holes on the PCB. Gently push the switch down until it clicks into place. Ensure the pins are straight to avoid bending them.
- Replace Keycap: Place the keycap back onto the new switch, pressing down firmly until it is secure.
Always handle switches and tools with care to avoid damage to the keyboard or components.
Troubleshooting
If you encounter issues with your keyboard, refer to the following common problems and solutions:
| Problem | Possible Solution |
|---|---|
| Keyboard not responding |
|
| Keys not registering or double-typing |
|
| LED backlighting not working |
|
| Windows key is disabled |
|
If the problem persists after trying these solutions, please contact T-Dagger customer support for further assistance.
Specifications
| Feature | Detail |
|---|---|
| Manufacturer | T-Dagger |
| Model | Bali (T-TGK311-BL) |
| Keyboard Type | Mechanical |
| Switch Type | Outemu Blue (Clicky, Tactile) |
| Layout | ABNT2 (with 'Ç') |
| Backlighting | Ice Blue LED |
| Anti-Ghosting | Full N-Key Rollover |
| Connection | Wired USB 2.0 (Gold-plated) |
| Cable Length | 1.5 meters |
| Material | ABS Plastic |
| Color | Black |
| Compatible Devices | PC |
| System Requirements | PC with available USB 2.0 port |
Warranty and Support
T-Dagger products are manufactured to high-quality standards. For information regarding warranty coverage, terms, and conditions, please refer to the warranty card included with your product or visit the official T-Dagger website. For technical support or service inquiries, please contact T-Dagger customer support through their official channels.
Related documentsT-TGK311-BL


Ask a question about this manual
Ask about setup, troubleshooting, compatibility, parts, safety, or missing instructions. Manuals+ will review the question and use this page’s manual context to help answer it.