
Introduction
This manual provides essential information for the safe and efficient operation of your vidaXL Sand Filter Pump with Timer 550 W 50 L. Please read these instructions carefully before installation, operation, or maintenance. Keep this manual for future reference.
Safety Information
Always prioritize safety. Before operating the pump, ensure all electrical connections are secure and meet local regulations. Do not operate the pump if any parts are damaged. Disconnect power before performing any maintenance.
For detailed safety guidelines, please refer to the official safety document: Safety Information (PDF).
Product Features
- 7-Way Valve: Allows for multiple functions including filtering, backwashing, rinsing, circulating, draining, closing, and winterizing.
- Integrated Timer: Enables automated operation scheduling for convenience.
- Pre-filter Basket: Captures larger particles like leaves and hair, protecting the pump's impeller.
- Durable Construction: Reinforced plastic housing ensures all-weather performance and long service life.
- Versatile Filtration: Compatible with both sand and filter balls (not included).
- Wide Compatibility: Suitable for above-ground pools from brands like Intex and Bestway.
Specifications
| Brand | vidaXL |
| Model Number | 92292 |
| Power | 550 W |
| Voltage | 230 V~, 50 Hz |
| Flow Rate | 9.5 m³/h |
| Tank Volume | 50 L |
| Bucket Diameter | 385 mm |
| IP Level | IP5 |
| Maximum Operating Pressure | 1.5 bars |
| Suitable Ambient Temperature | 0-35 °C |
| Filtration Surface | 0.13 m² |
| Required Sand | 25 kg (not included) |
| Required Filter Balls | 700 g (not included) |
| Compatible Hose Diameter | 32 mm or 38 mm |
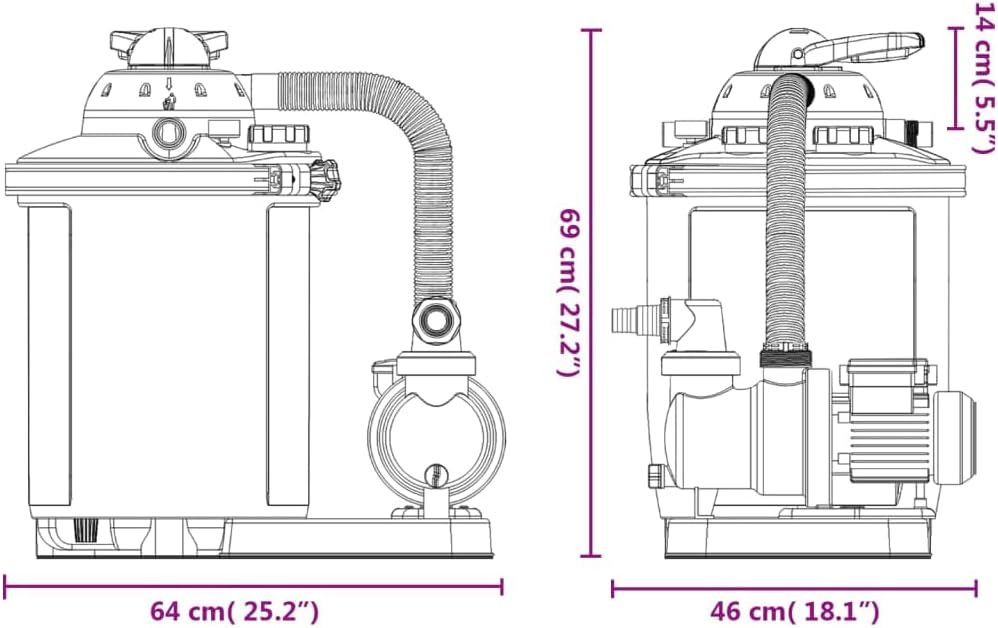
| Dimensions (W x D x H) | 460 x 640 x 690 mm |
| Weight | 13.65 kg |
Setup
- Unpacking: Carefully remove all components from the packaging. Verify that all parts are present according to the packing list.
- Placement: Position the filter pump on a firm, level surface, close to the pool and an electrical outlet. Ensure it is protected from direct sunlight and adverse weather conditions. Maintain adequate ventilation around the pump.
- Filling the Filter Tank:
- Remove the multi-port valve from the top of the filter tank.
- Fill the tank with the recommended amount of filter sand (25 kg) or filter balls (700 g). Ensure the standpipe is centered during filling to prevent sand from entering it.
- Clean any sand or debris from the tank's rim before reattaching the multi-port valve.
- Connecting the Multi-Port Valve: Securely attach the multi-port valve to the top of the filter tank. Ensure the O-ring is properly seated to prevent leaks.
- Hose Connections:
- Connect the pool's skimmer/drain hose to the pump's inlet.
- Connect the pump's outlet to the "PUMP" port on the multi-port valve.
- Connect the "RETURN" port on the multi-port valve to the pool's return inlet.
- Connect a backwash hose to the "WASTE" port on the multi-port valve, directing it to an appropriate drainage area.
Note: Use compatible hoses with a diameter of 32 mm or 38 mm. Ensure all connections are tight to prevent leaks. Teflon tape may be required for threaded connections.
- Electrical Connection: Plug the pump into a grounded electrical outlet. Ensure the power supply matches the pump's specifications (230 V~, 50 Hz).

Operating Instructions
The 7-way valve allows for various operational modes. Always ensure the pump is OFF before changing the valve position to prevent damage.
- Initial Start-up (Rinse/Backwash):
- Before first use, or after adding new filter media, perform a backwash and rinse cycle.
- Set the 7-way valve to "BACKWASH".
- Turn on the pump and run for 2-3 minutes, or until the water in the sight glass runs clear.
- Turn off the pump.
- Set the 7-way valve to "RINSE".
- Turn on the pump and run for 30-60 seconds.
- Turn off the pump.
- Filtering:
- Set the 7-way valve to "FILTER".
- Turn on the pump. The pump will now filter the pool water.
- Monitor the pressure gauge. When the pressure rises significantly above the clean operating pressure, it's time to backwash.
- Timer Function:
- The integrated timer allows you to set automatic operating periods. Refer to the control panel for specific timer settings.
- Press the "TIMER" button to cycle through preset operating durations (e.g., 2, 4, 6, 8, 10, 12, 14, 16, 24 hours).
- Press the "ON/OFF" button to manually start or stop the pump.
- Other Valve Positions:
- CLOSED: Stops water flow to the filter. Use for maintenance or when the pump is off for extended periods.
- CIRCULATE: Bypasses the filter, circulating water directly back to the pool. Useful for distributing chemicals without filtering.
- DRAIN: Drains water directly from the pool, bypassing the filter.
- WINTERIZE: Prepares the pump for off-season storage.


Maintenance
Regular maintenance ensures optimal performance and extends the life of your filter pump.
- Backwashing: Perform backwashing when the pressure gauge indicates a rise of 0.2-0.3 bar (3-5 PSI) above the clean operating pressure, or at least once a week during heavy use. Follow the "Initial Start-up" steps for backwash and rinse.
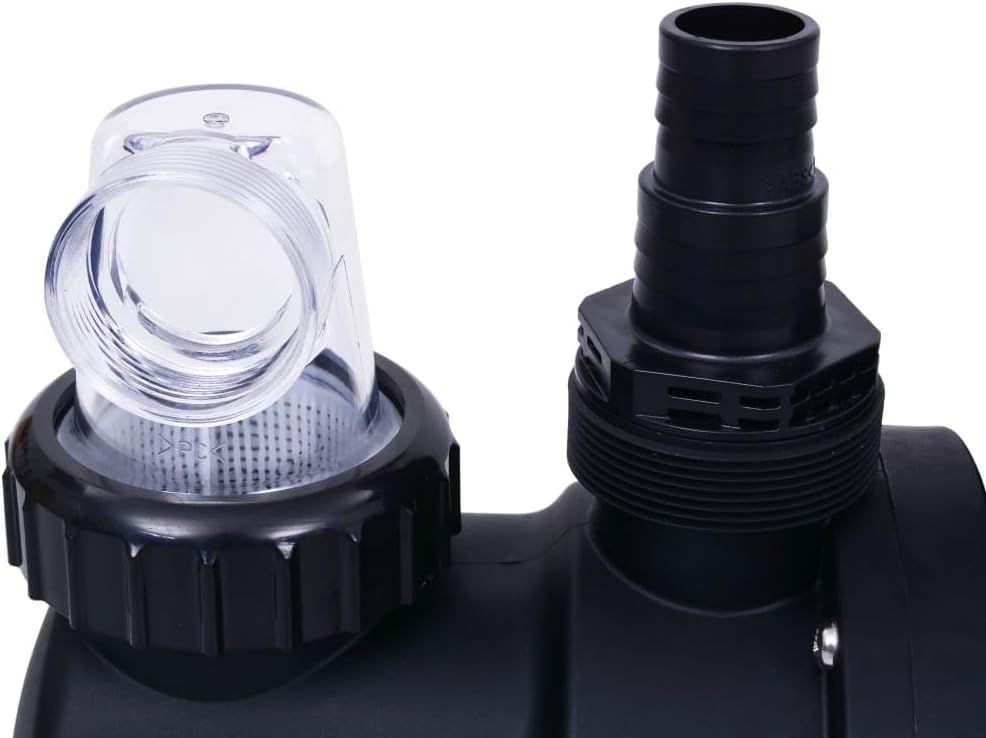
- Pre-filter Cleaning: Regularly check and clean the pre-filter basket.
- Turn off the pump and disconnect power.
- Unscrew the pre-filter cover and remove the basket.
- Remove any debris and rinse the basket thoroughly.
- Reinsert the basket and securely fasten the cover.
- Sand Replacement: Filter sand typically needs to be replaced every 3-5 years, depending on usage and water quality. Filter balls may require more frequent cleaning or replacement.
- Winterizing: Before freezing temperatures, drain all water from the pump and filter. Disconnect hoses, remove the drain plug from the filter tank, and store the pump in a dry, frost-free location. Set the 7-way valve to "WINTERIZE".
Troubleshooting
| Problem | Possible Cause | Solution |
|---|---|---|
| Pump not starting | No power; tripped breaker; motor overload; clogged impeller. | Check power connection and circuit breaker. Allow motor to cool. Clear any debris from the impeller. |
| Low water flow | Clogged skimmer/pump basket; dirty filter media; air leak in suction line; low water level in pool. | Clean skimmer and pump baskets. Backwash/rinse filter. Check all connections for air leaks. Ensure adequate pool water level. |
| Water leaking from pump/filter | Loose connections; damaged O-rings/gaskets; cracked housing. | Tighten all connections. Inspect and replace damaged O-rings or gaskets. Contact customer support if housing is cracked. |
| Filter not cleaning effectively | Dirty filter media; incorrect valve setting; insufficient run time. | Perform backwash and rinse. Ensure valve is set to "FILTER". Increase daily operating hours. |
Warranty and Support
For warranty information or technical support, please contact vidaXL customer service. Keep your purchase receipt and model number (92292) handy for faster service.
Visit the official vidaXL store for more products and support: vidaXL Store.