1. Introduction
This manual provides detailed instructions for the operation and maintenance of your Igzyz IQ24 Hidden Spy Camera Power Bank. This device combines a functional 10000mAh power bank with a discreet 1080P Full HD camera, offering surveillance capabilities with extended battery life. It is designed for home security, office monitoring, and portable recording needs.
2. Product Components and Diagram
Familiarize yourself with the various parts of your device using the diagram below.

Image 1: Overview of the Igzyz IQ24 device, highlighting key components such as the Blue Indicator Light, Red Indicator Light, Micro USB Data Transmission Interface, Type C Power Input Interface, Button V, USB Power Output Interface, Button R (Reset Button), Battery Display, Micro SD Card Slot, Battery Display Switch/LED Lights Switch, LED Lights, Infrared Night Vision Lamp, and Lens. The mode switch for Motion Detection (1) and Loop Recording (2) is also indicated.
- Blue Indicator Light: Indicates various operational states.
- Red Indicator Light: Indicates various operational states.
- Micro USB Data Transmission Interface: For connecting to a computer to transfer data.
- Type C Power Input Interface: For charging the device.
- Button V: Multi-function button for recording, mode switching, and night vision activation.
- USB Power Output Interface (OUT): For charging external devices.
- Button R (Reset Button): Used to reset the device.
- Battery Display: Shows the current battery level (100%, 75%, 50%, 25%).
- Micro SD Card Slot: Insert Micro SD card for video storage.
- Battery Display Switch/LED Lights Switch: Activates battery display or LED lights.
- LED Lights: Provides illumination.
- Infrared Night Vision Lamp: Provides invisible infrared light for night recording.
- Lens: The camera lens.
- Mode Switch: Selects between Motion Detection Mode (1) and Loop Recording Mode (2).
3. Setup
- Charge the Device: Before first use, fully charge the power bank camera using the Type C Power Input Interface. The battery display will indicate charging progress.
- Insert Micro SD Card: Locate the Micro SD Card Slot. Insert a Micro SD card (up to 256GB, a 32GB card is often included) into the slot. Ensure it is inserted correctly until it clicks into place. No formatting is required for the SD card.
- Power On: The device is typically ready for operation once charged and with an SD card inserted.
4. Operating Instructions
4.1. Standard Recording (Loop Recording Mode)
- Set the Mode Switch to position "2" for Loop Recording Mode.
- Press and hold the "V" button to start recording. The indicator lights will confirm recording has begun.
- To stop recording, press and hold the "V" button again.
4.2. Motion Detection Recording
The camera will automatically record when movement is detected.
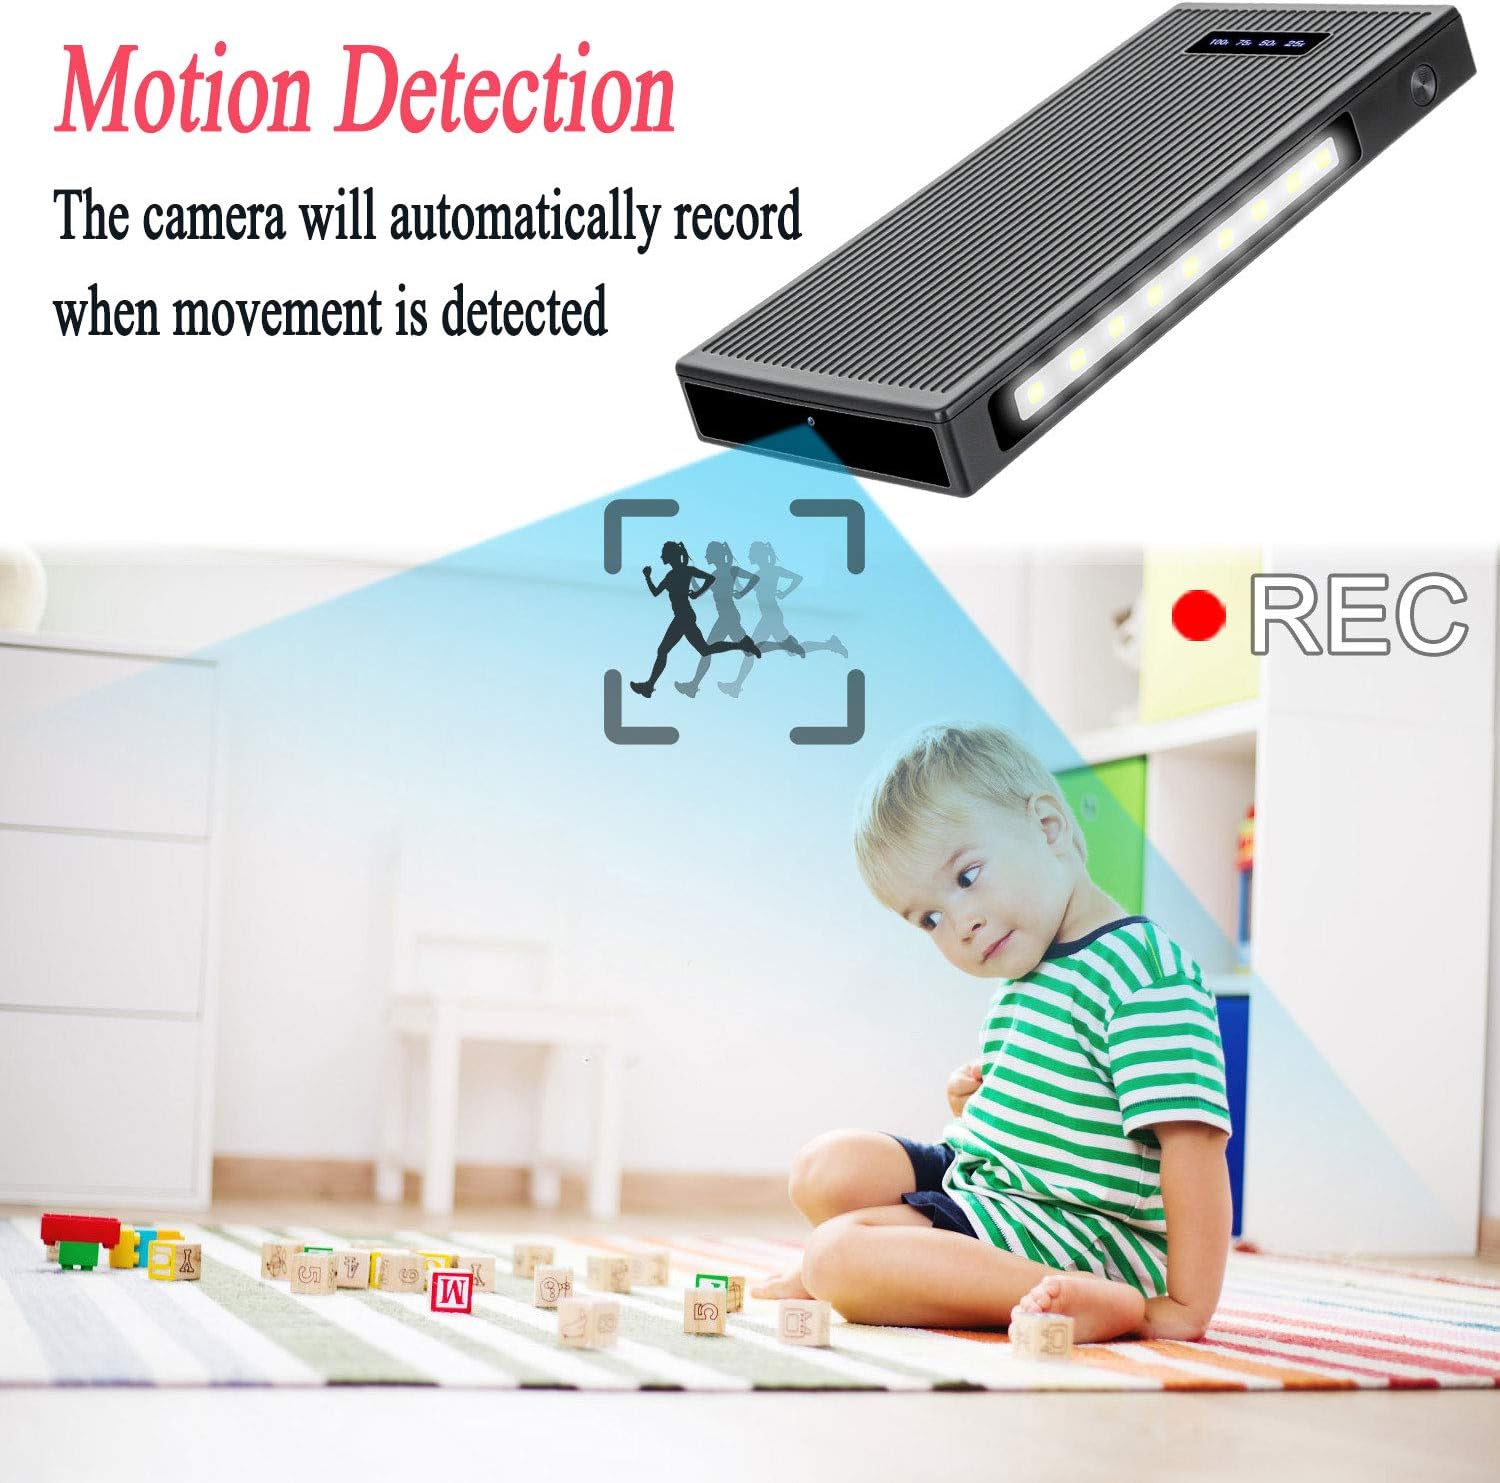
Image 2: Visual representation of the motion detection feature, showing the camera recording when movement is identified within its field of view.
- Set the Mode Switch to position "1" for Motion Detection Mode.
- Press and hold the "V" button to activate motion detection. The camera will enter standby mode and begin recording automatically when motion is detected.
- To stop motion detection, press and hold the "V" button again.
4.3. Night Vision Activation
The device is equipped with 6 IR lights for clear image/video quality in low-light conditions. These infrared lights are nearly invisible to the naked eye.

Image 3: Depiction of the night vision function, illustrating how the camera provides clear visibility in dark environments using infrared light.
- While in either Loop Recording Mode or Motion Detection Mode, press the "V" button once to turn on the infrared night vision lights.
- Press the "V" button once again to turn off the night vision lights.
4.4. LED Lighting Function
The device features integrated LED lights for general illumination.

Image 4: The device's LED lighting feature in use, providing illumination in a low-light outdoor setting.
- Press the Battery Display Switch/LED Lights Switch to activate the LED lights.
- Press the switch again to cycle through brightness levels or turn off the lights.
4.5. Gravity Sensor Function
During recording, if the camera is flipped 180 degrees, the video orientation will automatically adjust to remain upright.

Image 5: Demonstration of the gravity sensor, ensuring recorded video remains upright even if the camera's physical orientation changes.
5. Charging and Battery
The device features a built-in 10000mAh lithium-polymer battery, supporting up to 50 hours of recording on a full charge.

Image 6: The device's 10000mAh battery capacity, capable of charging external devices and providing extended recording time.
- Charging the Power Bank Camera: Connect a Type C charging cable to the Type C Power Input Interface and plug it into a suitable power source. The battery display will show the charging status.
- Charging External Devices: Connect your external device (e.g., smartphone) to the USB Power Output Interface (OUT) using a compatible USB cable. The power bank will begin charging the device.
6. Data Transfer and Viewing Files
To view recorded videos, remove the Micro SD card and use a card reader to connect it to a computer. Alternatively, connect the device directly to a computer using a Micro USB data transmission cable.
- Using a Card Reader: Eject the Micro SD card from the device. Insert the Micro SD card into a compatible card reader, then connect the card reader to your computer. The computer will recognize the card as a removable drive.
- Direct Connection: Connect the Micro USB Data Transmission Interface on the device to your computer using a Micro USB cable. The computer should detect the device as a storage drive.
- Accessing Files: Navigate to the removable drive on your computer. Your recorded video files will be stored in a designated folder (e.g., DCIM or VIDEO). You can then play, copy, or delete files as needed.
7. Maintenance
- Keep the device clean and free from dust and moisture.
- Avoid extreme temperatures and direct sunlight.
- Do not attempt to disassemble or repair the device yourself. Contact customer support for assistance.
- Regularly back up important video files from the Micro SD card to prevent data loss.
8. Troubleshooting
| Problem | Possible Cause | Solution |
|---|---|---|
| Device does not power on. | Low battery; Device malfunction. | Charge the device fully. If problem persists, press the Reset Button (R). |
| Cannot record video. | No Micro SD card; SD card full; SD card error. | Ensure an SD card is inserted. Check SD card capacity. Try a different SD card. |
| Poor video quality. | Insufficient lighting; Lens obstruction. | Activate night vision in low light. Clean the camera lens. |
| Motion detection not working. | Incorrect mode selected. | Ensure Mode Switch is set to position "1" and motion detection is activated by pressing the "V" button. |
| Device unresponsive. | Temporary software glitch. | Press the Reset Button (R) using a small pin or paperclip. |
9. Specifications
| Feature | Specification |
|---|---|
| Model Reference | IQ24 |
| Video Recording Resolution | 1080p Full HD (1920 x 1080 Pixels) |
| Frame Rate | 30 frames per second |
| Viewing Angle | 90 Degrees |
| Battery Capacity | 10000mAh Lithium-polymer |
| Recording Time (Full Charge) | Up to 50 hours |
| Storage | Micro SD Card (up to 256GB, not included unless specified) |
| Night Vision | 6 Invisible IR Lights (3-5 meter range) |
| Motion Detection | Yes |
| Loop Recording | Yes |
| Gravity Sensor | Yes (Auto video orientation) |
| Power Input | Type C (5 Volts, 5 Watts) |
| Power Output | USB-A |
| Material | Plastic |
| Dimensions (L x W x H) | 15 x 7 x 1.5 cm |
| Weight | 310 grams |
| Recommended Uses | Surveillance, Baby Monitoring |
| Compatible Devices | Computer (for data transfer) |
10. Warranty and Support
Igzyz products come with a 12-month free refund or replacement warranty and lifetime technical support.
If you encounter any issues during use, please do not hesitate to contact our customer support team. We are committed to providing assistance and resolving any problems you may experience with your device.
For support, please refer to the contact information provided with your purchase or visit the official Igzyz website.
