
Introduction
This manual provides detailed instructions for the safe and effective use of your Flittor Dog Training Collar. This system is designed to assist in training dogs by providing tone, vibration, and static stimulation to correct unwanted behaviors. Please read this manual thoroughly before operating the device to ensure proper usage and to maximize training effectiveness.
Package Contents
Carefully unpack your Flittor Dog Training Collar system and ensure all items are present:
- 1 x Remote Transmitter
- 2 x Receiver Collar
- 2 x Adjustable Collar Straps
- 1 x Test Light
- 1 x USB Charging Cable
- 4 x Contact Points (short)
- 4 x Conductive Silicone Covers (for short contact points)
- 4 x Longer Contact Points (for dogs with thicker fur)
- 4 x Conductive Silicone Covers (for longer contact points)
- 1 x Detailed User Manual

Image: All components included in the Flittor Dog Training Collar package, laid out for inspection.
Product Overview
Remote Transmitter
The remote transmitter features an LCD screen with backlight for clear visibility in various lighting conditions. It allows control over two receiver collars (Channel A and Channel B) and offers three training modes: Tone, Vibration, and Static Stimulation.

Image: Diagram illustrating the remote transmitter's buttons and LCD screen, including indicators for channel, security keypad lock, tone mode, shock level, vibration level, and battery capacity.
- LCD Screen: Displays current settings, battery level, and active channel.
- Channel/Screen Lock Button: Toggles between Channel A and B, and activates/deactivates the keypad lock.
- Tone Button: Activates the audible tone.
- Vibration Button: Activates vibration mode (levels 1-8).
- Shock Button: Activates static stimulation mode (levels 1-16).
- Shock/Vibration Up/Down Buttons: Adjusts the intensity level for vibration or static stimulation.
- LED Indicator: Shows operational status.
Receiver Collar
The receiver collar is waterproof (IPX67 rated) and features contact points for delivering stimulation. It includes an On/Off/Encode button and an LED indicator.
- On/Off/Encode Button: Powers the receiver on/off and is used for pairing.
- Contact Points: Deliver vibration and static stimulation. Choose appropriate length for your dog's fur.
- Conductive Silicone Covers: Provide comfort and help prevent skin irritation.
- Charging Hole: For connecting the USB charging cable.
- LED Indicator: Shows charging status and operational status.
Setup
1. Charging the Devices
Before first use, fully charge both the remote transmitter and the receiver collars. The devices use rechargeable Lithium Ion batteries.
- Connect the USB charging cable to the charging ports on the remote and receiver(s).
- Plug the USB cable into a standard USB power adapter (not included) or a computer USB port.
- The LED indicator on the receiver will glow red during charging and turn green when fully charged. The remote's battery icon will show full.
- Charging typically takes 2-3 hours.
2. Pairing the Remote and Receiver(s)
The devices are typically pre-paired from the factory. If re-pairing is needed or if you are adding a second receiver:
- Ensure the receiver collar is turned off.
- Press and hold the On/Off/Encode button on the receiver until the LED indicator flashes rapidly.
- On the remote transmitter, select the desired channel (A or B) using the Channel button.
- Press any mode button (Tone, Vibration, or Shock) on the remote within 10 seconds.
- The receiver's LED will flash slowly, indicating successful pairing.
3. Fitting the Collar
Proper collar fit is crucial for effective and safe operation. The contact points must make direct contact with your dog's skin.
- Select the appropriate length of contact points based on your dog's fur length. Use longer points for thick-coated dogs.
- Attach the conductive silicone covers to the contact points for comfort.
- Place the receiver collar around your dog's neck, ensuring the contact points are positioned underneath the neck.
- Adjust the strap so it is snug, but not too tight. You should be able to fit one finger comfortably between the collar and your dog's neck.
- Trim any excess collar strap if necessary.

Image: Visual guide demonstrating how to size and fit the collar for various dog breeds, emphasizing the adjustable strap and different contact point lengths for short and long-haired dogs.
4. Testing the Collar
Always test the static stimulation before placing the collar on your dog.
- Turn on the receiver collar.
- Place the provided test light across the contact points.
- On the remote, select a low static stimulation level (e.g., level 1).
- Press the Shock button. The test light should illuminate, indicating the static function is working.
Operating Instructions
Training Modes
The Flittor Dog Training Collar offers three distinct training modes:
- Standard Tone Mode: Delivers an audible beep. This is often used as a warning or a positive reinforcement signal.
- Vibration Mode (Levels 1-8): Delivers a non-harmful vibration. The intensity can be adjusted to suit your dog's sensitivity.
- Static Stimulation Mode (Levels 1-16): Delivers a safe, adjustable static pulse. Start at the lowest level and increase only as necessary to get your dog's attention.
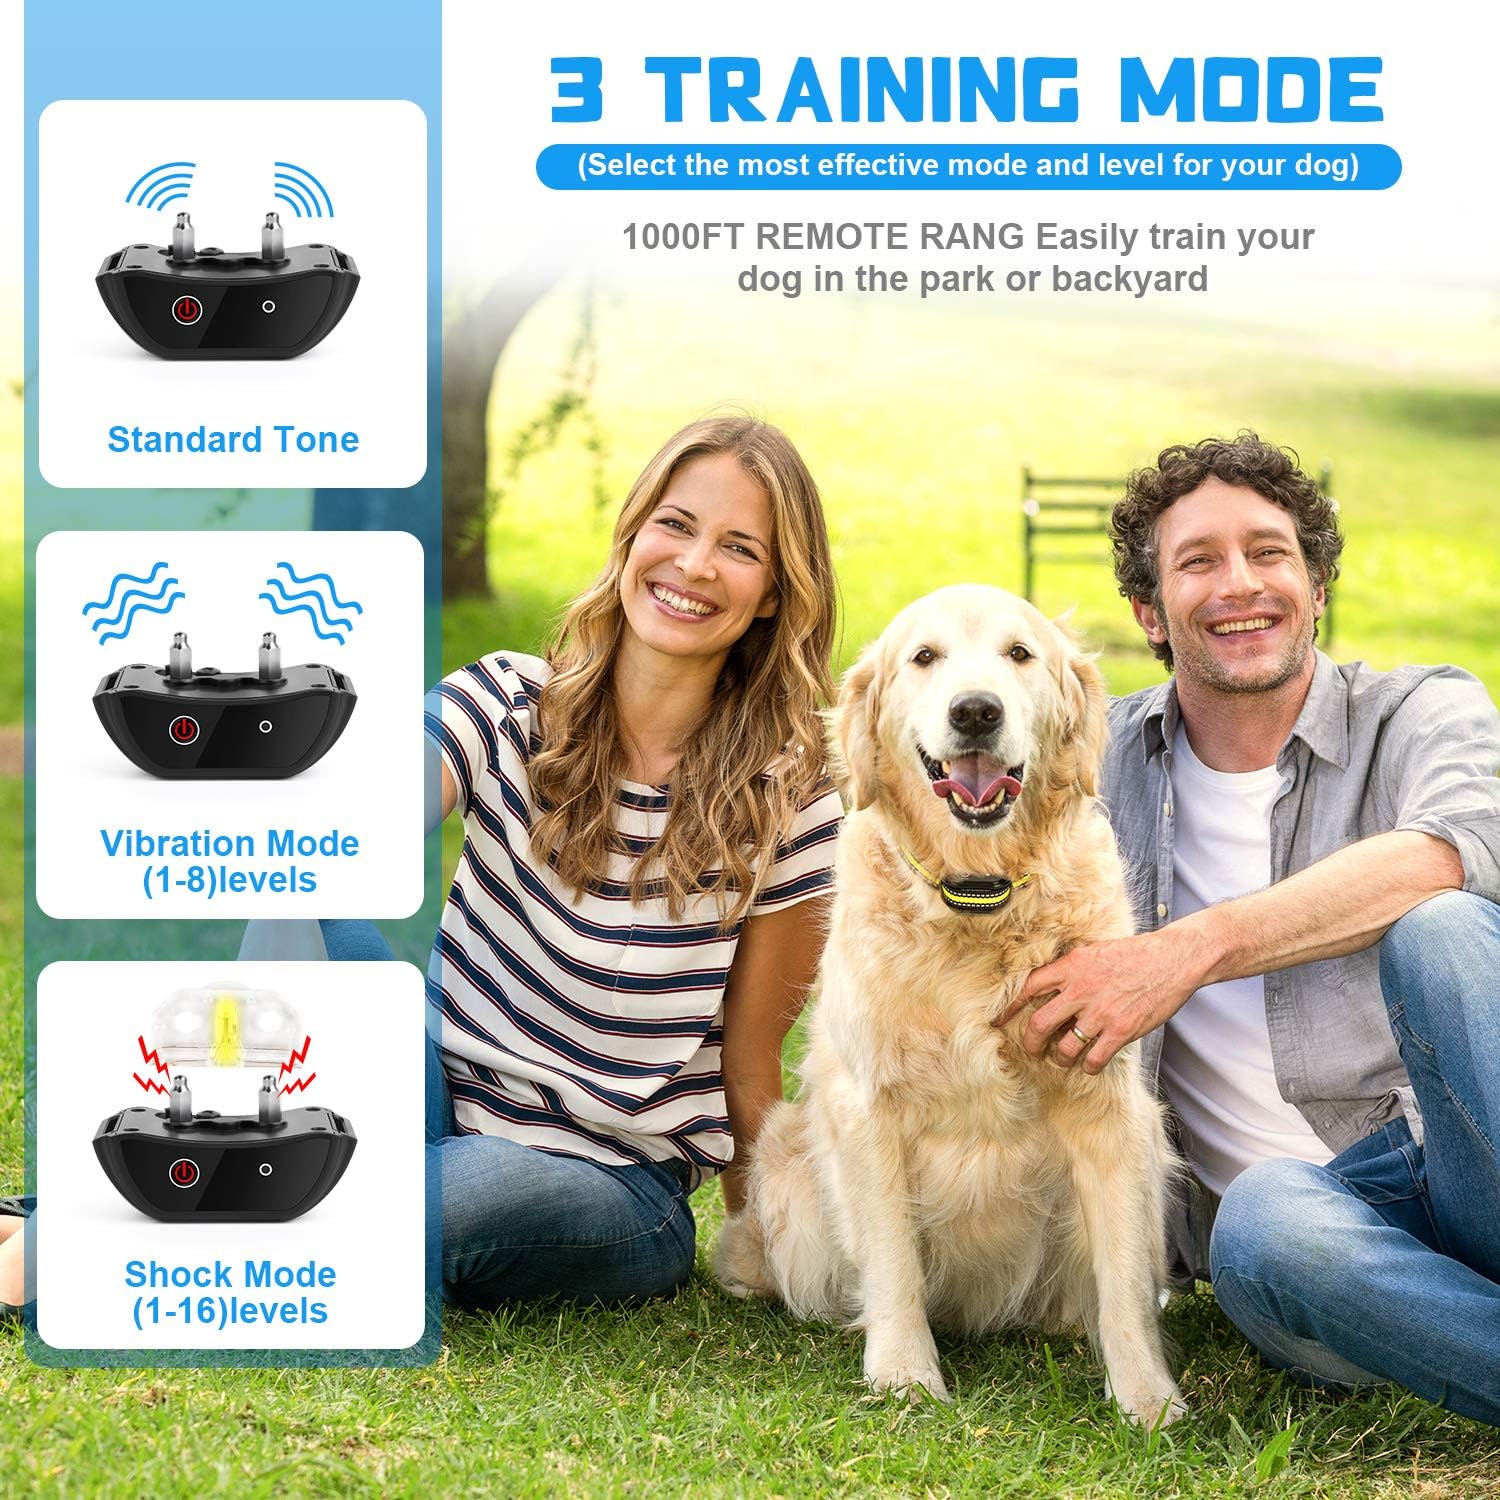
Image: Illustration of the three training modes: Standard Tone, Vibration Mode (1-8 levels), and Shock Mode (1-16 levels), with corresponding receiver icons.
Adjusting Intensity Levels
For Vibration and Static Stimulation modes, use the Up/Down buttons on the remote to adjust the intensity level. The current level will be displayed on the LCD screen. Always start with the lowest effective level.
Multi-Dog Training System
This system supports training up to two dogs simultaneously with a single remote transmitter. Use the Channel button to switch between Channel A and Channel B, or to control both if configured.
- Channel A/B: Allows individual control of each dog's collar.
- Memory for Settings: The remote remembers the last used settings for each channel, simplifying multi-dog training without constant readjustment.
Security Keypad Lock
The remote transmitter features a security keypad lock to prevent accidental activation of training modes. Press and hold the Channel/Screen Lock button to engage or disengage the lock. This feature helps prevent unintended corrections to your dog.
Effective Training Tips
- Consistency is Key: Use the collar consistently for specific behaviors you wish to correct.
- Start Low: Always begin with the lowest effective stimulation level. The goal is to get your dog's attention, not to cause pain.
- Timing: Deliver the correction immediately as the unwanted behavior occurs. Precise timing is crucial for your dog to associate the correction with the action.
- Positive Reinforcement: Always pair corrections with positive reinforcement when your dog performs the desired behavior. Praise and treats are effective motivators.
- Short Sessions: Keep training sessions short and positive to maintain your dog's engagement.
- Observe Your Dog: Pay close attention to your dog's reactions to determine the appropriate level and mode.
Maintenance
Cleaning
- Regularly clean the receiver collar and contact points with a damp cloth to remove dirt and debris.
- Ensure the charging port cover is securely closed to maintain the IPX67 waterproof rating when not charging.
- Do not use harsh chemicals or abrasive cleaners.
Battery Care
- Charge the devices when the battery indicator is low.
- For long-term storage, charge the devices to approximately 50% and store in a cool, dry place. Recharge every few months to prevent battery degradation.
Troubleshooting
| Problem | Possible Cause | Solution |
|---|---|---|
| Collar not responding to remote. | Low battery on remote or receiver; devices not paired; out of range. | Charge both devices; re-pair the remote and receiver; ensure you are within the 1000ft range. |
| Static stimulation not felt by dog. | Collar too loose; contact points not making skin contact; incorrect contact point length; stimulation level too low. | Tighten collar (one finger snugness); ensure contact points touch skin; use longer contact points for thick fur; increase stimulation level gradually. |
| Remote LCD screen is blank. | Low battery; remote is off. | Charge the remote; press any button to wake or power on. |
| Dog shows signs of irritation or redness. | Collar worn for too long; improper fit; allergic reaction. | Remove collar immediately; clean the area; consult a veterinarian. Do not leave the collar on for more than 12 hours per day. |
Specifications
- Model: DEXB-JS-1219-014
- Remote Range: Up to 1000 feet (300 meters)
- Training Modes: Tone, Vibration (1-8 levels), Static Stimulation (1-16 levels)
- Waterproof Rating: Receiver IPX67 (submersible up to 1 meter for 30 minutes)
- Battery Type: Rechargeable Lithium Ion (included)
- Multi-Dog Support: Yes, up to 2 dogs (with additional receiver collars)
- Certifications: UL/CE/RoHS/FCC/UC38.3/MDSD
- Recommended Dog Weight: Over 15 lbs
- Collar Material: Silicone
- Package Dimensions: 6.85 x 6.81 x 2.09 inches
- Weight: 1.45 ounces (product only)
Safety Information
- This training collar is intended for use with dogs only. Do not use on humans or other animals.
- Do not leave the collar on your dog for more than 12 hours per day to prevent skin irritation.
- Regularly check your dog's neck for signs of irritation, redness, or sores. If found, discontinue use and consult a veterinarian.
- The static stimulation is designed to get your dog's attention, not to punish or harm. Use the lowest effective level.
- Keep out of reach of children.
- Do not use this product if your dog is aggressive, sick, or injured. Consult a professional trainer or veterinarian if you have concerns about your dog's temperament.
- Avoid using the collar near sensitive areas of your dog's body, such as the eyes, ears, or mouth.
Warranty and Support
For warranty information or technical support, please refer to the contact details provided with your purchase or visit the official Flittor website. Keep your purchase receipt as proof of purchase for any warranty claims.