
1. Introduction
Thank you for choosing the Anysun Underwater Fishing Camera. This manual provides detailed instructions for the proper setup, operation, and maintenance of your device. Please read this manual thoroughly before use to ensure optimal performance and longevity of your camera system. This system is designed to provide clear underwater viewing and recording for various fishing environments, including ice, lake, boat, and sea fishing.

Figure 1: Anysun Underwater Fishing Camera System Overview
2. Package Contents
Verify that all items listed below are included in your package:
- 7-inch LCD Monitor
- Underwater Fishing Camera with 30m/100ft Cable
- 12V 4500mAh Rechargeable Li-ion Battery
- Power Adapter/Charger
- Removable Sun Visor
- 16GB SD Card (pre-installed or separate)
- Fishing Rod Clips / Float / Remote Control
- User Manual

Figure 2: Included Components
3. Product Features
- HD 1080P Camera: Equipped with an AHD 1080P 2-million-pixel camera, providing clear and vivid underwater images. The camera is cold-resistant, IP68 waterproof, and designed to resist rust, cracking, and fading.
- 7-inch IPS Display: The monitor features a 7-inch LCD screen with 1280*720 pixel resolution for enhanced clarity and vibrant colors. A removable sun visor is included for improved visibility in bright conditions.
- 30pcs LED Illumination: The camera is equipped with 15 infrared (IR) LEDs and 15 white LEDs. Users can select from 4 different LED statuses and adjust brightness to optimize image quality in varying light conditions.
- DVR Recording Function: Capture and save underwater footage directly to a 16GB SD card (included). The system supports SD cards up to 64GB.
- 4500mAh Rechargeable Battery: The system includes a 12V 4500mAh rechargeable Li-ion battery with a status display, providing up to 8 hours of continuous operation on a full charge.

Figure 3: HD 1080P Camera Resolution

Figure 4: IP68 Waterproof Camera with LED Options

Figure 5: DVR Recording Feature

Figure 6: Rechargeable Battery Unit
4. Setup Instructions
- Charge the Battery: Before first use, fully charge the 12V 4500mAh Li-ion battery using the provided power adapter. The battery status display will indicate charging progress.
- Insert SD Card: If not already installed, insert the 16GB SD card into the designated slot on the monitor unit. Ensure it is inserted correctly to enable DVR recording.
- Connect Camera to Monitor: Connect the camera cable to the corresponding input port on the monitor unit. Ensure a secure connection.
- Attach Sun Visor: Slide the removable sun visor onto the monitor for improved viewing in bright outdoor conditions.
- Power On: Connect the charged battery to the monitor unit. Press the power button on the monitor to turn on the system.
- Deploy Camera: Carefully lower the camera into the water using the cable. Use the provided fishing rod clips or float to position the camera as desired.
5. Operating Instructions
- Monitor Display: Once powered on, the monitor will display the live feed from the underwater camera.
- Adjust LED Lights: Use the controls on the monitor or remote to cycle through the 4 LED statuses (white LEDs only, IR LEDs only, all LEDs on, all LEDs off) and adjust brightness. Select the mode that provides the clearest image for your specific water conditions.
- DVR Recording: To start recording, press the 'Record' button on the monitor or remote. Press again to stop. Recorded footage is saved to the SD card.
- Playback: Access the menu to review recorded videos and photos stored on the SD card.
- Menu Navigation: Use the menu buttons to adjust settings such as brightness, contrast, color, and recording resolution. Refer to the on-screen prompts for specific options.
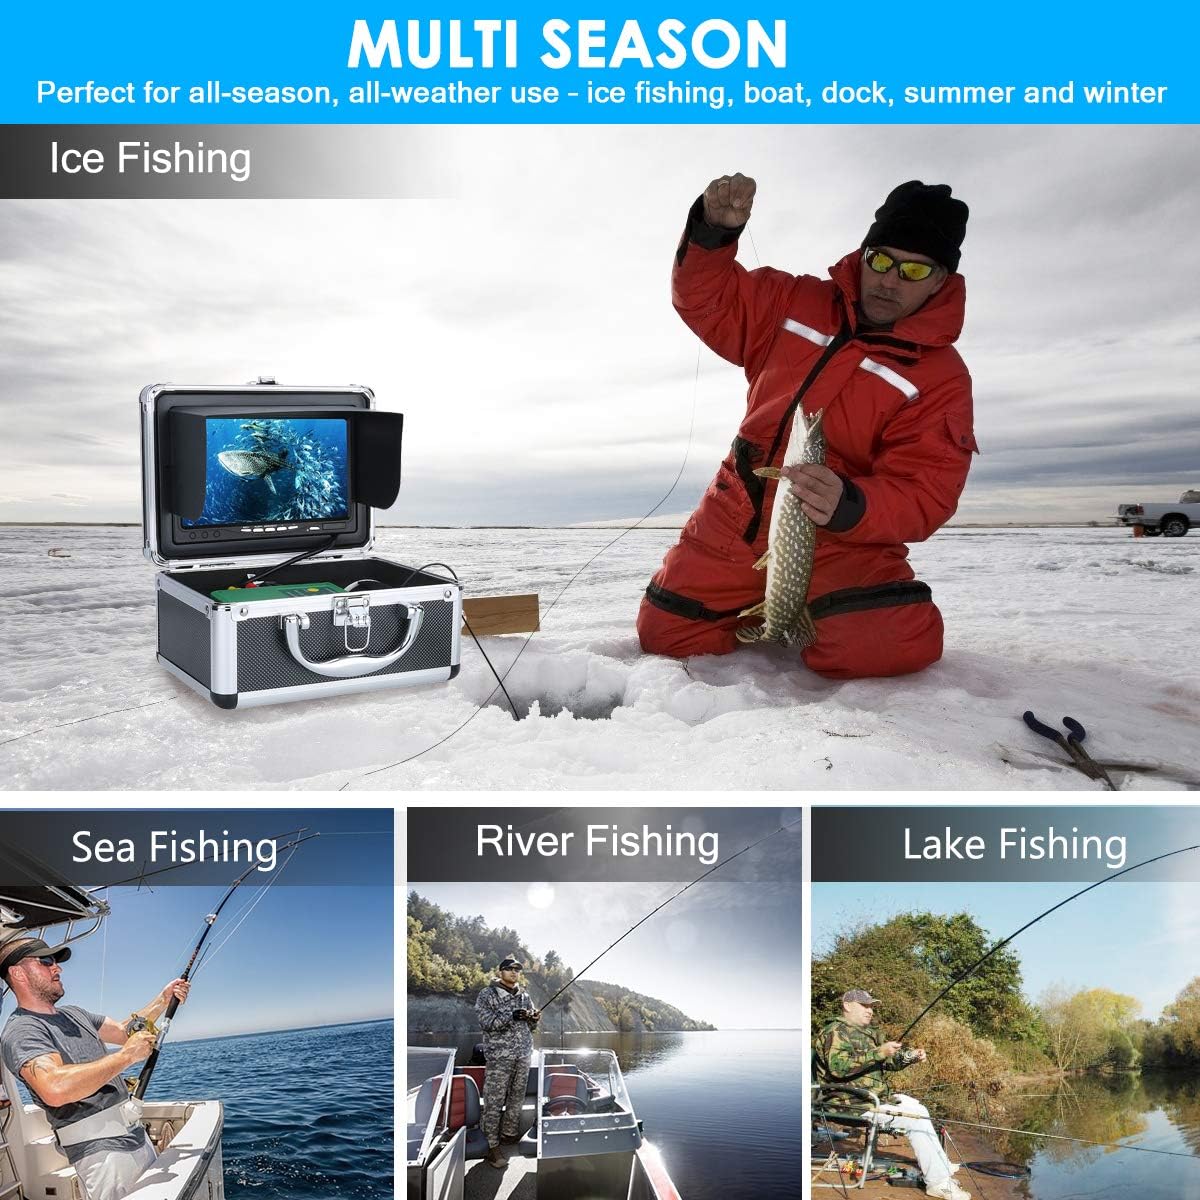
Figure 7: Versatile Use in Various Fishing Environments
6. Maintenance
- Cleaning: After each use, especially in saltwater, rinse the camera and cable with fresh water. Wipe the monitor screen with a soft, dry cloth.
- Storage: Store the camera system in a cool, dry place away from direct sunlight. Ensure the battery is partially charged (around 50%) for long-term storage.
- Battery Care: Avoid fully discharging the battery frequently. Recharge the battery regularly, even if not in use, to maintain its lifespan.
- Cable Inspection: Periodically inspect the camera cable for any signs of wear, cuts, or damage. Replace if necessary to prevent water ingress.
7. Troubleshooting
| Problem | Possible Cause | Solution |
|---|---|---|
| No image on monitor | Loose cable connection, low battery, camera malfunction | Check all cable connections. Recharge battery. Contact support if issue persists. |
| Poor image quality | Murky water, incorrect LED setting, dirty camera lens | Adjust LED brightness/mode. Clean camera lens. Consider water clarity. |
| DVR not recording | SD card full, SD card not inserted correctly, faulty SD card | Check SD card capacity, format or replace if necessary. Ensure correct insertion. |
| Battery not holding charge | Battery degradation, faulty charger | Ensure charger is working. Battery may need replacement over time. |
8. Specifications
| Feature | Detail |
|---|---|
| Camera Resolution | HD 1080P (AHD 2 Million Pixel) |
| Monitor Screen Size | 7 Inches |
| Display Resolution | 1280*720 Pixels (IPS LCD) |
| Cable Length | 30m / 100ft |
| Waterproof Rating | IP68 |
| LED Lights | 15 IR LEDs + 15 White LEDs (Adjustable) |
| Battery Type | 12V 4500mAh Li-ion Rechargeable |
| Battery Life | Up to 8 hours |
| DVR Function | Yes, with 16GB SD card included (supports up to 64GB) |
| Item Weight | 1.2 Kilograms |
9. Warranty and Support
For warranty information, technical support, or service inquiries, please refer to the contact details provided with your purchase documentation or visit the official Anysun website. Please retain your proof of purchase for any warranty claims.