1. Introduction
This manual provides essential information for the safe and correct assembly, operation, and maintenance of your vidaXL Mesh Garden Gate. Please read these instructions thoroughly before beginning installation and retain them for future reference.
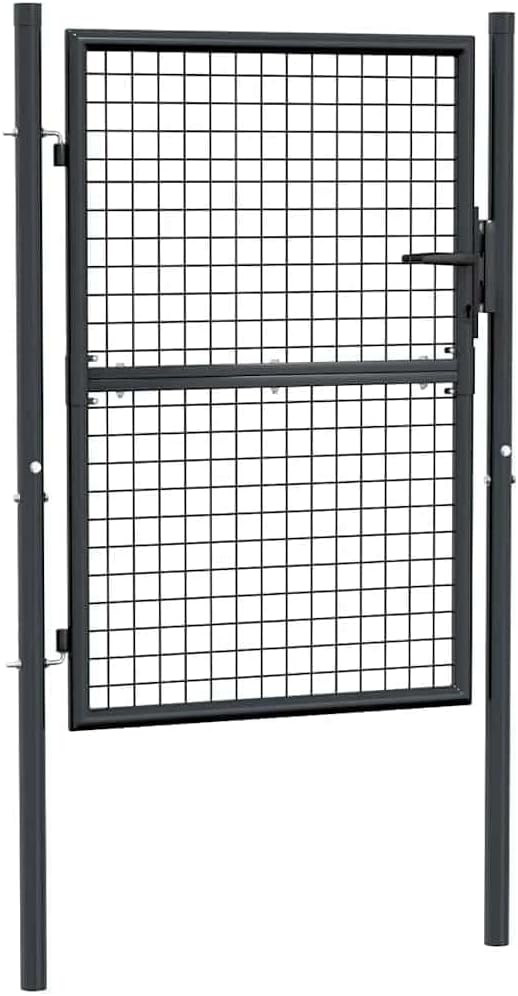
Image 1.1: Front view of the vidaXL Mesh Garden Gate.
2. Safety Information
- Always wear appropriate personal protective equipment (PPE) such as gloves and safety glasses during assembly.
- Ensure all components are present and undamaged before starting assembly. Do not use damaged parts.
- Assembly requires at least two people for safe handling of the gate frame.
- Ensure the installation surface is stable and level to prevent the gate from leaning or falling.
- Keep children and pets away from the assembly area.
- Do not climb on or hang from the installed gate.
- Regularly inspect the gate for loose fasteners or signs of wear and tear. Tighten or replace components as necessary.
3. Package Contents
Verify that all the following components are included in your package:
- Mesh Gate Frame (1 unit)
- Gate Posts (2 units)
- Bolt Hinges (quantity as per design, typically 2-4)
- Locking Mechanism (1 unit)
- Keys (3 units)
- Fasteners and Mounting Hardware (screws, nuts, washers)
- Instruction Manual (this document)

Image 3.1: Example of gate components. Actual components may vary slightly.
4. Setup and Installation
Follow these steps for proper assembly and installation of your mesh garden gate:
- Prepare the Area: Choose a suitable location for your gate. Ensure the ground is level and clear of obstructions. Mark the positions for the two gate posts, allowing for the gate's width plus necessary clearance for opening and closing.
- Install Gate Posts: Securely install the gate posts into the ground. Depending on your ground type, this may involve digging holes and setting posts in concrete, or using ground anchors. Ensure posts are plumb and stable.
- Attach Hinges to Posts: Mount the bolt hinges to one of the gate posts (the hinge post) at the desired height. Ensure they are aligned vertically. Do not fully tighten them yet, allowing for minor adjustments.
- Attach Gate Frame to Hinges: Carefully lift the mesh gate frame and align its pre-drilled holes with the bolt hinges on the post. Secure the gate frame to the hinges using the provided fasteners.
- Adjust and Tighten Hinges: With the gate attached, check its alignment. The gate should swing freely without dragging on the ground. Adjust the hinges as needed, then fully tighten all hinge fasteners.
- Install Locking Mechanism: Position the locking mechanism on the gate frame and the corresponding receiver on the opposite gate post (the latch post). Ensure the latch aligns perfectly with the receiver when the gate is closed. Mark and drill pilot holes if necessary, then secure both parts with the provided screws.
- Final Check: Open and close the gate several times to ensure smooth operation and secure locking. Test the lock with the provided keys.

Image 4.1: Gate dimensions for planning installation.

Image 4.2: Detail of the hinge mechanism for attachment.

Image 4.3: Detail of the gate handle and keyhole for the locking mechanism.
5. Operating Instructions
- Opening the Gate: To open the gate, turn the key in the lock (if locked) and then press down on the handle to disengage the latch. Pull the gate open in the desired direction.
- Closing the Gate: Push the gate firmly until the latch engages with the receiver on the gate post. You should hear a click.
- Locking the Gate: Once the gate is closed and the latch is engaged, insert the key into the lock and turn it to secure the gate. Remove the key and store it in a safe place.
6. Maintenance
- Cleaning: Clean the gate regularly with a mild soap solution and a soft cloth. Rinse thoroughly with water and dry to prevent water spots or mineral buildup. Avoid abrasive cleaners or harsh chemicals.
- Lubrication: Periodically apply a silicone-based lubricant to the hinges and locking mechanism to ensure smooth operation and prevent rust.
- Inspection: Annually inspect all fasteners, hinges, and the locking mechanism for tightness and wear. Tighten any loose screws or bolts. Replace any worn or damaged parts immediately.
- Rust Prevention: The galvanized steel construction provides good rust resistance. However, if scratches or chips occur in the coating, touch up with rust-inhibiting paint to prevent corrosion.
7. Troubleshooting
| Problem | Possible Cause | Solution |
|---|---|---|
| Gate sags or drags on the ground. | Loose hinges or uneven posts. | Tighten hinge bolts. Re-level posts if necessary. |
| Latch does not engage properly. | Misaligned latch or receiver. | Adjust the position of the latch or receiver until they align correctly. |
| Gate is difficult to open/close. | Dry or rusty hinges/latch. | Lubricate hinges and latch mechanism with silicone spray. |
| Gate appears wobbly. | Loose post installation or loose frame connections. | Ensure posts are firmly set. Check and tighten all frame connection bolts. |
8. Specifications
- Brand: vidaXL
- Model Number: 145772
- Material: Galvanised Alloy Steel
- Color: Grey
- Product Dimensions: 39.4" L x 33.7" W (100 cm x 175 cm, referring to the gate panel and posts)
- Assembly Required: Yes
- Number of Pieces: 3 (main gate panel and 2 posts)
- Item Weight: 33.3 pounds
9. Warranty and Support
For warranty information or customer support, please refer to the retailer's website or contact vidaXL directly. Keep your purchase receipt as proof of purchase.