1. Introduction
This manual provides essential information for the proper installation, operation, and maintenance of your RAREELECTRICAL Gear Reduction Starter, Model LMS1138A4. Please read these instructions carefully before proceeding with installation or use to ensure safety and optimal performance.
This starter is designed for specific automotive applications. It is crucial to verify compatibility with your vehicle's original equipment manufacturer (OEM) part number before installation.
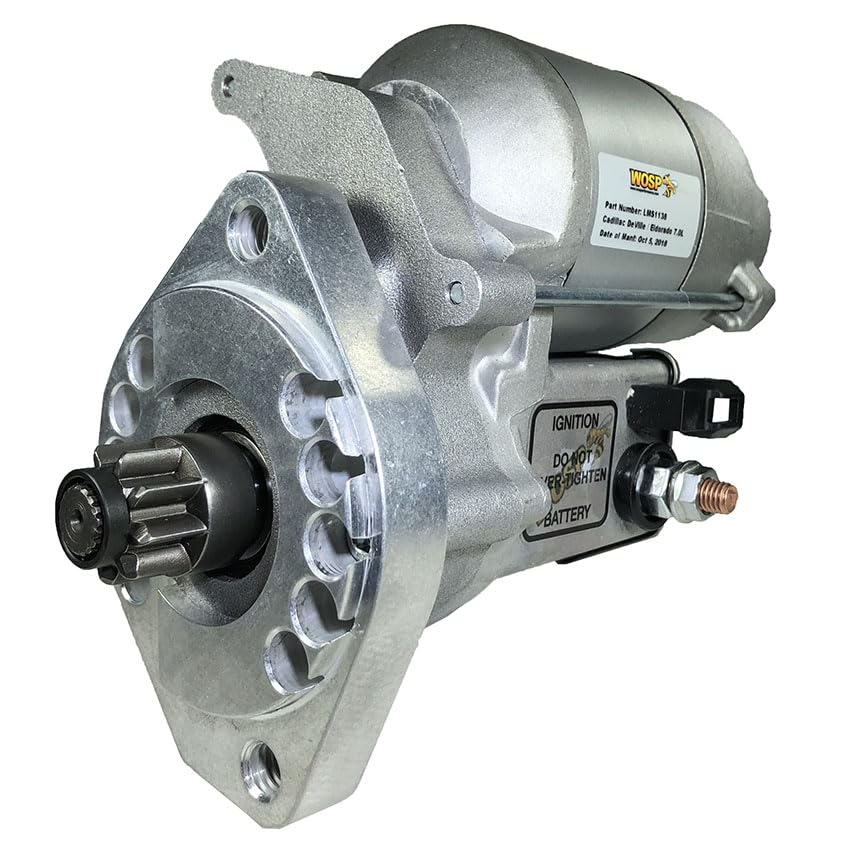
Image 1: The RAREELECTRICAL Gear Reduction Starter, Model LMS1138A4. This image displays the starter motor assembly with its gear reduction mechanism and electrical terminals.
2. Product Specifications
The RAREELECTRICAL Gear Reduction Starter is engineered to meet or exceed OEM specifications for the listed applications.
- Model Number: LMS1138A4
- Brand: RAREELECTRICAL
- Power: 1.4 KW
- Rotation: Clockwise
- Starter Type: OSGR (Offset Gear Reduction)
- Number of Teeth: 9
- Gear OD: 25MM
- Material: Metal
- Product Dimensions: 11 x 7 x 7 inches
- Item Weight: 10 Pounds
- What's in the Box: 1 x Gear Reduction Starter
2.1. Vehicle Compatibility
This starter is compatible with the following vehicles, provided the OEM part numbers match:
- Cadillac Deville: 6.4L (6392CC 390CID V8) - 1961, 1962, 1963
- Cadillac Eldorado: 6.4L (6392CC 390CID V8) - 1961, 1962, 1963
- Cadillac Series 60 Fleetwood: 6.4L (6392CC 390CID V8) - 1961, 1962, 1963
- Cadillac Series 62: 6.4L (6392CC 390CID V8) - 1961, 1962, 1963
Replaces OEM Part Numbers:
- Delco: 1107311, 1107387, 1107799
- Lester: 3669, 3675
- Wosp: LMS1138
Important: Always cross-reference the part number on your original starter with the numbers listed above to ensure correct fitment before installation.
3. Installation Guidelines
Installation of automotive electrical components, especially starters, can be complex and requires specific tools and knowledge. Professional installation by a certified mechanic is highly recommended. Incorrect installation can lead to damage to the starter, vehicle, or personal injury.
3.1. Safety Precautions
- Always disconnect the vehicle's battery (negative terminal first) before beginning any electrical work.
- Wear appropriate personal protective equipment (PPE), including safety glasses and gloves.
- Ensure the vehicle is securely supported on jack stands if working underneath.
- Do not overtighten electrical connections. Refer to vehicle service manual for torque specifications.
- Keep all wiring clear of moving parts and hot surfaces.
3.2. General Installation Steps (Consult Vehicle Service Manual for Specifics)
- Disconnect Battery: Disconnect the negative (-) battery cable, then the positive (+) cable.
- Locate Starter: Identify the location of the existing starter motor on your vehicle.
- Remove Wiring: Carefully disconnect all electrical wiring from the old starter. Note the position of each wire for correct reinstallation.
- Remove Mounting Bolts: Remove the bolts securing the old starter to the engine or transmission bell housing.
- Remove Old Starter: Carefully remove the old starter from the vehicle. It may be heavy.
- Install New Starter: Position the new RAREELECTRICAL starter in place and secure it with the mounting bolts. Tighten to manufacturer's specifications.
- Connect Wiring: Reconnect all electrical wiring to the new starter, ensuring correct polarity and secure connections.
- Reconnect Battery: Reconnect the positive (+) battery cable, then the negative (-) cable.
- Test Operation: Attempt to start the vehicle and check for proper starter engagement and engine cranking.
For detailed, vehicle-specific installation instructions, always refer to your vehicle's official service and repair manual.
4. Operation
The RAREELECTRICAL Gear Reduction Starter operates automatically when the ignition key is turned to the "START" position. It is designed to provide reliable cranking power to start your engine.
- Ensure your vehicle's battery is fully charged and in good condition for optimal starter performance.
- Avoid prolonged cranking (more than 10-15 seconds) to prevent overheating the starter. Allow a brief cool-down period between attempts if the engine does not start immediately.
5. Maintenance
The RAREELECTRICAL starter is designed for durability and typically requires minimal maintenance. However, regular vehicle maintenance practices contribute to its longevity.
- Battery Health: Ensure your vehicle's battery is regularly tested and maintained. A weak battery can strain the starter.
- Cable Connections: Periodically inspect the battery cables and starter connections for corrosion or looseness. Clean and tighten as necessary.
- Engine Condition: A well-maintained engine that starts easily reduces the workload on the starter.
6. Troubleshooting
If you experience issues with your starter, consider the following common troubleshooting steps. If problems persist, consult a qualified mechanic.
| Symptom | Possible Cause | Solution |
|---|---|---|
| Starter does not engage or click. | Dead or weak battery, loose battery cables, faulty ignition switch, faulty starter relay, open circuit. | Check battery charge and connections. Test ignition switch and relay. Inspect wiring for damage. |
| Starter clicks but engine does not crank. | Weak battery, poor battery cable connection, faulty starter solenoid, internal starter motor issue. | Charge or replace battery. Clean and tighten battery terminals. Tap starter solenoid (temporary fix). Professional diagnosis needed. |
| Starter cranks slowly. | Weak battery, corroded battery cables, high resistance in starter circuit, engine mechanical issue. | Test battery and charging system. Clean battery terminals and cable ends. Check engine for binding. |
| Grinding noise during starting. | Damaged starter drive gear, damaged flywheel/flexplate teeth, improper starter alignment. | Inspect starter drive and flywheel. Professional inspection and repair required. |
Warning: Do not attempt repairs if you are not qualified. High voltage and moving parts can cause severe injury.
7. Official Product Video
Watch this official video from RAREELECTRICAL for more information about the brand and product quality.
Video 1: An official video from RAREELECTRICAL showcasing the importance of reliable electrical parts for various applications, including personal vehicles, lawn care, recreation, and agriculture. The video emphasizes the brand's commitment to quality and customer support.
8. Warranty and Support
RAREELECTRICAL stands behind the quality of its products. For specific warranty details, return policies, or technical support, please refer to the documentation included with your purchase or visit the official RAREELECTRICAL website.
If you have questions regarding fitment or require assistance, contact RAREELECTRICAL customer service.

Image 2: A collage representing the RAREELECTRICAL brand, featuring various vehicles and equipment that rely on quality electrical components, reinforcing the brand's commitment to providing reliable parts.