Browning BTC SBP12
Browning Solar Battery Pack 12 Volt User Manual
Model: BTC SBP12
Introduction
The Browning Solar Battery Pack 12 Volt (Model BTC SBP12) is designed to provide supplemental power to your Browning Trail Camera, extending its operational life in the field. This unit features an integrated solar panel that recharges its internal batteries, which then supply power to your connected trail camera. It is compatible with all Browning Trail Camera models and includes six rechargeable batteries for immediate use.
Safety Information
WARNING: This product contains chemicals known to the State of California to cause cancer and birth defects or other reproductive harm.
- Do not expose the unit to extreme temperatures or direct flame.
- Ensure proper ventilation when charging.
- Do not attempt to disassemble or modify the unit.
- Keep out of reach of children.
Package Contents
- Browning Solar Battery Pack (BTC SBP12)
- 6 Rechargeable Batteries (pre-installed or separate)
- Mounting Strap
- Power Cable for connecting to trail camera
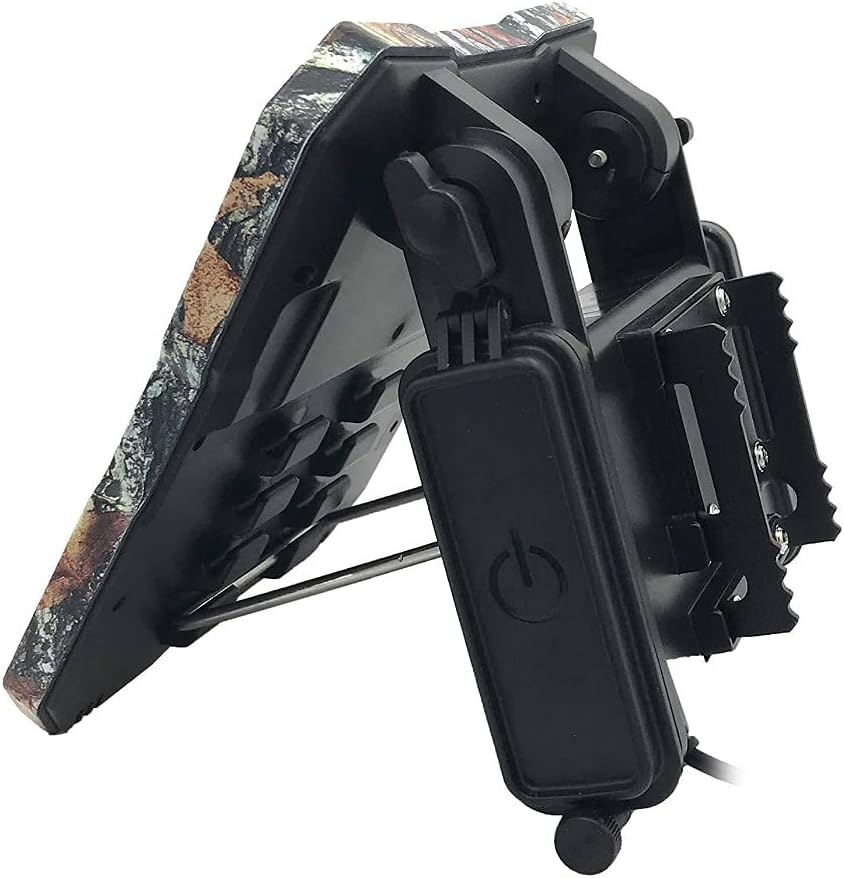
Product Overview


Setup
- Install Batteries: Open the battery compartment on the back of the solar panel unit (refer to Figure 2). Insert the six included rechargeable batteries, ensuring correct polarity. Close the compartment securely.
- Mounting Location: Select a location that receives maximum direct sunlight throughout the day. Avoid areas with heavy shade from trees or buildings.
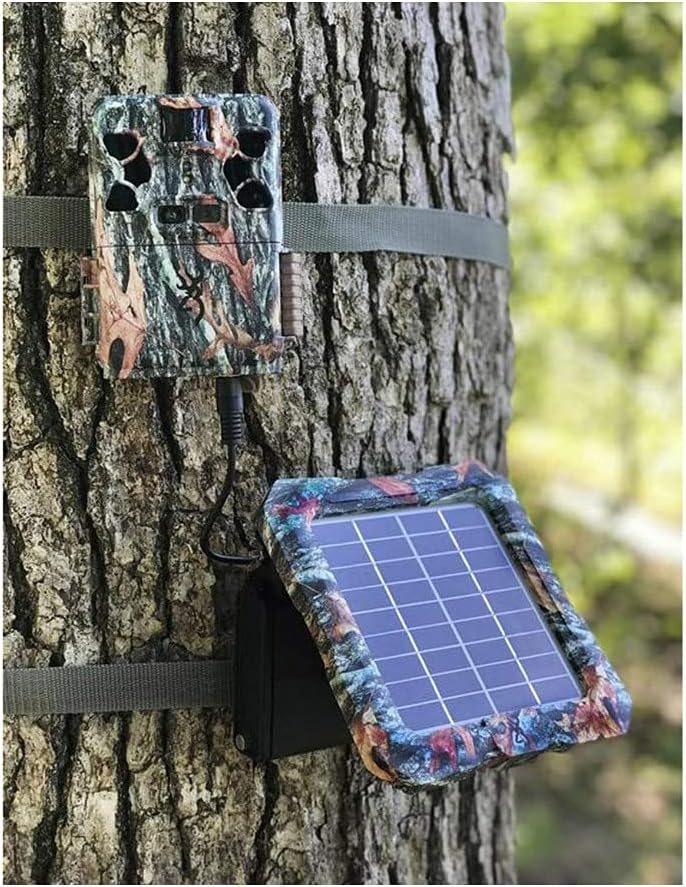
- Attach to Tree/Post: Use the provided mounting strap to securely attach the solar battery pack to a tree or post (refer to Figure 5). Ensure the unit is stable and will not shift in wind or adverse weather.
- Adjust Solar Panel Angle: Utilize the adjustable mounting bracket to angle the solar panel directly towards the sun for optimal charging efficiency. The panel should be angled to capture the most sunlight during peak hours.
- Connect to Trail Camera: Connect the power cable from the solar battery pack to the external power input port on your Browning Trail Camera (refer to Figure 6). Ensure the connection is firm and secure.

Note: The solar battery pack is designed to provide supplemental power to your trail camera. It charges its own internal rechargeable batteries, which then power the camera. It does NOT directly recharge the batteries inside your trail camera. It is recommended to have batteries installed in your trail camera as a backup power source.
Operating Instructions
- Power On: Locate the ON/OFF switch on the side control panel (refer to Figure 4). Slide the switch to the 'ON' position.
- Battery Status: The LED indicator lights on the control panel (Figure 4) will show the current charge level of the internal rechargeable batteries. Monitor these lights to ensure adequate power.
- Solar Charging: Once powered on and exposed to sunlight, the solar panel will automatically begin charging its internal batteries. Ensure the panel is clean and unobstructed for optimal performance.
- Camera Operation: With the solar battery pack connected and powered on, your trail camera will draw power from the solar unit, preserving its internal batteries.
Maintenance
- Cleaning: Periodically clean the surface of the solar panel with a soft, damp cloth to remove dirt, dust, or debris that may hinder charging efficiency. Do not use abrasive cleaners.
- Battery Check: While the internal batteries are rechargeable, their capacity may diminish over time. If you notice reduced performance, consider replacing the six internal rechargeable batteries.
- Cable Inspection: Regularly inspect the power cable and connectors for any signs of wear, damage, or corrosion. Replace if necessary to ensure a reliable connection.
- Mounting Security: Check the mounting strap and bracket periodically to ensure the unit remains securely attached and properly angled.
Troubleshooting
| Problem | Possible Cause | Solution |
|---|---|---|
| Solar panel not charging internal batteries. | Insufficient sunlight; dirty solar panel; faulty internal batteries. | Relocate unit to a sunnier spot; clean solar panel surface; check/replace internal rechargeable batteries. |
| Trail camera not receiving power from solar unit. | Solar unit is off; power cable is loose/damaged; internal batteries are depleted; solar unit is faulty. | Ensure solar unit is ON; check cable connection; allow solar unit to charge in sunlight; test with fully charged internal batteries. |
| One or more included rechargeable batteries are dead. | Manufacturing defect or prolonged storage. | Replace the faulty battery/batteries with new rechargeable ones of the same type and capacity. |
| Confusion regarding camera battery charging. | Misunderstanding of product function. | The solar panel charges its own internal batteries, which then power the camera. It does not recharge batteries placed inside the trail camera itself. |
Specifications
| Feature | Detail |
|---|---|
| Brand | Browning |
| Model Name | BTC SBP12 |
| Description | Solar Battery Pack 12 Volt |
| Material | Other |
| Item Weight | 2.04 Pounds (0.93 Kilograms) |
| Efficiency | High Efficiency |
| Connector Type | MC4 |
| Maximum Voltage | 12 Volts |
| Included Components | Trail Cam Solar Battery (with 6 rechargeable batteries) |
| Item Dimensions (LxWxH) | 3.5 x 9.5 x 11 inches |
| Color | Camo |
| UPC | 855121008424 |
Warranty and Support
For warranty information and technical support, please contact the manufacturer directly. The warranty description states: "Contact manufacturer".
It is recommended to visit the official Browning website or refer to the contact information provided with your purchase for the most up-to-date support details.
Ask a question about this manual
Ask about setup, troubleshooting, compatibility, parts, safety, or missing instructions. Manuals+ will review the question and use this page’s manual context to help answer it.