WLIVE ADSG615QX
WLIVE Low-Type TV Stand
Model: ADSG615QX
Instruction Manual
1. Introduction
Thank you for purchasing the WLIVE Low-Type TV Stand. This manual provides detailed instructions for assembly, operation, maintenance, and troubleshooting to ensure safe and efficient use of your product. Please read this manual thoroughly before assembly and keep it for future reference.
2. Safety Precautions
- Ensure all parts are present and undamaged before assembly. Do not proceed with assembly if any parts are missing or broken.
- Assemble the unit on a soft, clean surface to prevent scratches.
- Do not overtighten screws during assembly, as this may damage the material.
- Place the TV stand on a flat, stable surface to prevent tipping.
- Do not exceed the maximum weight capacity for the top panel (40kg) and adjustable shelf (15kg).
- Keep small parts and packaging materials away from children to prevent choking hazards.
- Avoid exposing the product to direct sunlight or extreme humidity.
3. Product Overview
The WLIVE Low-Type TV Stand is designed for efficient space utilization and comfortable viewing. It features ample storage and a durable construction.
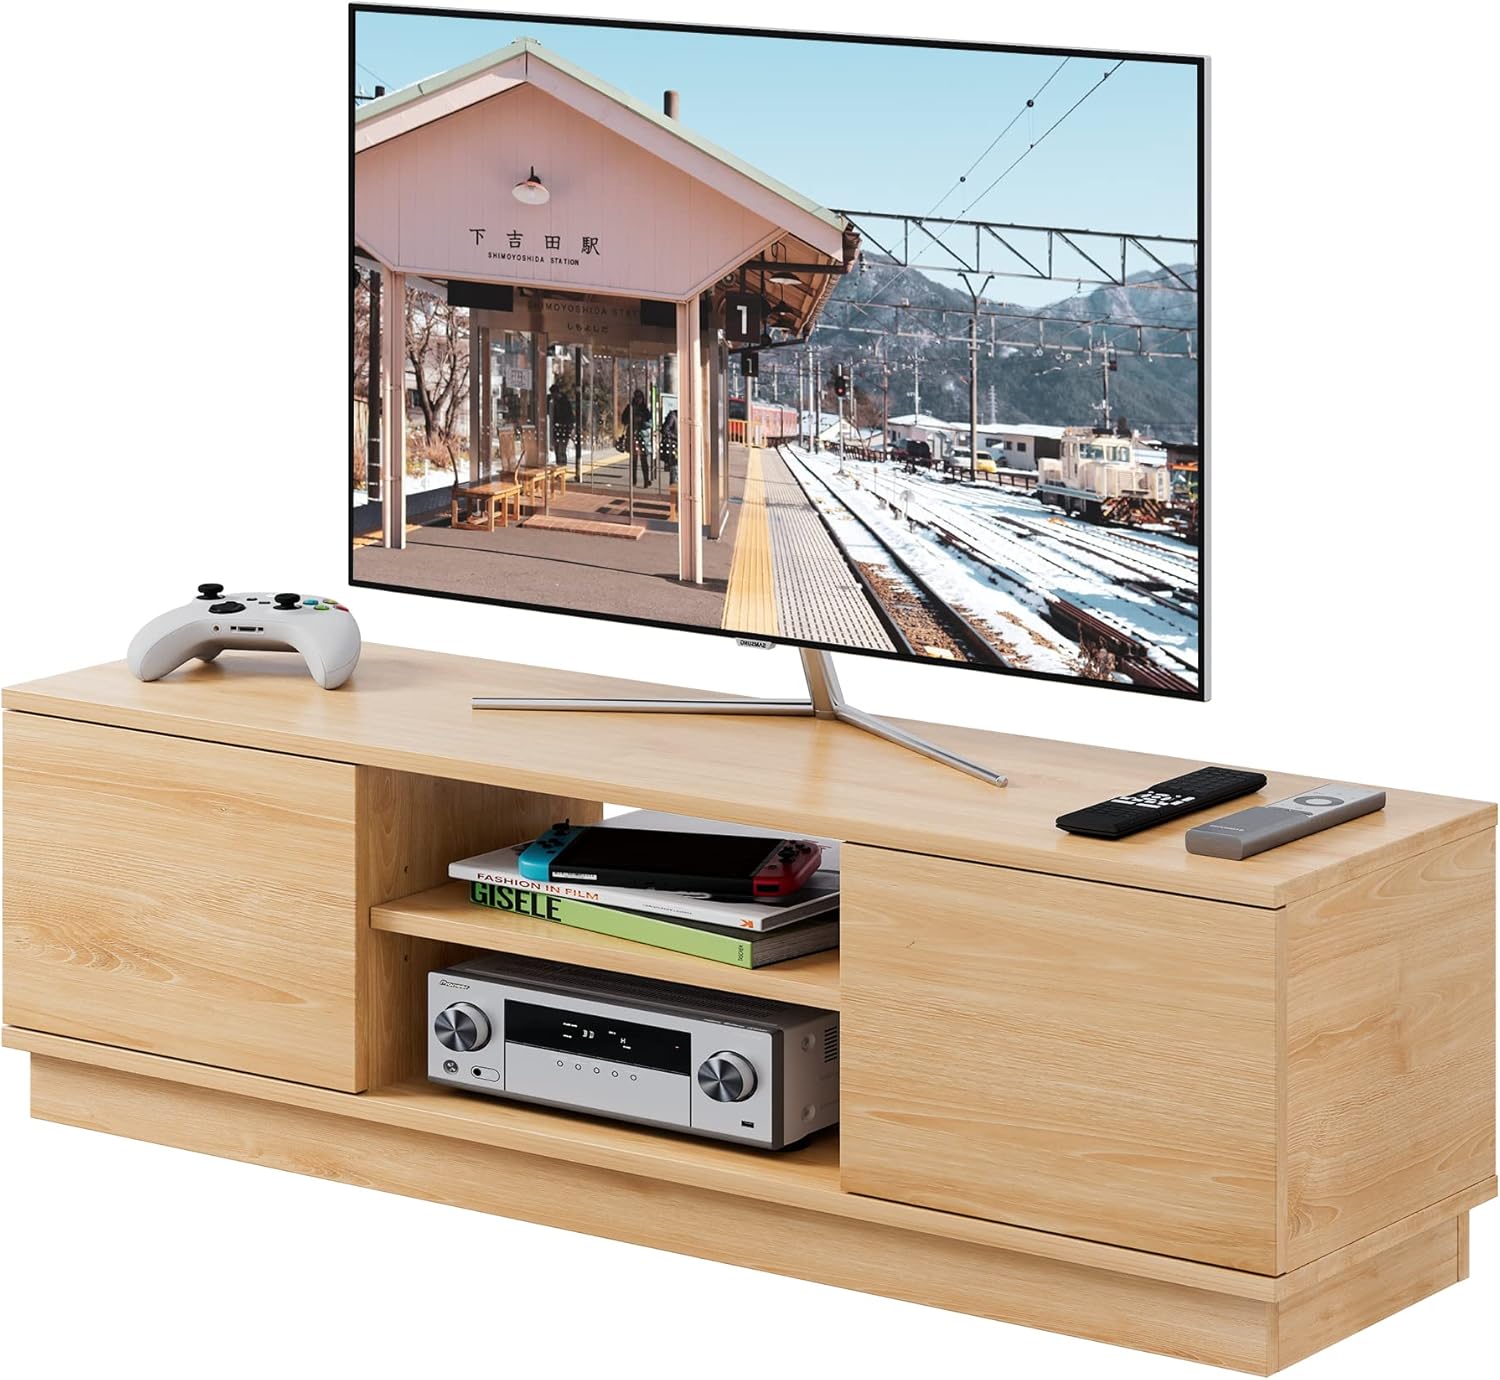
Image: The WLIVE Low-Type TV Stand in a natural wood finish, featuring a television, game console, and media devices. It highlights the open central shelf and two side cabinets.

Image: The TV stand integrated into a modern living room, showcasing its compact and space-saving design.

Image: Product information highlighting large storage capacity, 47V compatibility, low-type design for relaxation, and precise sizing.
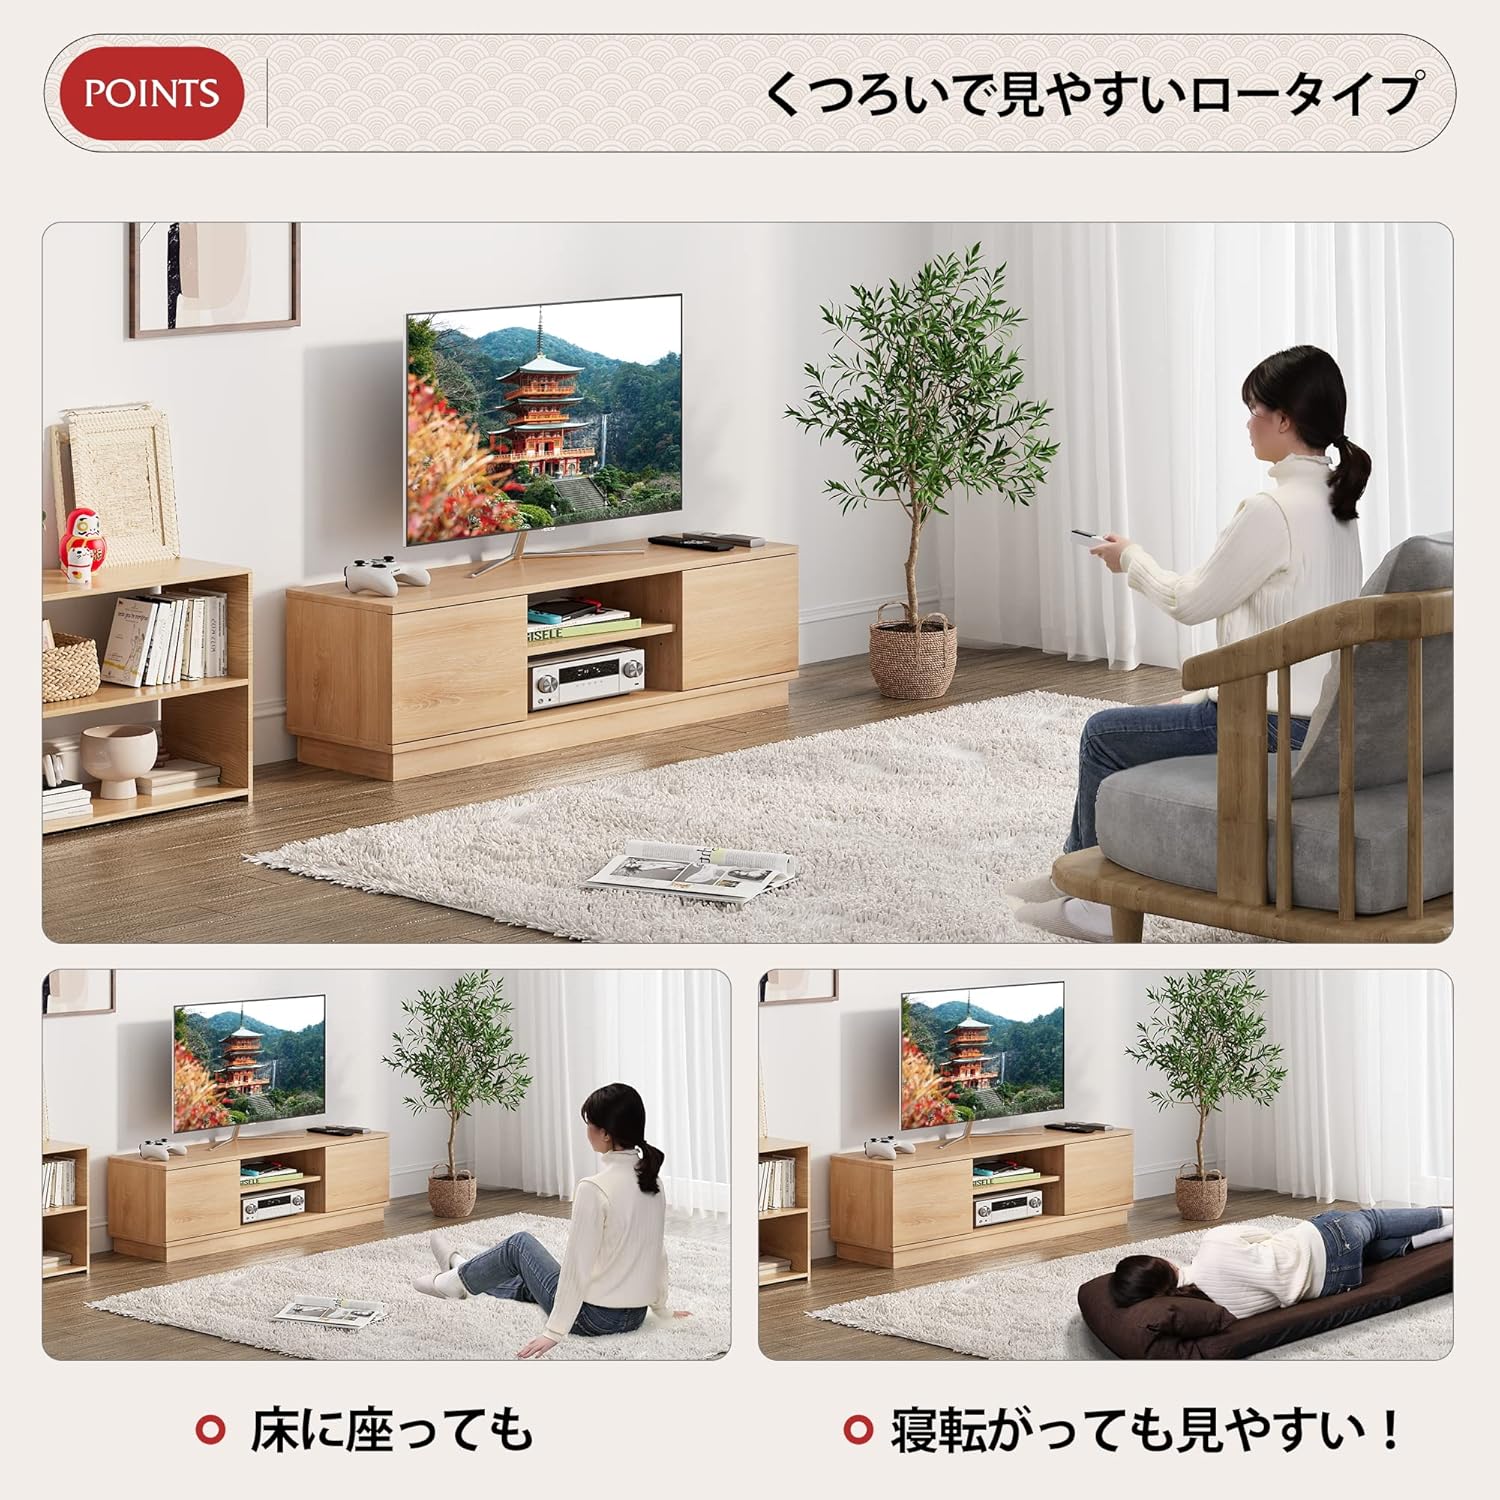
Image: Demonstrates the ergonomic benefits of the low-type design, allowing comfortable viewing whether sitting on the floor or lying down.

Image: Close-up views illustrating the open storage for AV equipment, the 3-level adjustable shelf, and the open-back design for ventilation and cable management.

Image: Shows the spacious cabinet with doors, ideal for storing CDs, DVDs, and game consoles, keeping items neatly out of sight.

Image: Illustrates the TV stand's compatibility with 37V, 42V, and 47V televisions, indicating its versatile design.

Image: A detailed diagram showing the external dimensions of the TV stand: 108cm width, 30cm depth, and 33cm height, along with internal shelf measurements.

Image: Highlights the material's properties: scratch resistance, excellent water resistance, and the inclusion of screw hole stickers for a clean finish.

Image: Illustrates the open-back design that promotes air circulation, preventing heat buildup from electronic devices.

Image: Details the simple door installation mechanism using rotating shafts instead of traditional hinges, making assembly easier.
4. Assembly Instructions
This TV stand is designed for easy assembly. An electric screwdriver is recommended to expedite the process.
4.1 Tools Required
- Phillips Head Screwdriver (manual or electric)
- Hammer (for dowels, if applicable)
- Soft cloth or blanket (to protect surfaces during assembly)
4.2 Assembly Steps
- Unpack and Identify Parts: Carefully unpack all components and hardware. Refer to the included parts list to ensure everything is present.
- Assemble Base Structure: Attach the side panels to the bottom panel using the provided screws and dowels. Ensure connections are secure.
- Install Central Shelf: Insert the adjustable shelf supports into the desired height slots in the central compartment. Place the shelf onto the supports.
- Attach Top Panel: Secure the top panel to the assembled base and side structures.
- Install Cabinet Doors: Attach the cabinet doors using the rotating shaft mechanism. Ensure they open and close smoothly.
- Apply Screw Hole Stickers: Cover any visible screw holes with the provided stickers for a clean finish.
- Final Check: Verify that all screws are tightened and the stand is stable.
5. Operating and Usage
- TV Placement: Place your television centrally on the top panel. Ensure it is within the recommended size range (24-47 inches) and does not exceed the 40kg weight limit.
- Adjustable Shelf: The central shelf can be adjusted to three different heights. To adjust, remove the shelf, reposition the supports to the desired slots, and reinsert the shelf. This allows for flexible storage of various media devices.
- Cable Management: The open-back design facilitates easy routing of cables for your electronic devices. Group cables neatly to prevent tangles and ensure proper ventilation.
- Cabinet Storage: Utilize the side cabinets with doors for discreet storage of items like CDs, DVDs, game accessories, or other household items.
6. Maintenance and Care
- Cleaning: Wipe the surface with a soft, damp cloth. Avoid using harsh chemicals or abrasive cleaners, as they may damage the melamine finish.
- Spills: Immediately wipe up any liquid spills to prevent water damage, as the surface is water-resistant but not waterproof.
- Inspection: Periodically check all screws and connections to ensure they remain tight and secure. Retighten if necessary.
- Avoid Overloading: Do not place excessively heavy items on the shelves or top panel to prevent structural damage.
7. Troubleshooting
| Problem | Possible Cause | Solution |
|---|---|---|
| Stand is wobbly/unstable. | Screws are loose; uneven floor. | Retighten all assembly screws. Move to a flat surface or use shims to level. |
| Cabinet doors do not close properly. | Door mechanism not correctly installed or misaligned. | Recheck the installation of the rotating shafts. Ensure the door is properly seated. |
| Scratches on the surface. | Rough handling during assembly or use. | Use the provided screw hole stickers to cover minor imperfections. For larger scratches, consider furniture repair kits. |
| Heat buildup from devices. | Poor air circulation. | Ensure devices are not blocking the open back of the stand. Arrange cables neatly to allow airflow. |
8. Specifications
| Feature | Detail |
|---|---|
| Model Number | ADSG615QX |
| External Dimensions (W x D x H) | 108 cm x 30 cm x 33 cm |
| Main Unit Weight | 16 kg |
| Compatible TV Size | 24-47 inches |
| Load Capacity (Top Panel) | Max 40 kg |
| Load Capacity (Adjustable Shelf) | Max 15 kg |
| Board Thickness | 15 mm |
| Material | E1 Grade Melamine Decorative Board |
| Assembly Required | Yes |
9. Warranty and Support
WLIVE provides a one-year warranty for this product from the date of purchase. This warranty covers manufacturing defects and material flaws under normal use.
9.1 What is Covered:
- Defects in materials or workmanship.
- Structural integrity issues under normal use.
9.2 What is Not Covered:
- Damage caused by improper assembly or misuse.
- Damage from exceeding weight limits.
- Normal wear and tear.
- Damage from accidents, neglect, or unauthorized repairs.
9.3 Customer Support:
For warranty claims, missing parts, or any questions regarding your WLIVE TV Stand, please contact our customer support team. Have your purchase receipt and model number (ADSG615QX) ready when contacting us.
Contact information can typically be found on the retailer's website or your purchase documentation. For Amazon Japan purchases, you can visit the WLIVE Brand Store on Amazon.co.jp for support options.
Related Documents - ADSG615QX
 |
WLIVE ADSG019 Wood TV Stand with Leg Assembly Instructions Comprehensive assembly instructions for the WLIVE ADSG019 Wood TV Stand with Leg, including parts list, exploded diagrams, and step-by-step guidance for assembly and adjustments. |
 |
WLIVE ADSG026 Wood LED TV Stand Assembly Instructions Comprehensive assembly instructions for the WLIVE ADSG026 Wood LED TV Stand, including parts list, diagrams, and wiring information. |
 |
WLIVE ADSG031 SW Vintage TV Stand Assembly Instructions Comprehensive assembly guide for the WLIVE ADSG031 SW Vintage TV Stand, detailing parts, warnings, and step-by-step instructions for setup. |
 |
WLIVE ADSG031 SW Vintage TV Stand Assembly Instructions Step-by-step assembly instructions and safety information for the WLIVE ADSG031 SW Vintage TV Stand. Includes parts list, diagrams, and anti-tipping guide. |
 |
WLIVE ADSG025 Wood TV Stand with Leg Assembly Instructions Step-by-step assembly instructions for the WLIVE ADSG025 Wood TV Stand with Leg, including parts list, guidelines, and adjustment tips. |
 |
WLIVE ADSG044 TV Stand Assembly Instructions Comprehensive assembly guide for the WLIVE ADSG044 TV Stand, including a detailed parts list, hardware specifications, and important safety precautions for a smooth setup. |