
Introduction
This manual provides essential information for the safe operation, maintenance, and troubleshooting of your RYOBI 20 in. 40-Volt Lithium-Ion Brushless Cordless Walk Behind Lawn Mower. Please read this manual thoroughly before operating the product to ensure proper use and to prevent injury or damage.

Figure 1: RYOBI 20 in. 40-Volt Lithium-Ion Brushless Cordless Walk Behind Lawn Mower with battery and charger.
The RYOBI 40V self-propelled lawn mower is designed for efficient grass cutting. It features a convenient push-button start, an easy-lift lock-and-release bagger for quick emptying, and a single-point height adjustment system offering seven different grass heights. Its vertical design and collapsing telescoping handles allow for compact storage, and an on-board battery storage compartment facilitates easy battery exchange.
Setup
1. Unpacking and Assembly
Carefully remove all components from the packaging. Ensure all parts are present before beginning assembly. The mower features collapsible and telescoping handles for compact storage and easy setup.

Figure 2: Collapsible and telescoping handles for compact storage.
To assemble, extend the telescoping handles until they lock into place. Attach the grass collection bag by aligning it with the rear discharge opening and securing it properly. The easy-lift lock-and-release bagger design simplifies this process.

Figure 3: Easy-lift bagger for single motion bag removal.
2. Battery Charging and Installation
Before first use, fully charge the 40-Volt Lithium-Ion battery using the provided charger. Refer to the charger's instruction manual for detailed charging procedures. Once charged, insert the battery into the mower's on-board battery storage compartment. Ensure it clicks securely into place.

Figure 4: The 40-Volt Lithium-Ion 6.0 Amp hour battery and charger.
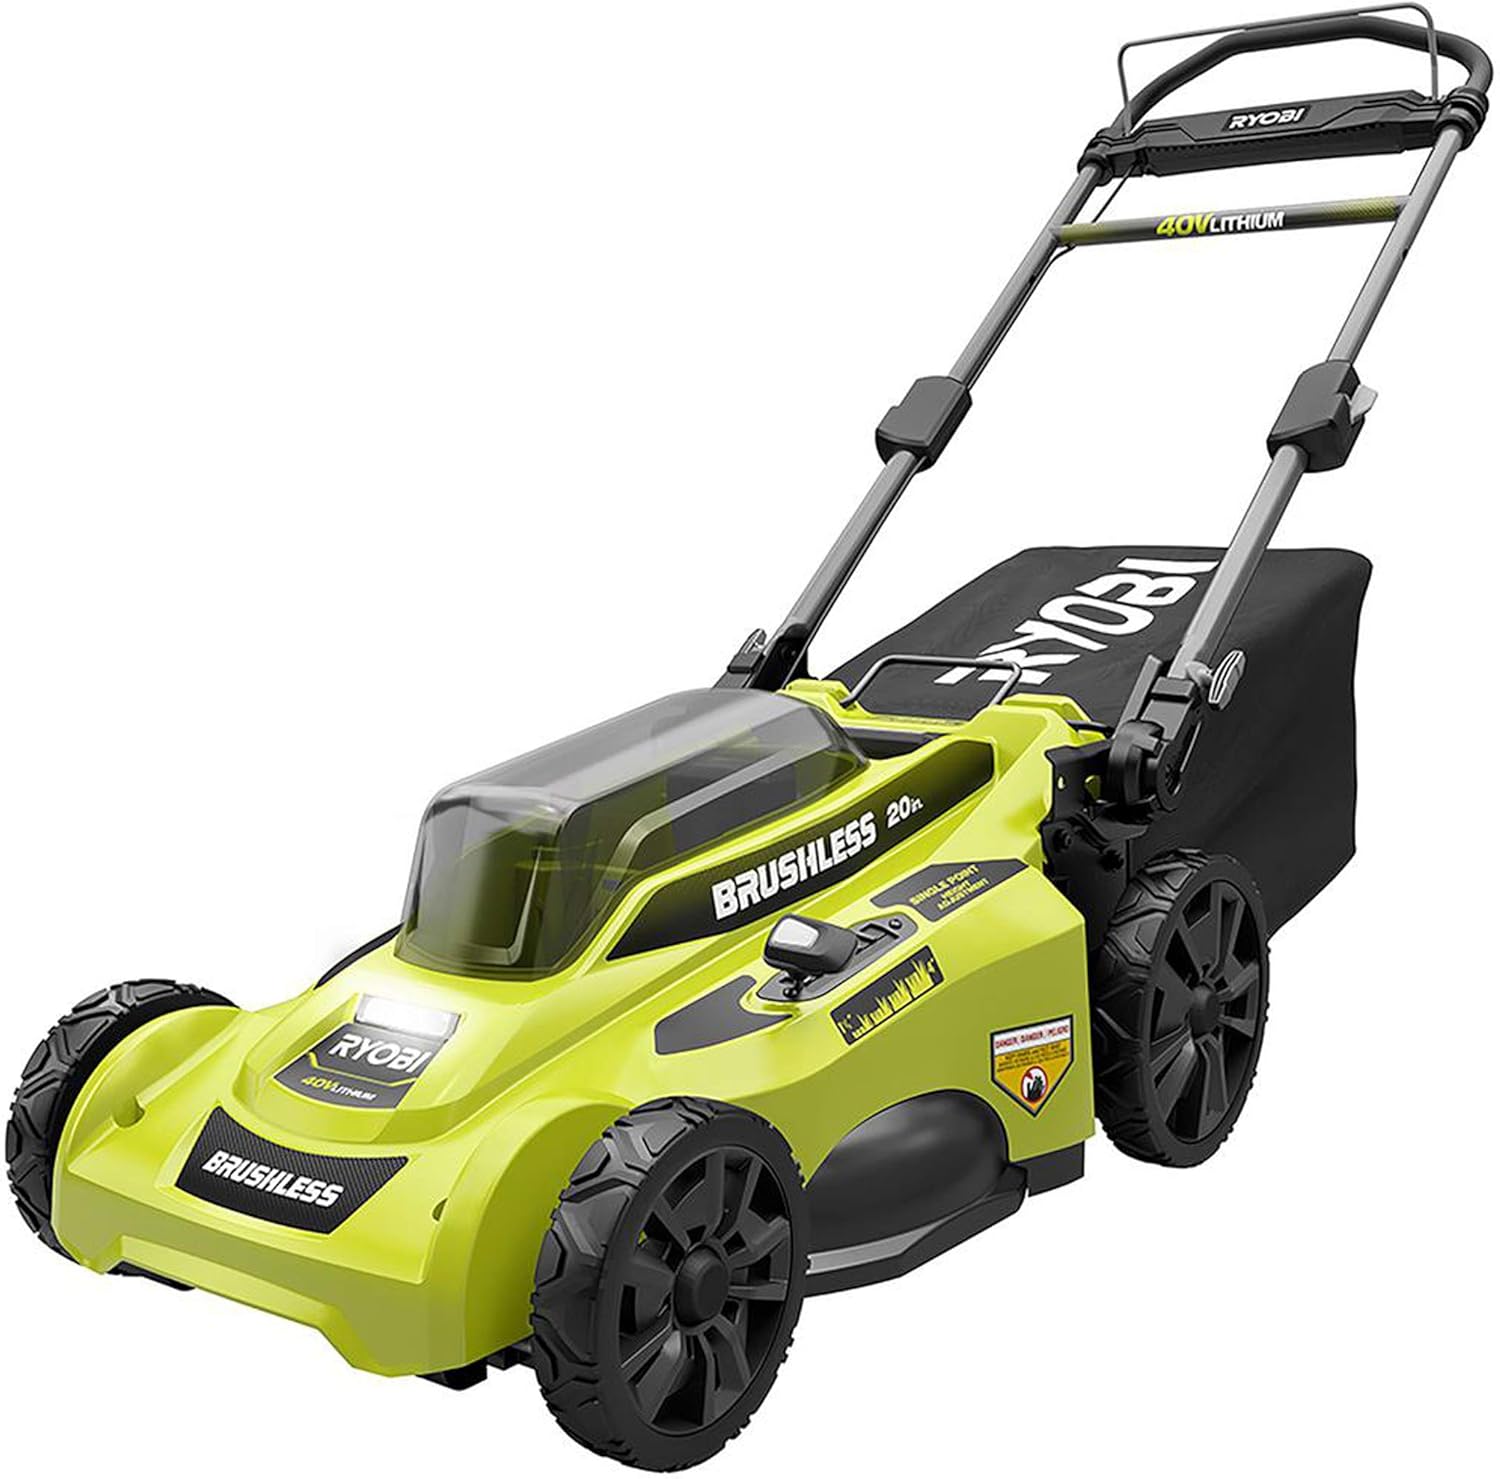
Figure 5: On-board battery storage compartment for easy battery exchange.
Operating Instructions
1. Starting the Mower
Ensure the battery is fully charged and properly installed. To start the mower, press and hold the push-button start, then engage the bail switch (handle bar). Release the push-button once the mower starts. The mower will operate as long as the bail switch is held.
2. Adjusting Cutting Height
The mower features a single-point height adjustment lever, allowing you to select from seven different cutting heights, ranging from 1.5 inches to 4 inches. To adjust, pull the lever outwards and move it to the desired height setting. Ensure all wheels are at the same height setting for an even cut.

Figure 6: Single-point height adjustment for choosing between seven grass heights.
3. Mowing Tips
- For best results, avoid cutting wet grass.
- Do not attempt to cut more than one-third of the grass blade length at a time.
- Overlap cutting paths slightly to ensure complete coverage.
- Regularly check the grass collection bag and empty it when full to maintain optimal performance.

Figure 7: Operating the RYOBI Lawn Mower for efficient grass cutting.
Maintenance
1. General Cleaning
After each use, disconnect the battery and clean the mower deck and blades. Use a damp cloth to wipe down the exterior. Remove any grass clippings or debris from the underside of the deck to ensure proper airflow and cutting performance. Do not use high-pressure water or immerse the mower in water.
2. Blade Care
Periodically inspect the mower blade for sharpness and damage. A dull blade can tear grass, leading to an unhealthy lawn. If the blade is dull or damaged, it should be sharpened or replaced by a qualified service technician. Always wear protective gloves when handling the blade.
3. Battery Storage
Store the battery in a cool, dry place away from direct sunlight and extreme temperatures. For long-term storage, it is recommended to store the battery with a partial charge (around 50%) to prolong its lifespan. Do not store the battery in the mower.
Troubleshooting
| Problem | Possible Cause | Solution |
|---|---|---|
| Mower does not start | Battery not charged or improperly installed; Safety key not inserted; Bail switch not engaged. | Ensure battery is fully charged and correctly seated. Insert safety key. Engage bail switch fully. |
| Reduced cutting performance | Dull or damaged blade; Grass collection bag full; Mower deck clogged with clippings. | Inspect and sharpen/replace blade. Empty grass bag. Clean underside of mower deck. |
| Mower stops during operation | Battery charge low; Overload due to thick grass. | Recharge battery. Raise cutting height or reduce mowing speed in dense areas. |
Specifications
| Feature | Detail |
|---|---|
| Brand | RYOBI |
| Model Number | RY401110-Y |
| Power Source | Battery Powered (40-Volt Lithium-Ion) |
| Cutting Width | 20 Inches |
| Cutting Height Adjustment | Single-point, 7 positions |
| Minimum Cutting Height | 1.5 Inches |
| Maximum Cutting Height | 4 Inches |
| Item Weight | 61 Pounds |
| Package Dimensions | 41 x 21 x 17 inches |
| Operation Mode | Automatic |
Warranty and Support
For detailed warranty information, please refer to the warranty card included with your product or visit the official RYOBI website. Keep your proof of purchase for any warranty claims.
If you encounter any issues or require technical assistance, please contact RYOBI customer support. Contact information can typically be found on the product packaging or the official RYOBI website.
Extended protection plans may be available for purchase. Please check with your retailer or the manufacturer for details on these plans.