1. Product Overview
The Runleader Digital LCD Tach/Hour Meter is designed to monitor engine running time and RPM for various gas-powered equipment. This device features a maintenance reminder, a replaceable battery, and a waterproof design, making it suitable for a wide range of applications including garden tractors, generators, compressors, dirt bikes, and boats.

Figure 1: Main view of the Runleader Digital LCD Tach/Hour Meter.
Key Features:
- Hours Gauge (TOT): Tracks total engine running time from 0 to 99,999 hours. Allows setting a previous hour value for new meter replacements.
- Job Timer (TMR1): Records single working periods, resettable for specific tasks.
- Maintenance Reminder (SVC): Configurable service intervals from 0 to 2000 hours to prompt regular maintenance.
- Tachometer: Displays real-time engine RPM (0 to 25,000 RPM) and records the maximum RPM achieved. Helps in adjusting idle speed for optimal performance.
- Power Saving: Features a replaceable CR2032 battery and an LCD display that can be shut down to conserve power.
- Durable Design: Equipped with a PC transparent board for the display window, offering favorable waterproof (IP67) and vibration resistance.
2. Display Functions
2.1 LCD Working Display
The meter's LCD shows different values depending on the engine status. When the engine is off, it displays the total hours (TOT). When the engine is running, it shows real-time RPM.

Figure 2: Illustration of the LCD display in stand-by (TOT) and working (RPM) modes.
- Stand-by: When connected to the engine but not running, the display shows TOT value 0.0.
- Working: When the engine is on, the display shows real-time RPM.
- Engine Off: After the engine stops, the display briefly shows the maximum RPM (MAX RPM) achieved during the last run, then reverts to TOT after 5 seconds.
2.2 Job Timer (TMR1)
The TMR1 function allows you to track the duration of a single work session. This value can be reset independently without affecting the total hours (TOT).

Figure 3: How to view and reset the Job Timer (TMR1).
- To view TMR1: Press the 'M-' button to cycle through display modes until TMR1 is shown.
- To reset TMR1: While TMR1 is displayed, press and hold the 'S-' button until the value resets to 0.0.
2.3 Maintenance Reminder (SVC)
The SVC function helps you schedule and track regular maintenance intervals for your equipment.
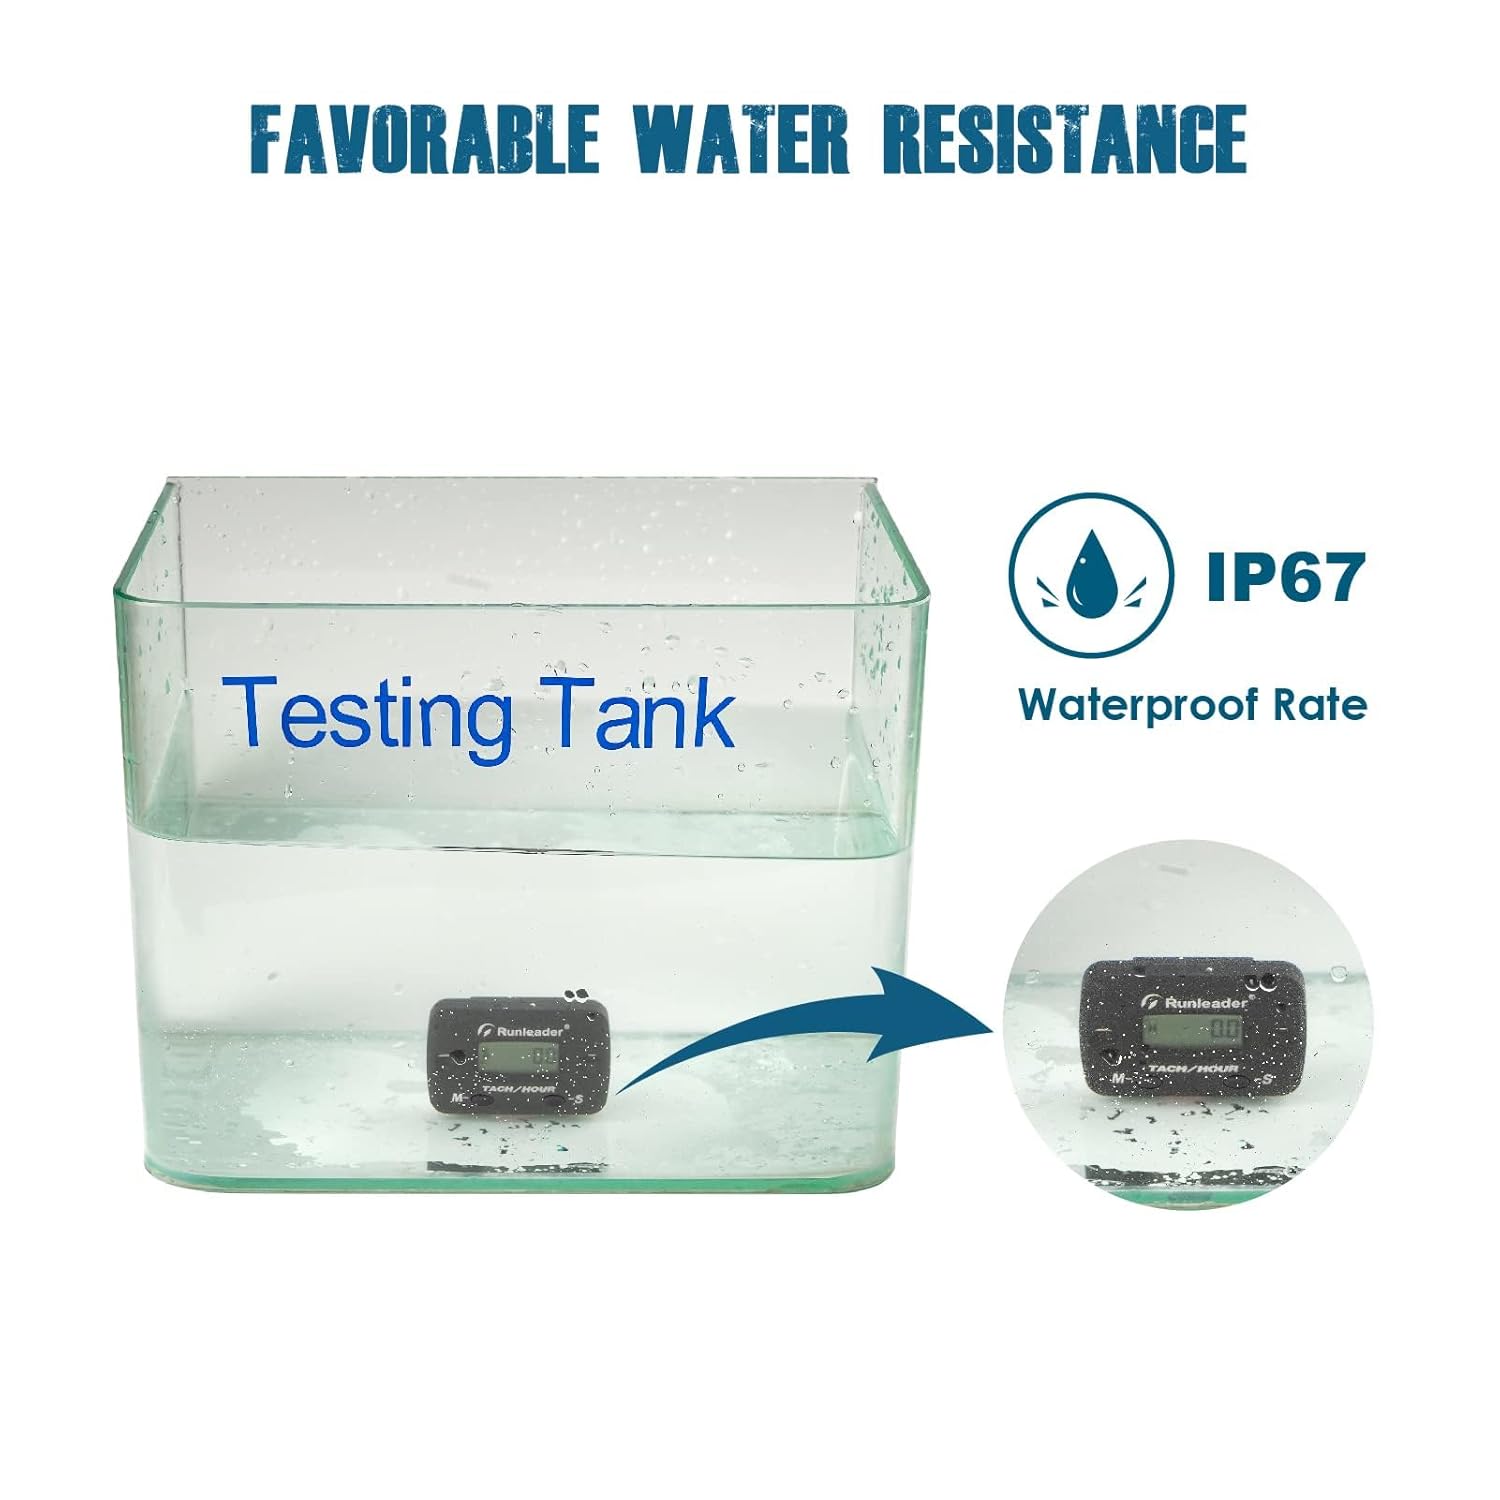
Figure 4: The Maintenance Reminder (SVC) display indicating a scheduled service.
- The SVC display will show a countdown to the next service.
- When the service interval is reached, the display will flash to remind you.
- To set or reset SVC: Refer to the 'Operation' section for detailed instructions.
3. Installation
The Runleader Tach/Hour Meter offers flexible installation options and is designed for easy connection to your engine.
3.1 Mounting Options
The meter can be mounted using either screw-on or stick-on methods, allowing for placement in various locations on your equipment.

Figure 5: Two methods for mounting the meter: screw-on and stick-on.
- Screw-on: Use the provided screws to secure the meter to a suitable surface.
- Stick-on: Utilize the included 3M adhesive velcro for a strong, temporary, or permanent bond to a clean, flat surface.
3.2 Engine Signal Pickup
The meter detects engine signals via a single pickup wire connected to the spark plug cable. This method is compatible with various gas engine types.

Figure 6: Connecting the signal pickup cable to the spark plug wire for engine signal detection.
- Wrap the signal pickup wire (approximately 68.8 inches long) around the spark plug cable. The wire can be shortened or extended as needed (do not exceed 196 inches).
- Ensure a secure connection for accurate readings.
- The meter is compatible with 13 types of gas engines:
- 2-stroke: 1, 2, 3, 4, 6 cylinder
- 4-stroke: 1, 2, 3, 4, 5, 6, 12, 16 cylinder
3.3 General Installation Steps
- Choose a suitable mounting location on your equipment.
- Clean the surface if using the stick-on method.
- Mount the meter using either screws or adhesive velcro.
- Route the signal pickup wire to the spark plug cable.
- Wrap the signal wire around the spark plug cable several times (typically 5-7 wraps are sufficient).
- Secure the signal wire to prevent it from interfering with moving parts or being damaged.
4. Operation
The meter features two buttons, 'M-' and 'S-', for navigating modes and setting parameters.
4.1 Mode Navigation (M- Button)
- Press the 'M-' button briefly to cycle through the display modes: TOT (Total Hours) → TMR1 (Job Timer) → SVC (Maintenance Reminder) → RPM (Real-time RPM, if engine is running).
- In RPM mode, the display will show the current engine speed.
4.2 Setting Service Intervals (S- Button)
- To enter SVC setting mode: While in SVC display mode, press and hold the 'S-' button until the SVC value starts flashing.
- To adjust SVC value: Briefly press the 'M-' button to increase the value. The range is 0 to 2000 hours.
- To confirm SVC value: Press and hold the 'S-' button until the value stops flashing.
- To clear SVC reminder: When the SVC reminder is flashing, press and hold the 'S-' button to reset it for the next interval.
4.3 Resetting Job Timer (TMR1)
- To reset TMR1: While TMR1 is displayed, press and hold the 'S-' button until the value resets to 0.0.
4.4 Setting Initial Total Hours (TOT)
This feature is useful when replacing an old hour meter, allowing you to carry over the previous total hours.
- To enter TOT setting mode: From the TOT display, press and hold both 'M-' and 'S-' buttons simultaneously for several seconds until the TOT value starts flashing.
- To adjust TOT value: Briefly press the 'M-' button to increase the value. Each press increments the value.
- To confirm TOT value: Press and hold the 'S-' button until the value stops flashing.
5. Maintenance
Proper maintenance ensures the longevity and accuracy of your Runleader Tach/Hour Meter.
5.1 Battery Replacement
The meter uses a replaceable CR2032 lithium metal battery. When the battery icon indicates low power or the display becomes dim, it's time to replace it.
- Carefully open the battery compartment on the back of the meter.
- Remove the old CR2032 battery.
- Insert a new CR2032 battery, ensuring correct polarity.
- Close the battery compartment securely.
5.2 Regular Service Reminders
Utilize the SVC function to set reminders for routine equipment maintenance, such as oil changes, filter replacements, or spark plug checks. This helps in proactive care of your machinery.
6. Troubleshooting
This section addresses common issues you might encounter with your Runleader Tach/Hour Meter.
| Problem | Possible Cause | Solution |
|---|---|---|
| Display is blank or dim | Low or dead battery. | Replace the CR2032 battery (refer to Section 5.1). Ensure the power insulated insert is removed before first use. |
| Erratic or inaccurate RPM readings | Loose or insufficient wrapping of signal wire around spark plug cable. Incorrect engine firing pattern setting (if applicable to model). | Ensure the signal wire is tightly wrapped around the spark plug cable (5-7 wraps recommended). Check the engine firing pattern setting if your model allows configuration. |
| Meter not turning on/detecting engine | Signal wire not properly connected or damaged. Battery issue. | Verify the signal wire connection to the spark plug cable. Check and replace the battery if necessary. Inspect the signal wire for any visible damage. |
| TMR1 not resetting | 'S-' button not held long enough. | Ensure you press and hold the 'S-' button for several seconds until TMR1 resets to 0.0. |
7. Specifications
Detailed technical specifications for the Runleader Digital LCD Tach/Hour Meter (Model RL-HM068).

Figure 7: Product dimensions and list of accessories included with the meter.
| Feature | Detail |
|---|---|
| Model | RL-HM068 |
| Dimensions (L x W x H) | 5.7 x 1.7 x 3.6 cm (2.24 x 0.68 x 1.44 inches) |
| Weight | 59 Grams |
| Material | Acrylonitrile Butadiene Styrene (ABS) |
| Battery Type | 1 x CR2032 Lithium Metal (included) |
| Hours Range (TOT & TMR1) | 0 to 99,999 Hours |
| Service Interval (SVC) Range | 0 to 2000 Hours |
| RPM Measurement Range | 0 to 25,000 RPM |
| Signal Cable Length | 1.75m (approx. 68.8 inches), extendable up to 196 inches |
| Waterproof Rating | IP67 |
| Engine Compatibility | 2-stroke (1,2,3,4,6 cyl), 4-stroke (1,2,3,4,5,6,12,16 cyl) |

Figure 8: The meter undergoing water resistance testing, confirming its IP67 waterproof rating.
8. Warranty and Support
Runleader stands behind the quality of its products.
- Warranty: This product comes with a 2-year after-sale guarantee.
- Technical Support: For any questions regarding installation, operation, or troubleshooting, please refer to the official Runleader website or contact customer support.
9. Product Application
The Runleader Digital LCD Tach/Hour Meter is versatile and can be used with a variety of gas engine powered equipment.

Figure 9: Visual representation of the meter's features and certifications (CE, RoHS).
- Lawn Mowers
- Generators
- Outboard Motors
- Motorcycles
- ATVs
- Chainsaws
- Snowblowers
- Compressors
- Dirt Bikes
- Jet Skis
- Boats