MEIKEE FLA060
MEIKEE LED Flood Light
User Manual
Model: FLA060
Introduction
Thank you for choosing the MEIKEE LED Flood Light. This manual provides essential information for the safe installation, operation, and maintenance of your new flood light. Please read these instructions thoroughly before use and retain them for future reference.
Safety Instructions
WARNING: Failure to follow these instructions may result in electric shock, fire, or serious injury.
- Always disconnect power before installation, maintenance, or cleaning.
- Ensure the power supply voltage matches the product's requirements (100-240V AC).
- Installation should be performed by a qualified electrician if you are unsure.
- Do not modify the product in any way.
- Avoid looking directly into the light source when it is illuminated, as it may cause eye strain or damage.
- Keep flammable materials away from the light fixture.
- Ensure the mounting surface is strong enough to support the weight of the fixture.
- The product is IP66 waterproof, suitable for outdoor use, but should not be submerged in water.
Package Contents
Verify that all components are present in the package:
- 2 x MEIKEE 60W LED Flood Lights with Plug
- 1 x User Manual
- 2 x Screw Packs for installation
Specifications
| Feature | Specification |
|---|---|
| Model Number | FLA060 |
| Wattage | 60W |
| Brightness | 6000 Lumens |
| Color Temperature | 5000K Daylight White |
| Water Resistance Level | IP66 Waterproof |
| Light Source | LED |
| Material | Aluminum |
| Lifespan | Up to 50,000 hours |
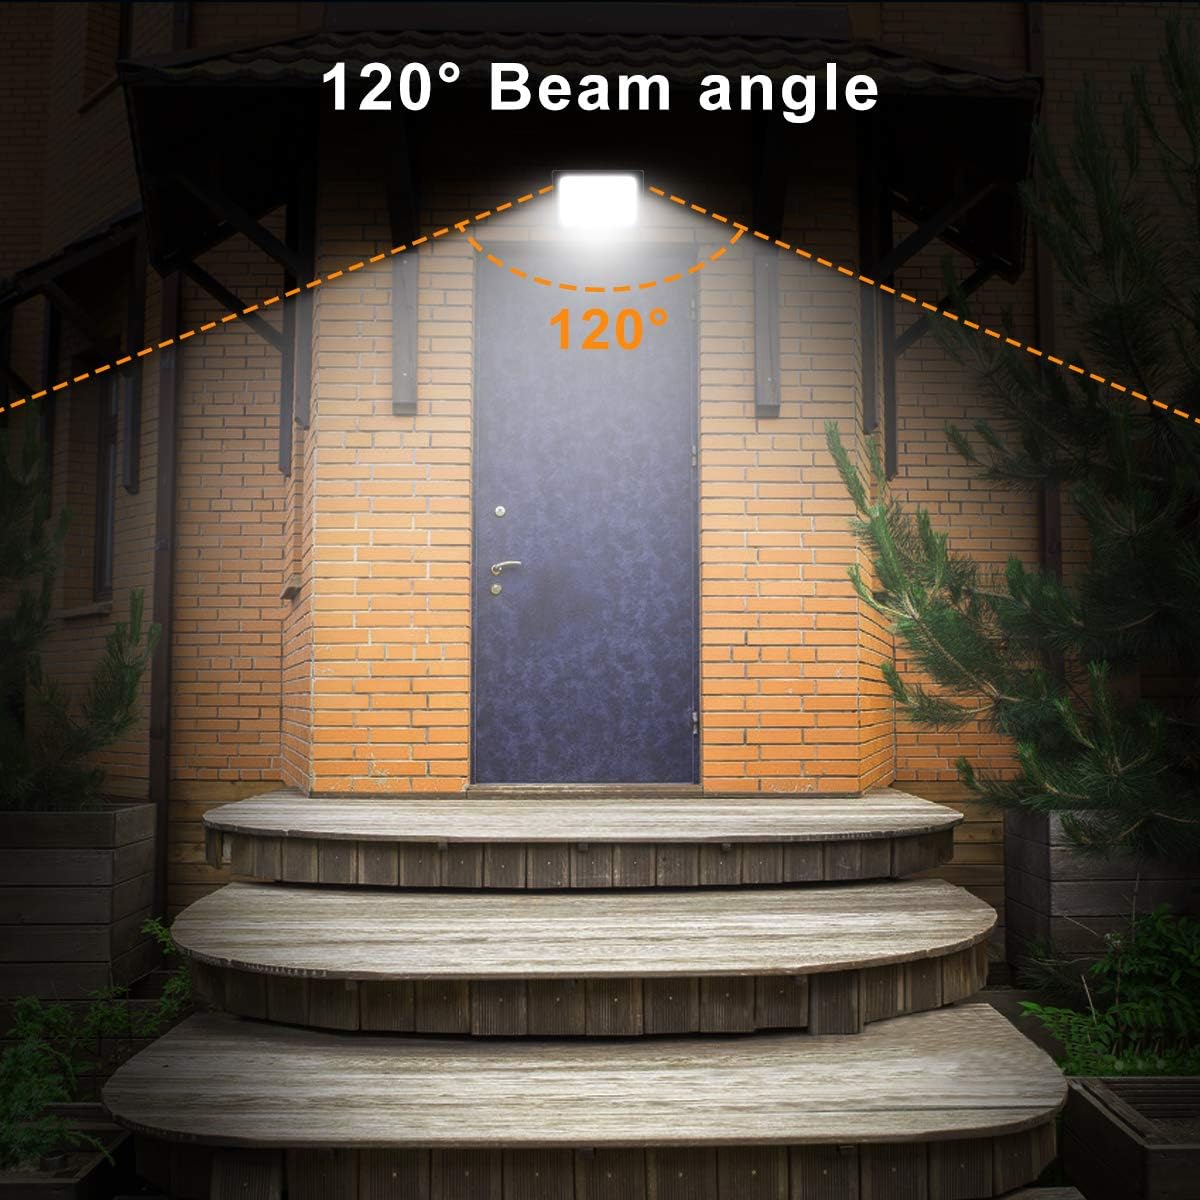
| Beam Angle | 120° |
| Power Source | Corded Electric |
| Product Dimensions | 19.7L x 8.8W x 19.2H Centimetres |
| Usage | Indoor/Outdoor |
Setup and Installation
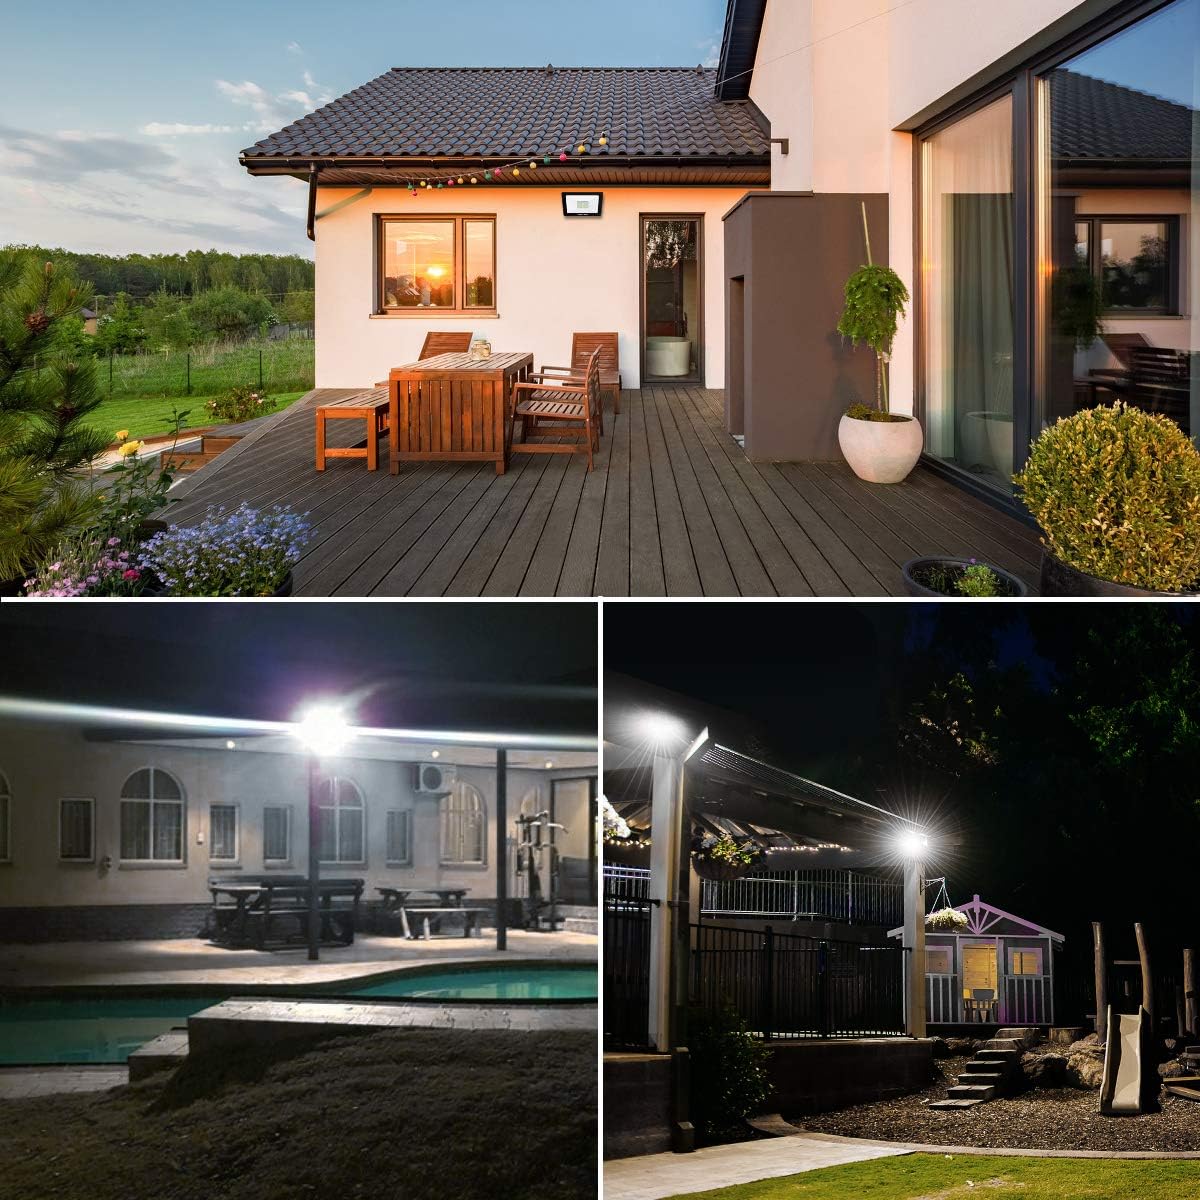
The MEIKEE LED Flood Light features a flexible bracket for various mounting options. Ensure the power is disconnected before beginning installation.
- Choose a Mounting Location: Select a suitable location that provides the desired illumination and can securely support the light fixture. The flood light can be wall-mounted, ground-mounted, or ceiling-mounted.
- Mark Drilling Points: Use the mounting bracket as a template to mark the drilling points on your chosen surface.
- Drill Holes: Drill appropriate holes for the screws. Insert wall anchors if necessary for your mounting surface.
- Secure the Bracket: Attach the mounting bracket to the surface using the provided screws.
- Attach the Light: Secure the flood light to the mounted bracket.
- Adjust Angle: Loosen the screws on the side of the bracket to adjust the light's angle up to 180 degrees. Tighten the screws once the desired angle is achieved.
- Connect Power: Plug the flood light into a suitable power outlet.


Operating Instructions
The MEIKEE LED Flood Light is designed for simple operation.
- Power On: Once properly installed and plugged into a power source, the light will turn on.
- Power Off: To turn off the light, disconnect it from the power source.
Maintenance
Regular maintenance ensures optimal performance and longevity of your flood light.
- Cleaning: Periodically clean the surface of the light with a soft, damp cloth. Do not use abrasive cleaners or solvents. Ensure the light is off and cool before cleaning.
- Inspection: Regularly check the power cord for any damage. Inspect the mounting bracket and screws to ensure they remain secure.
- No User-Serviceable Parts: The LED light source is integrated and not replaceable. Do not attempt to open or repair the fixture.

Troubleshooting
If you encounter issues with your MEIKEE LED Flood Light, refer to the following common problems and solutions:
| Problem | Possible Cause | Solution |
|---|---|---|
| Light does not turn on | No power supply Faulty outlet Damaged cord | Check if the plug is securely inserted. Test the outlet with another device. Inspect the power cord for visible damage. If damaged, discontinue use and contact support. |
| Light is dim or flickers | Unstable power supply Extreme temperature | Ensure a stable power source. Verify the operating temperature is within the product's specified range. |
| Water inside the fixture | Improper installation Damage to casing | Ensure all seals are intact and the fixture is properly closed. If damage is visible, contact support. |
If the problem persists after attempting these solutions, please contact MEIKEE customer support.
Warranty
MEIKEE products are covered by a 2-year warranty from the date of purchase. This warranty covers defects in materials and workmanship under normal use. It does not cover damage caused by misuse, accidents, unauthorized modifications, or improper installation.
Customer Support
For any questions, technical assistance, or warranty claims, please contact MEIKEE customer support. You can reach us by sending an email via Amazon or using the email address provided in the product packaging. We aim to provide a timely response within 24 hours.
Ask a question about this manual
Ask about setup, troubleshooting, compatibility, parts, safety, or missing instructions. Manuals+ will review the question and use this page’s manual context to help answer it.