Product Overview
The Craftmade Foxwood 53602-BNK 2-Light Bathroom Vanity Light features clean lines and clear glass, offering an industrial aesthetic suitable for both transitional and traditional settings. This fixture is designed for indoor use in damp locations, making it ideal for bathrooms.
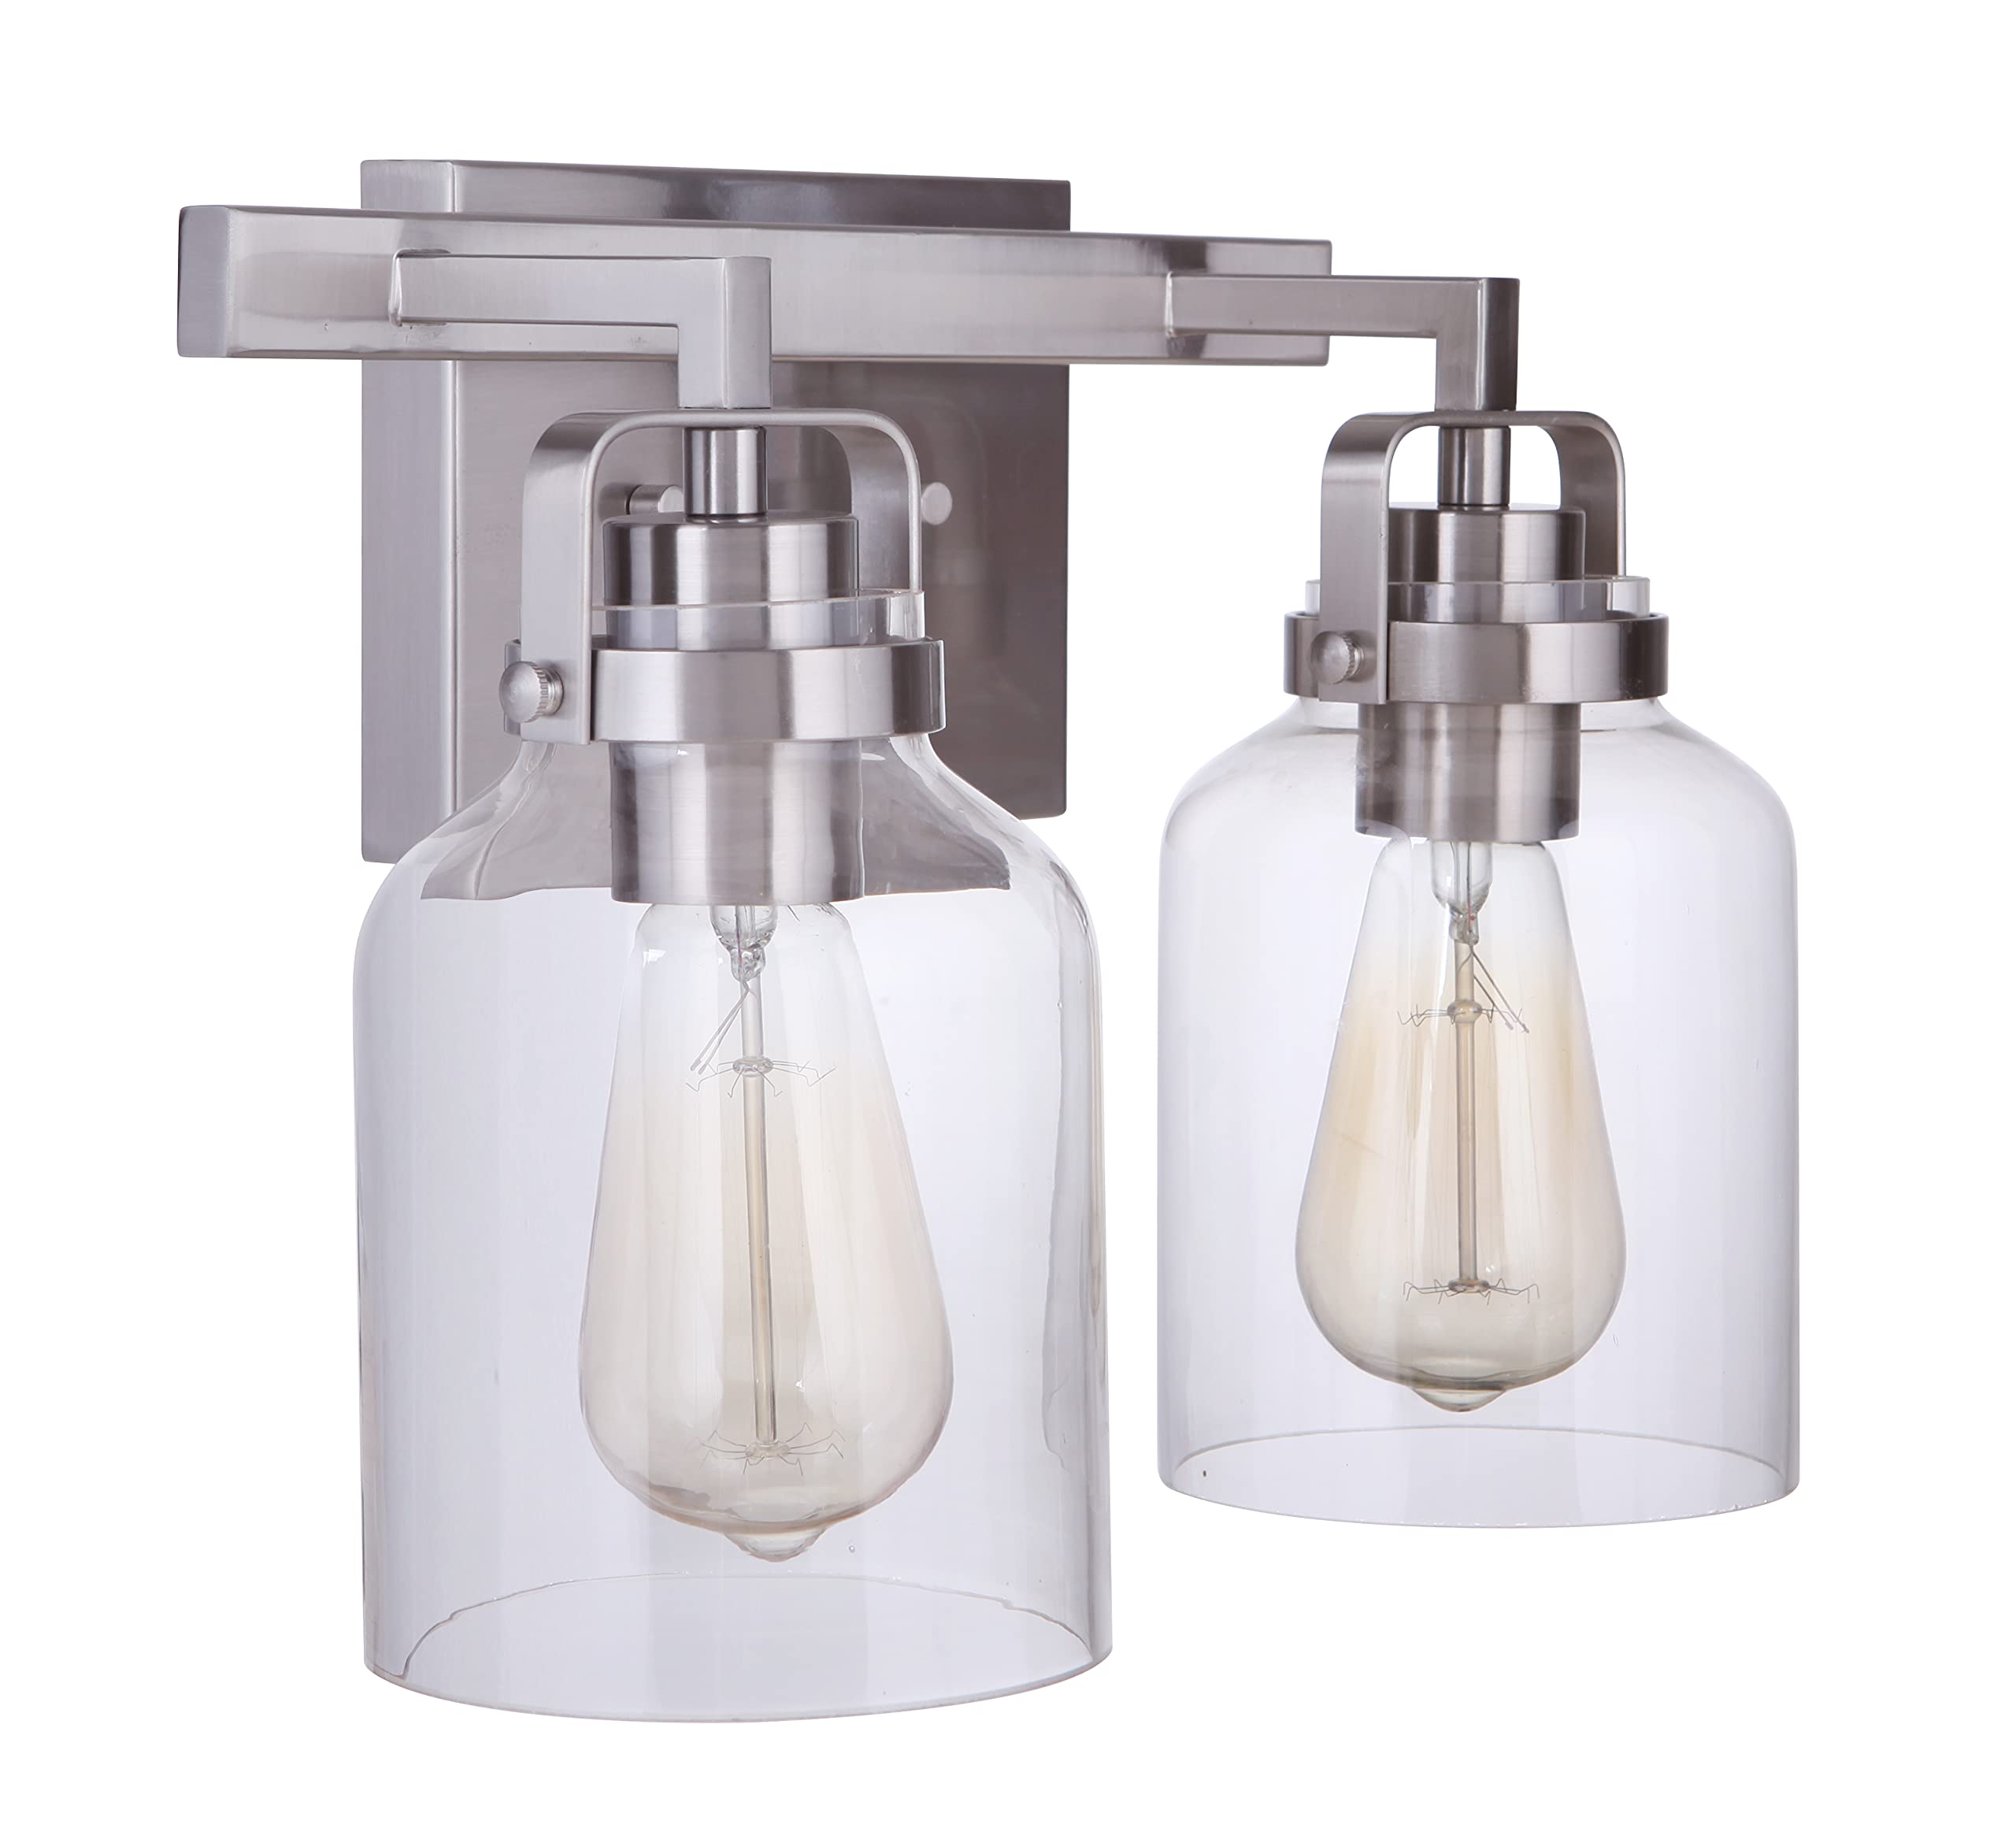
Image: Craftmade Foxwood 2-Light Bathroom Vanity Light, showcasing its brushed polished nickel finish and clear glass shades.
Safety Information
- WARNING: Risk of electric shock. Disconnect power at the fuse box or circuit breaker before installation or servicing.
- All electrical connections must be in accordance with local codes, ordinances, or the National Electric Code (NEC). Contact a qualified electrician if you are unfamiliar with proper electrical wiring connections.
- Use only the recommended bulb type and wattage. Exceeding the maximum wattage may cause overheating and damage to the fixture.
- Do not install this fixture in wet locations. It is approved for damp locations only.
- Handle glass components with care to prevent breakage.
- Ensure the mounting surface can support the weight of the fixture.
Package Contents
Verify that all components are present before beginning installation:
- Vanity Light Fixture (Model 53602-BNK)
- Shade(s) (Clear Glass)
- Hardware Pack (mounting screws, wire nuts, etc.)
- Installation Guide
Note: Bulbs are not included and must be purchased separately.
Specifications
| Feature | Detail |
|---|---|
| Model Number | 53602-BNK |
| Dimensions (H x W x D) | 9.5" H x 12.88" W x 6.88" D |
| Backplate Dimensions | 6.5" x 5" |
| Weight | 5.38 lbs |
| Finish | Brushed Polished Nickel |
| Material | Alloy Steel, Glass |
| Number of Lights | 2 |
| Bulb Base | E26 (Medium Base) |
| Max Wattage per Bulb | 60 Watt A-Type Incandescent (or equivalent CFL, Halogen, LED) |
| Voltage | 120 Volts |
| Dimmable | Yes (with dimmable bulbs and dimmer switch) |
| Location Rating | Damp Locations |
| Mounting Type | Wall Mount |
Setup and Installation
Tools Required (not included): Screwdriver, wire strippers, electrical tape, safety glasses, ladder.
- Turn Off Power: Before starting, ensure the power to the electrical box is turned off at the circuit breaker or fuse box.
- Prepare Mounting Surface: Ensure the existing junction box is securely mounted in the wall.
- Attach Mounting Plate: Secure the fixture's mounting plate to the junction box using the screws provided in the hardware pack.
- Make Electrical Connections: Connect the fixture's wires to the house wires. Connect the black wire (hot) from the fixture to the black wire from the junction box. Connect the white wire (neutral) from the fixture to the white wire from the junction box. Connect the ground wire from the fixture to the ground wire from the junction box. Use wire nuts to secure connections and wrap with electrical tape for added safety.
- Mount Fixture: Carefully align the fixture with the mounting plate and secure it with the provided screws.
- Install Glass Shades: Attach the clear glass shades to the fixture according to the design. Ensure they are securely fastened.
- Install Bulbs: Screw in two E26 medium base bulbs (not included) into the sockets. Do not exceed 60 watts per bulb.
- Restore Power: Turn the power back on at the circuit breaker or fuse box.
Operating Instructions
This vanity light operates via a standard wall switch (not included). Once installed and power is restored, use the wall switch to turn the light fixture on or off.
Dimming Functionality: If using dimmable E26 bulbs and connected to a compatible dimmer switch (sold separately), the light output can be adjusted by operating the dimmer switch.
Maintenance
- Cleaning: To clean the fixture, ensure power is off. Wipe with a soft, dry cloth. Do not use abrasive cleaners or solvents as they may damage the finish or glass.
- Bulb Replacement: Turn off power before replacing bulbs. Allow bulbs to cool completely. Unscrew old bulbs and replace with new E26 medium base bulbs, ensuring they do not exceed 60 watts.
- Glass Shade Care: Periodically check glass shades for any cracks or damage. Replace if necessary.
Troubleshooting
| Problem | Possible Cause | Solution |
|---|---|---|
| Light does not turn on. | 1. Power is off. 2. Bulb is faulty or loose. 3. Wiring connection is incorrect. | 1. Check circuit breaker/fuse. Ensure wall switch is on. 2. Replace bulb or tighten it. Test with a known working bulb. 3. Turn off power and recheck wiring connections. Consult an electrician if unsure. |
| Light flickers. | 1. Loose bulb. 2. Incompatible dimmer switch or bulb. 3. Loose wiring connection. | 1. Tighten bulb. 2. Ensure both bulbs and dimmer switch are compatible for dimming. Replace if necessary. 3. Turn off power and recheck wiring connections. |
| Fixture is humming. | 1. Incompatible dimmer switch. 2. Loose components. | 1. Replace dimmer switch with one compatible with your bulb type (e.g., LED compatible dimmer for LED bulbs). 2. Turn off power and check if all screws and shades are tight. |
Warranty and Support
This Craftmade product is covered by a 1-year limited warranty from the date of purchase. This warranty covers defects in materials and workmanship under normal use.
For warranty claims, technical assistance, or any questions regarding your product, please contact Craftmade customer support:
Customer Support Phone: (800) 486-4892
Please have your model number (53602-BNK) and proof of purchase available when contacting support.