1. Introduction
The R&L Realistic STA-2000 is an AM/FM stereo receiver designed to be the central component of your home entertainment system. This receiver provides high-quality audio reception and amplification, allowing you to connect various audio sources and enjoy clear, powerful sound through your speakers. Please read this manual thoroughly before operating your new receiver to ensure proper setup and optimal performance.
2. Safety Information
To prevent fire, electric shock, and damage to the unit, please observe the following safety precautions:
- Do not expose this appliance to rain or moisture.
- Do not remove the cover. Refer servicing to qualified personnel only.
- Ensure proper ventilation. Do not block ventilation openings.
- Do not place the unit near heat sources such as radiators, heat registers, stoves, or other apparatus (including amplifiers) that produce heat.
- Use only attachments/accessories specified by the manufacturer.
- Unplug this apparatus during lightning storms or when unused for long periods.
- Protect the power cord from being walked on or pinched, particularly at plugs, convenience receptacles, and the point where they exit from the apparatus.
3. Package Contents
Please check that all items listed below are included in your package:
- R&L Realistic STA-2000 AM/FM Stereo Receiver
- Power Cord
- FM Wire Antenna
- AM Loop Antenna
- Remote Control
- User Manual (this document)
4. Setup
4.1 Unpacking and Placement
Carefully remove the receiver from its packaging. Place the unit on a stable, level surface with adequate ventilation. Avoid placing it in direct sunlight or near heat sources. Ensure there is sufficient space around the unit for air circulation.
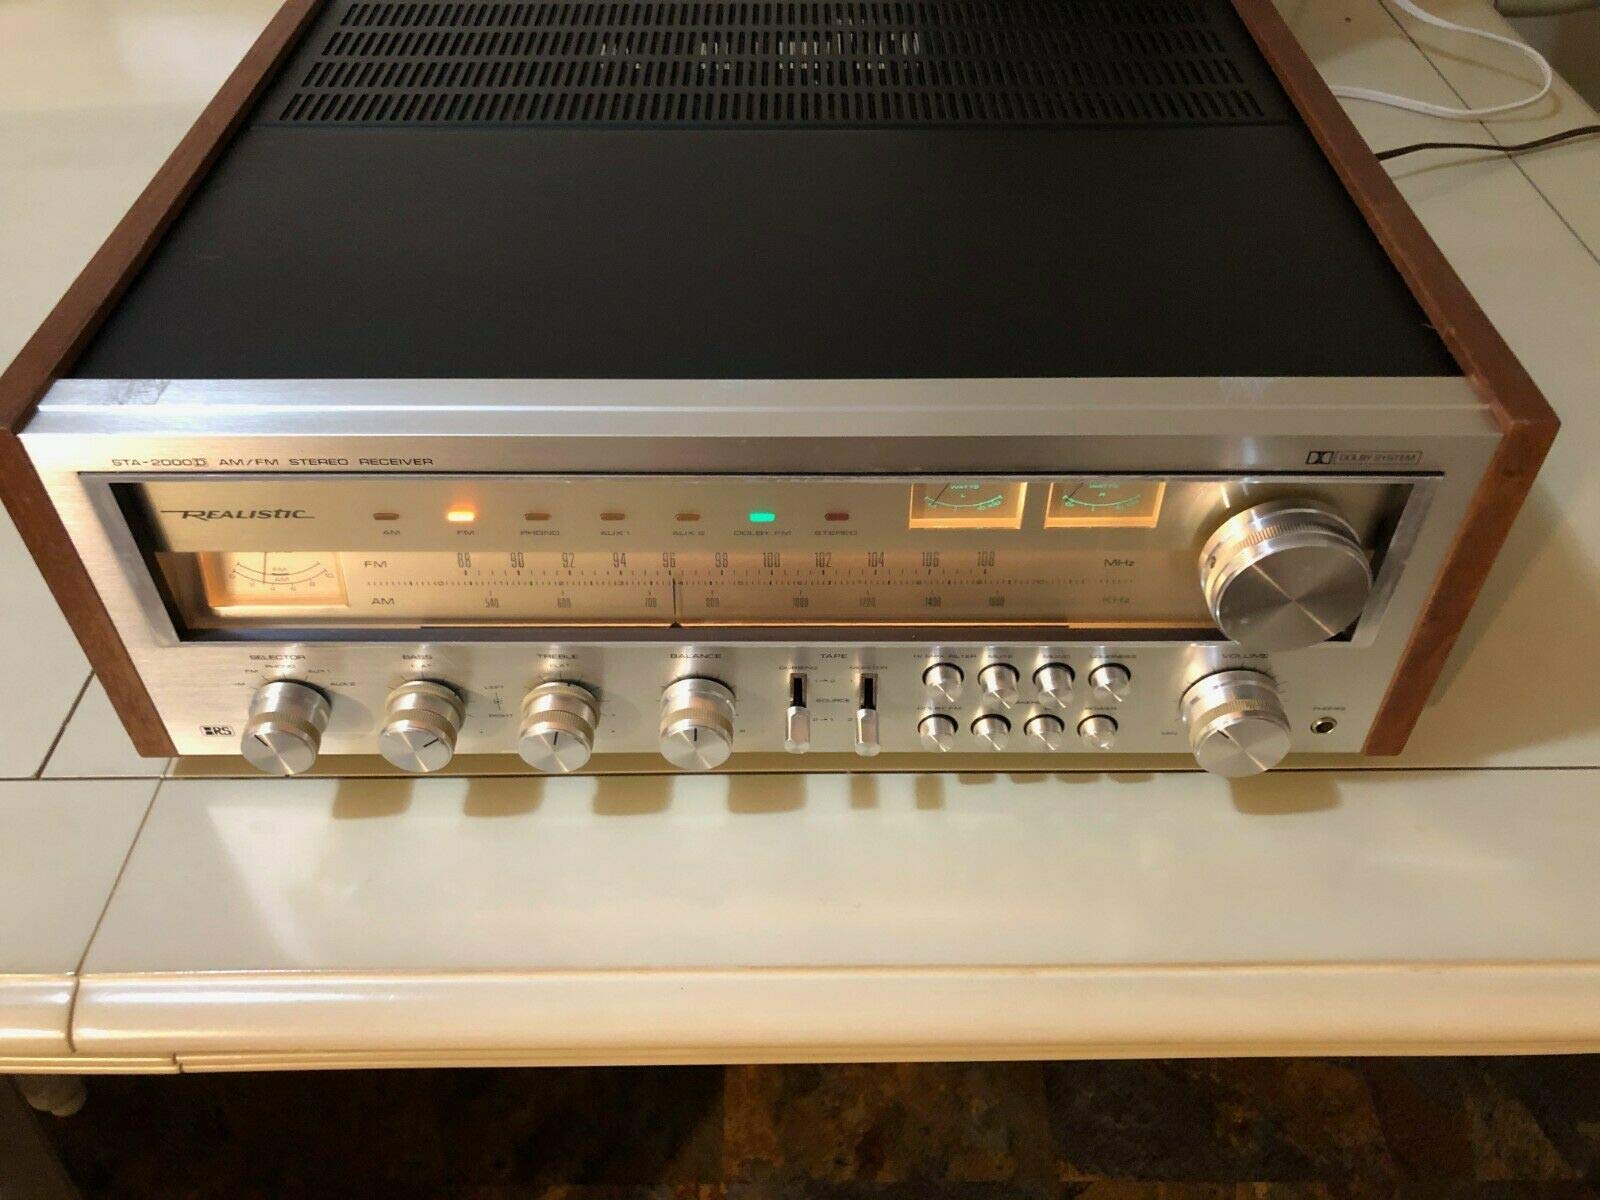
Figure 1: Front view of the STA-2000 Receiver. This image displays the brown, black, and silver chassis, highlighting the control knobs, input selectors, and display panel.
4.2 Connecting Speakers
Connect your speakers to the speaker terminals on the rear panel of the receiver. Ensure correct polarity (+ to + and - to -) for each speaker. Use appropriate gauge speaker wire for optimal sound quality.
4.3 Connecting Audio Sources
Connect your audio components (e.g., CD player, turntable, smartphone via adapter) to the appropriate input jacks on the rear panel. Use high-quality RCA cables for best performance.
4.4 Connecting Antennas
- FM Antenna: Connect the supplied FM wire antenna to the FM antenna terminal. Extend the wire for better reception.
- AM Antenna: Connect the supplied AM loop antenna to the AM antenna terminals. Position the loop for optimal AM reception.
4.5 Power Connection
Once all connections are made, plug the power cord into the AC inlet on the receiver and then into a standard wall outlet.
5. Operating Instructions
5.1 Powering On/Off
Press the POWER button on the front panel or the remote control to turn the receiver on or off.
5.2 Source Selection
Use the INPUT SELECTOR knob or buttons on the front panel or remote control to choose your desired audio source (e.g., CD, PHONO, AUX, AM, FM).
5.3 Volume Control
Adjust the VOLUME knob on the front panel or the VOL +/- buttons on the remote control to set the desired listening level.
5.4 Tuner Operation (AM/FM)
- Select AM or FM using the input selector.
- Use the TUNING knob or TUNE +/- buttons on the remote to manually tune to a station.
- For automatic tuning, press the SCAN or AUTO TUNE button (if available) to find the next available station.
5.5 Remote Control Usage
Point the remote control towards the receiver's front panel sensor. Ensure there are no obstructions between the remote and the receiver. Replace batteries when the remote's range decreases.
6. Maintenance
6.1 Cleaning
Wipe the exterior of the receiver with a soft, dry cloth. Do not use abrasive cleaners, waxes, or solvents as they may damage the finish. For stubborn stains, lightly dampen the cloth with water.
6.2 Ventilation
Regularly check that the ventilation openings on the top and rear of the unit are not blocked by dust or debris. Proper airflow is crucial for preventing overheating.
6.3 Storage
If storing the receiver for an extended period, unplug it from the power outlet and cover it to protect against dust. Store in a cool, dry place.
7. Troubleshooting
| Problem | Possible Cause | Solution |
|---|---|---|
| No power | Power cord not connected; Power outlet faulty; Unit in standby mode. | Ensure power cord is securely plugged in; Test outlet with another device; Press POWER button. |
| No sound | Incorrect input selected; Speaker wires disconnected; Volume too low; Mute function active. | Select correct input source; Check speaker connections; Increase volume; Deactivate mute. |
| Poor radio reception | Antenna not connected or poorly positioned; Local interference. | Connect and adjust antenna position; Try moving the receiver or antenna away from other electronic devices. |
| Remote control not working | Batteries depleted; Obstruction between remote and receiver; Remote sensor blocked. | Replace batteries; Remove obstructions; Ensure remote sensor is clear. |
8. Specifications
- Brand: R&L
- Model: STA-2000
- Manufacturer: RL
- Compatible Devices: Smartphone, Speaker
- Control Method: Remote
- UPC: 632286256767
- ASIN: B087Z1TP5M
- Date First Available: May 1, 2020
9. Warranty Information
This product comes with a limited warranty. Please refer to the warranty card included with your product for detailed terms, conditions, and registration information. Keep your proof of purchase for warranty claims.
10. Customer Support
For technical assistance, troubleshooting not covered in this manual, or customer service inquiries, please contact R&L support through the contact information provided on your warranty card or the official R&L website.