Introduction
Welcome to the world of miniature crafting with your CUTEROOM QT Series DIY Miniature Study Room Dollhouse Kit. This kit provides all the necessary components to construct a detailed and charming miniature study room, complete with furniture, accessories, and LED lighting. This manual will guide you through the assembly process, provide operational details, and offer tips for maintenance and troubleshooting to ensure an enjoyable building experience and a beautiful finished product.

Image: The fully assembled CUTEROOM QT Series Miniature Study Room Dollhouse Kit.
Safety Information
Warning: Not suitable for age under 14 years old.
This kit contains small parts that may pose a choking hazard. Keep all components out of reach of young children. Adult supervision is recommended during assembly. Exercise caution when using sharp tools (e.g., scissors, craft knives) and adhesives.
Package Contents
Your CUTEROOM QT Series DIY Miniature Study Room Dollhouse Kit includes:
- 1 x DIY Wooden House kit (pre-cut wooden pieces for structure and furniture)
- Dust cover
- LED light components
- Various miniature accessories (e.g., books, guitar, chair, desk, plants)
- Detailed English instruction manual with colored pictures
Please note: Glue and batteries are not included in the package due to shipping restrictions. You will need to provide your own craft glue (preferably quick-drying clear glue) and appropriate batteries for the LED lights.
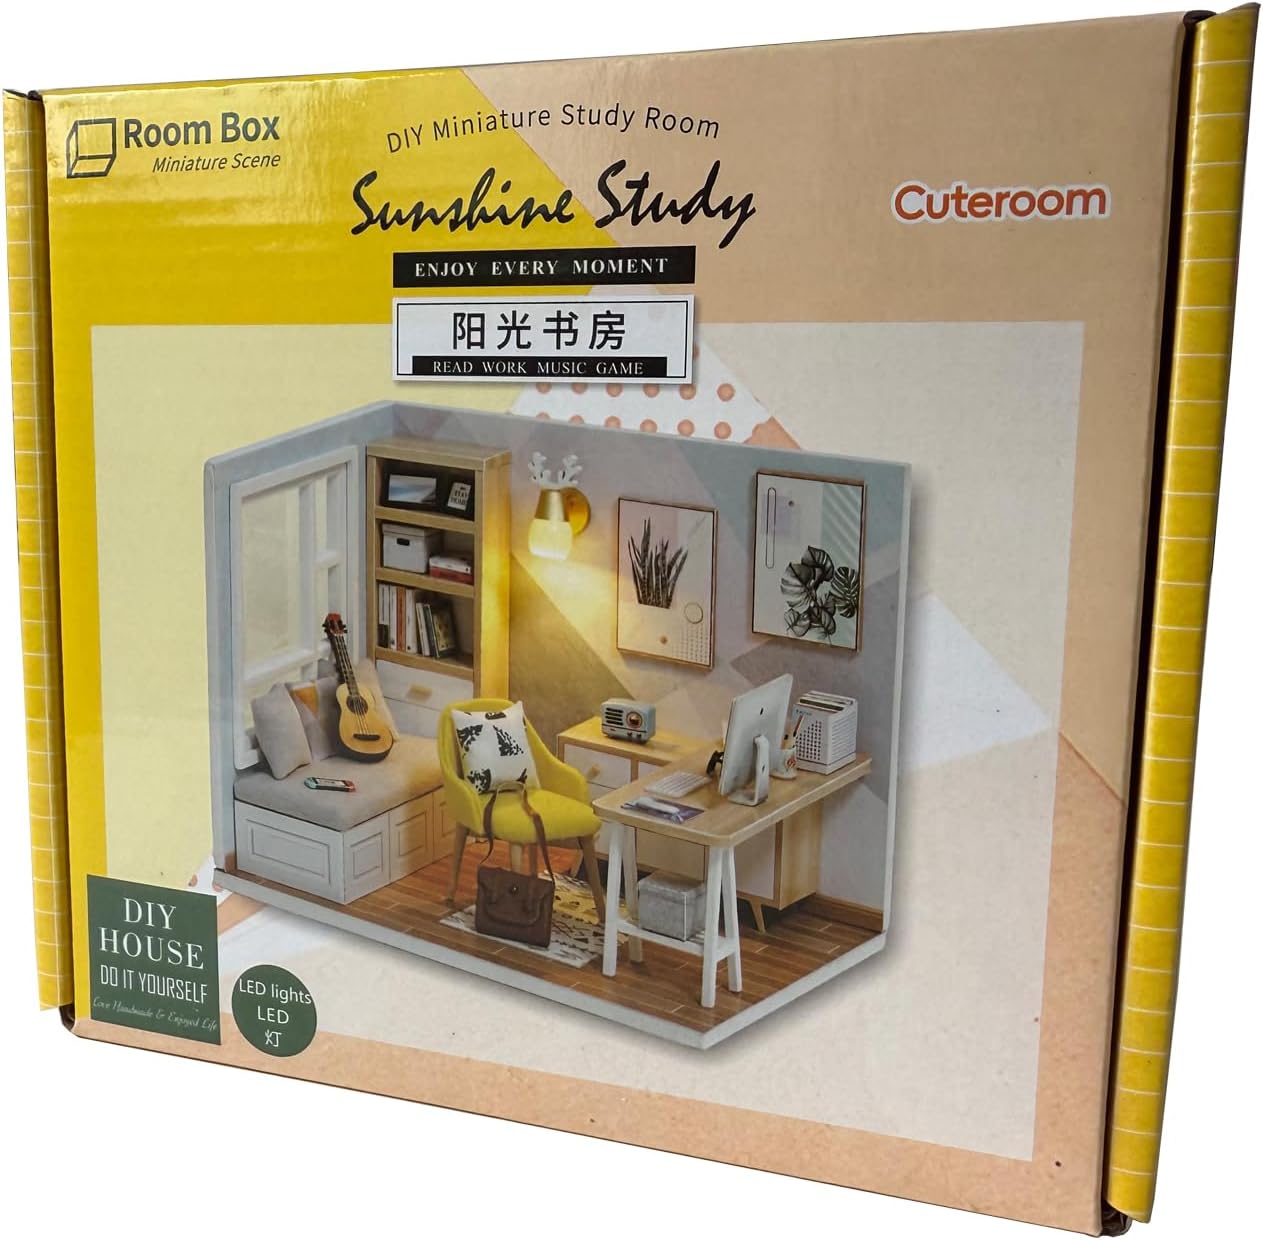
Image: The product packaging, showing the kit contents.
Assembly Instructions
The assembly process requires patience and attention to detail. Follow the steps outlined in the included English instruction manual carefully. Each step is accompanied by clear, colored pictures to guide you.
- Preparation: Unpack all components. Familiarize yourself with the parts and the instruction manual. Organize the pieces by their numbered labels as indicated in the manual.
- Tools Required (Not Included): Craft glue (quick-drying, clear), scissors, tweezers, ruler, small screwdriver (for battery compartment), and potentially a craft knife.
- Step-by-Step Assembly: The manual will guide you through building the main structure, furniture, and small accessories. Parts are often packaged in multiple bags; refer to the instructions for which pieces to use for each component.
- Wiring LED Lights: Follow the specific diagrams in the manual for wiring the LED lights. Ensure all connections are secure before final assembly.
- Final Placement: Once individual components are built, arrange them within the dollhouse structure as shown in the manual or to your preference. Secure them with glue as needed.

Image: Example of the colorful printed user manual included with the kit.
Video: An official video demonstrating the assembly and features of the DIY Doll Room Miniature Furniture Wooden House Kit.
Component Details


Operating Instructions
LED Lighting
The kit includes LED light components to illuminate your miniature study room. To operate the lights:
- Ensure batteries (not included) are correctly installed in the designated battery box, following polarity markings.
- Connect the LED light wiring to the battery box as per the assembly instructions.
- Activate the lights using the switch on the battery box.
If the lights do not turn on, check battery installation, ensure connections are secure, and verify that the batteries are new and correctly sized.
Maintenance
To keep your miniature dollhouse kit in optimal condition:
- Cleaning: Gently dust the assembled model with a soft brush or cloth. Avoid using liquid cleaners, which may damage the materials.
- Handling: Handle the finished model with care, as some components are delicate. Avoid dropping or applying excessive pressure.
- Storage: Store the dollhouse in a dry, cool place away from direct sunlight to prevent fading or warping of materials. The included dust cover helps protect it from dust and environmental factors.
Troubleshooting
Here are solutions to common issues you might encounter:
- Missing Parts: All parts are carefully checked before packaging. If you believe a part is missing, double-check all packaging materials and the instruction manual's parts list. Contact CUTEROOM customer support if a part is genuinely missing.
- Difficulty Assembling: Refer to the detailed pictures in the instruction manual. Ensure you are using the correct pieces for each step. Sometimes, a small amount of force or careful alignment is needed. Do not rush the process.
- LED Lights Not Working: Verify that batteries are inserted correctly with the right polarity. Check all wire connections for looseness. Replace old batteries with new ones.
- Components Not Sticking: Ensure you are using a suitable craft glue and allowing sufficient drying time. Apply glue evenly but sparingly to avoid excess.
Specifications
| Feature | Detail |
|---|---|
| Product Dimensions (L x W x H) | 12.7 cm x 10 cm x 10 cm (5 x 3.93 x 3.93 inches) |
| Item Weight | 0.3 KG (10.6 ounces) |
| Recommended Age | 14 years and up |
| Materials | Wood, plastic, fabric, paper, resin |
| Lighting | LED (batteries not included) |

Image: The miniature study room with its dimensions highlighted.
Warranty and Support
For any questions, concerns, or support regarding your CUTEROOM QT Series DIY Miniature Study Room Dollhouse Kit, please contact CUTEROOM customer service. Refer to the contact information provided on the product packaging or the official CUTEROOM website for assistance.