1. Important Safety Information
Please read all instructions carefully before use. Adult supervision is required for users under 14 years old.
- Age Recommendation: Suitable for ages 8 and above.
- Circuit Diagrams: Always follow the correct circuit diagrams to prevent short circuits.
- Short Circuit Hazard: A short circuit can generate high temperatures, potentially melting or burning the battery holder.
- Adult Supervision: Children must use this kit under the direct supervision of an adult.
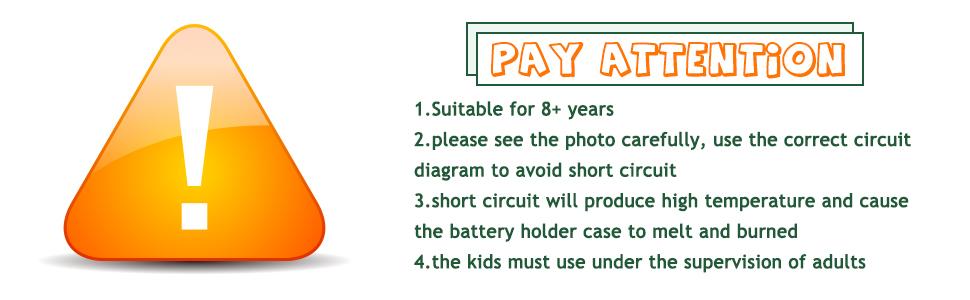
Image: A warning sign with key safety instructions regarding age, circuit diagrams, short circuit risks, and adult supervision.
2. Product Overview
The Sntieecr Electric Circuit Learning Kit provides a comprehensive set of components for exploring basic electrical circuits and constructing a car model. This kit is designed to introduce fundamental physics and STEM concepts through hands-on experimentation.
Kit Components:

Image: An assortment of components including motors, battery holders, light bulbs, switches, propellers, gears, wheels, wires, and a base plate.
- DC Motors
- Battery Holders (for AA batteries, batteries not included)
- Light Bulbs and Holders
- Switches
- Propellers
- Gears and Axles
- Wheels and Tires
- Alligator Clip Wires
- Plastic Base Plate
- Sliding Resistor (Rheostat)
- Other small accessories for assembly
3. Setup and Assembly
This section details the assembly of the car model and basic circuit connections. Ensure all components are present before beginning.
3.1 Car Model Assembly
- Install Support Frame: Attach the support frame onto the bottom plate using the provided screws.
- Install Bearings and Spacers: Secure the bearings and spacers onto the axles, then insert the axles through the support frame.
- Install Tires: Press the wheels onto the ends of the axles.
- Fix Components: Secure the switch, wires, battery base, and motor onto the bottom plate. Tape or glue may be required for some components as additional fasteners are not always provided.

Image: Visual guide for assembling the car chassis and attaching the motor, battery holder, and switch.
Note: The circuit design allows for various configurations. You can choose to use a single motor, two motors, or incorporate a sliding resistor to control the car's speed.

Image: A completed car model, demonstrating the final assembly with electrical components connected.
3.2 Basic Circuit Connections
Understanding correct circuit connections is crucial for safe and effective operation. Always ensure a complete circuit without direct connections between battery terminals (short circuit).

Image: Diagrams and examples showing how to avoid short circuits and establish correct connections for a motor or light bulb.
- Connect components in series or parallel as required for your experiment.
- Use alligator clip wires to establish connections between components and the battery holder.
- Ensure all connections are secure to prevent intermittent operation.
4. Operating Instructions
Once assembled, you can begin experimenting with various electrical concepts.
4.1 Powering the Circuit
- Insert appropriate batteries (e.g., AA) into the battery holder, ensuring correct polarity.
- Connect the battery holder to your circuit using the alligator clip wires.
- Use the switch to turn the circuit on or off.
4.2 Light Bulb Experiment
Connect a light bulb holder to the battery holder via a switch. When the switch is closed, the bulb should illuminate.

Image: An illuminated light bulb, demonstrating a successful circuit connection.
4.3 Using the Sliding Resistor (Rheostat)
The sliding resistor allows you to vary the resistance in a circuit, which in turn affects current flow and component operation (e.g., bulb brightness, motor speed).

Image: Demonstration of a sliding resistor. Moving the slider increases resistance, causing a connected bulb to dim.
- Connect the sliding resistor in series with a light bulb or motor.
- Move the slider along the resistive wire to observe changes in brightness or speed. Increasing the length of the resistive wire in the circuit increases resistance.

Image: Examples of circuit configurations, including a parallel circuit with a bulb and resistor, and a simple series circuit.
5. Maintenance
Proper care will extend the life of your learning kit components.
- Storage: Store all components in a dry, cool place away from direct sunlight.
- Cleaning: Wipe components with a dry cloth. Do not use water or cleaning solutions.
- Battery Care: Remove batteries from the battery holder when the kit is not in use for extended periods to prevent leakage.
- Wire Integrity: Regularly check alligator clip wires for fraying or damage. Replace damaged wires to ensure safe operation.
6. Troubleshooting
If your circuit or model is not functioning as expected, consider the following common issues:
| Problem | Possible Cause | Solution |
|---|---|---|
| Light bulb does not light up / Motor does not spin |
|
|
| Battery holder gets hot |
|
|
| Car model does not move |
|
|
7. Specifications
- Model Number: B087PV848K
- Brand: Sntieecr
- Package Dimensions: 7.95 x 5.87 x 2.2 inches
- Item Weight: 7 ounces
- Manufacturer: Sntieecr
- Recommended Age: 8+ years (with adult supervision)
8. Warranty and Support
For any questions, concerns, or support regarding your Sntieecr Electric Circuit Learning Kit, please contact the manufacturer directly through their official channels or the retailer where the product was purchased.
Please retain your proof of purchase for any warranty claims.


