Introduction
This manual provides essential information for the proper installation, operation, and maintenance of your Kneester PDS03A replacement sanding pad. Please read these instructions carefully before use to ensure optimal performance and longevity of the product. This replacement pad is designed for use with 225mm diameter wall and ceiling sanders, including compatibility with the Tacklife PDS03A model.
Product Overview
The Kneester PDS03A is a durable replacement sanding pad featuring a hook-and-loop fastening system for quick abrasive paper changes. It is designed for specific sander models requiring a 225mm abrasive disc and an M5/M6 screw attachment.

Figure 1: Top view of the Kneester PDS03A replacement sanding pad, showing the central attachment point and ventilation holes.
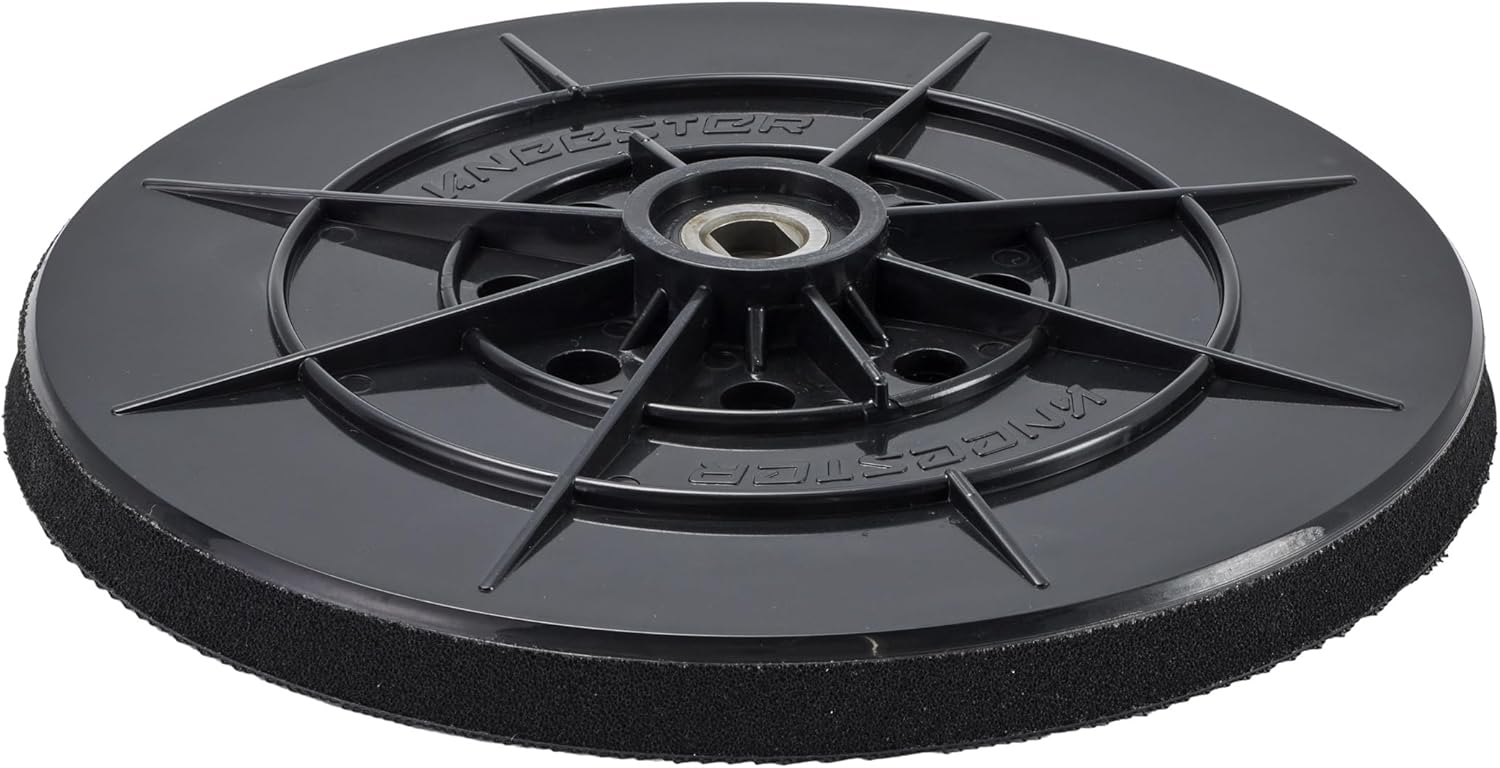
Figure 2: Bottom view of the Kneester PDS03A replacement sanding pad, illustrating the hook-and-loop surface for attaching abrasive discs.
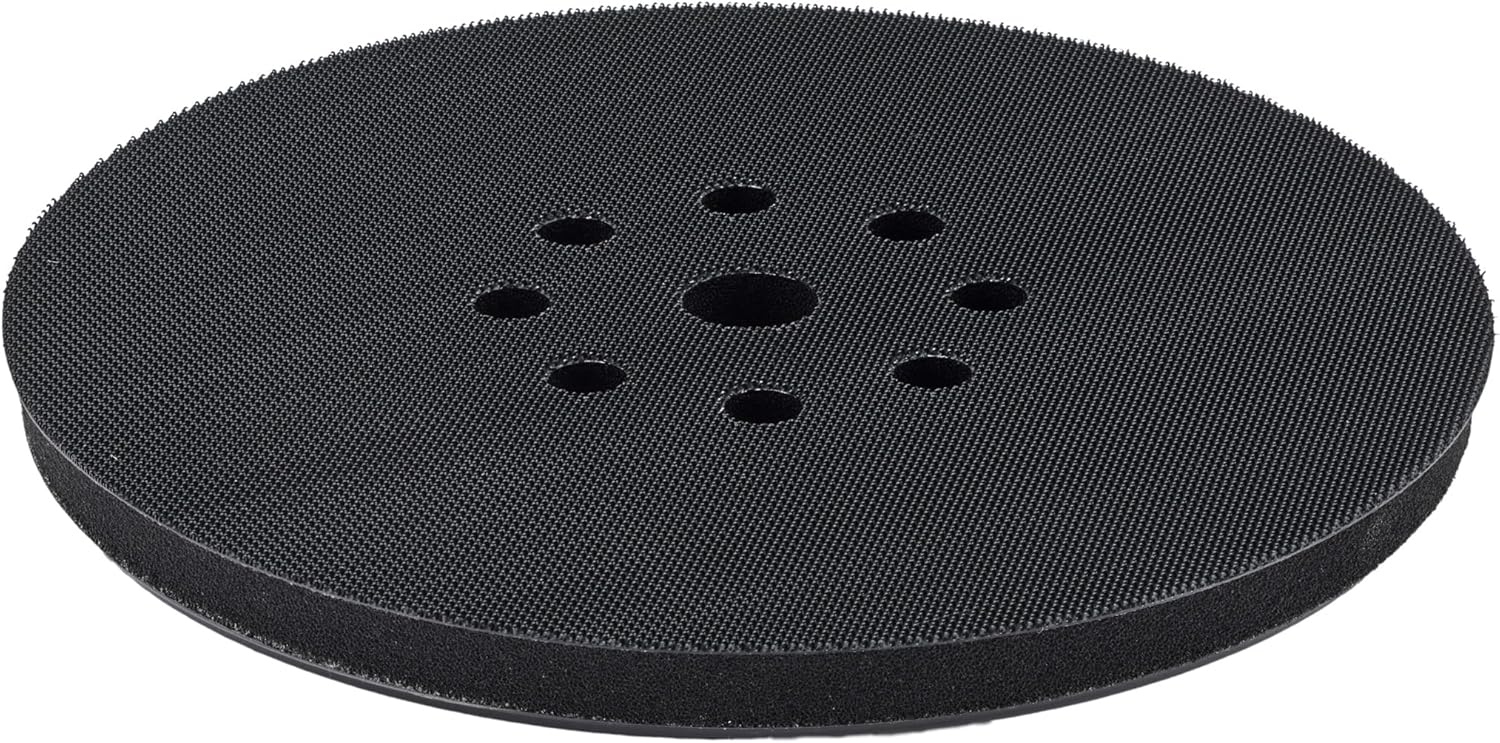
Figure 3: Detailed view of the central attachment mechanism, designed for M5 or M6 screws.
Setup and Installation
Follow these steps to correctly install the Kneester PDS03A replacement sanding pad onto your compatible sander.
- Power Disconnection: Ensure your sander is unplugged from the power source before beginning any installation or maintenance.
- Remove Old Pad: If replacing an existing pad, carefully unscrew and remove the old sanding pad from your sander. Note the type of screw (M5 or M6) and the hole pattern.
- Verify Compatibility: Confirm that your sander requires a pad with an M5 or M6 screw attachment and a hole pattern compatible with the replacement pad. The Kneester PDS03A is designed for 225mm abrasive discs, with an actual pad diameter of approximately 215mm to allow for proper fit of the abrasive.
- Attach New Pad: Align the central hole of the Kneester PDS03A replacement pad with the screw mount on your sander. Secure it firmly using the appropriate M5 or M6 screw. Do not overtighten.
- Attach Abrasive Disc: Press a 225mm hook-and-loop abrasive disc onto the pad, ensuring the ventilation holes on the abrasive disc align with those on the pad for efficient dust extraction.

Figure 4: Technical diagram illustrating the M5/M6 screw attachment point for the sanding pad.

Figure 5: Visual guide for attaching the sanding pad to the sander using the central screw.
Operating Instructions
Once the Kneester PDS03A replacement sanding pad is securely installed and an abrasive disc is attached, you can operate your sander as usual. Always refer to your sander's original instruction manual for specific operating procedures and safety guidelines.
- Abrasive Selection: Use 225mm diameter hook-and-loop abrasive discs with a grit type appropriate for your sanding task. The pad is compatible with various grit types, including medium.
- Dust Extraction: Ensure your sander's dust extraction system is properly connected and functioning. The pad's ventilation holes are designed to work with dust extraction.
- Even Pressure: Apply even, consistent pressure during sanding to achieve uniform results and prevent premature wear of the pad or abrasive.
Maintenance
Regular maintenance will extend the life of your Kneester PDS03A sanding pad and ensure consistent performance.
- Cleaning: After each use, remove the abrasive disc and gently brush off any dust or debris from the hook-and-loop surface of the pad. Avoid using harsh chemicals or abrasive cleaners.
- Inspection: Periodically inspect the pad for signs of wear, such as flattening of the hook-and-loop fibers, cracks, or deformation. Replace the pad if significant wear is observed to maintain sanding efficiency and prevent damage to the workpiece.
- Storage: Store the sanding pad in a clean, dry environment away from direct sunlight and extreme temperatures.
Troubleshooting
If you encounter issues with your Kneester PDS03A replacement sanding pad, consider the following:
- Abrasive Discs Not Sticking: Ensure the hook-and-loop surface of the pad is clean and free of debris. If the fibers are worn flat, the pad may need replacement. Verify that you are using 225mm hook-and-loop abrasive discs.
- Pad Not Fitting Sander: Double-check that your sander requires an M5 or M6 screw attachment. Also, confirm that the hole pattern on the replacement pad matches the dust extraction holes on your sander and abrasive discs. Some sanders may have different hole configurations (e.g., 6-hole, 8-hole, 10-hole). The Kneester PDS03A is designed with a specific hole pattern; ensure it matches your requirements.
- Uneven Sanding: Ensure the pad is securely attached and not wobbling. Check for any damage or deformation to the pad itself.
Specifications
| Feature | Specification |
|---|---|
| Manufacturer | Kneester |
| Item Model Number | PDS03A |
| Brand | Kneester |
| Disc Diameter (for abrasive) | 225 millimeters |
| Actual Pad Diameter | Approximately 215 millimeters (designed for 225mm abrasive discs) |
| Attachment Type | M5/M6 Screw |
| Abrasive Fastening | Hook-and-Loop |
| Grain Type | Medium (compatible with various grits) |
| Package Dimensions | 20.9 x 20.7 x 2.9 cm; 140 grams |
| ASIN | B087PFPF1M |
| International Article Code | 04260225031821 |
Warranty and Support
For information regarding warranty coverage or technical support for your Kneester PDS03A replacement sanding pad, please refer to the retailer or the official Kneester website. Keep your purchase receipt as proof of purchase.