
1. Introduction
This manual provides essential information for the installation, operation, and maintenance of your Husqvarna OEM 594935003 Carrier Plate. This genuine replacement part is designed to ensure optimal performance and compatibility with specific Husqvarna and other brand models. Please read these instructions carefully before proceeding with installation or use to ensure safety and proper function.
2. Safety Information
Always prioritize safety when working with power tools and replacement parts. Failure to follow these safety guidelines may result in injury or damage to equipment.
- Disconnect Power: Before attempting any installation or maintenance, ensure the power tool (e.g., trimmer, weed eater) is turned off and disconnected from its power source (spark plug wire removed for gasoline engines, battery removed for cordless, unplugged for electric).
- Wear Protective Gear: Always wear appropriate personal protective equipment (PPE), including safety glasses, gloves, and sturdy footwear.
- Use Correct Tools: Use only the tools specified or recommended for the task.
- Work in a Safe Environment: Ensure your work area is well-lit, clean, and free from obstructions.
- Genuine Parts: Use only genuine OEM replacement parts to ensure proper fit and function.
3. Package Contents
Verify that your package contains the following item:
- 1 x Husqvarna OEM 594935003 Carrier Plate
4. Compatibility
The Husqvarna OEM 594935003 Carrier Plate is a genuine replacement part compatible with various Husqvarna models and other brands that require this specific part number. It replaces part number 532180338.
Known Compatible Models:
- HU625WT
- HU625HWT
- PPWT60022
- PPWT62522
This part may also fit other Husqvarna-produced brands, including AYP, Craftsman, Jonsered, McCulloch, Poulan, Poulan Pro, RedMax, Sears, and Weed Eater, provided they require part number 594935003 or 532180338. Always verify compatibility by checking your equipment's model, specification, and serial numbers against the required part number, rather than relying solely on visual appearance.
5. Installation Instructions (Setup)
Follow these steps carefully to replace the carrier plate on your power tool.
5.1. Preparation
- Ensure the power tool is completely off and disconnected from its power source.
- Clear the work area of any debris or obstructions.
- Gather necessary tools, which may include a wrench, screwdriver, or other specific tools for your trimmer head.
5.2. Removing the Old Carrier Plate
- Locate the trimmer head assembly. The carrier plate is typically found at the base of the trimmer head, holding the cutting lines.
- Depending on your specific trimmer model, you may need to remove the outer cap or spool to access the carrier plate. Consult your trimmer's original manual if unsure.
- Identify the fasteners (screws, nuts, or clips) that secure the old carrier plate. Carefully loosen and remove them.
- Gently detach the old carrier plate from the trimmer head shaft. Note its orientation for reference during new installation.
- Inspect the shaft and surrounding components for any damage or wear. Clean any debris before installing the new part.
5.3. Installing the New Carrier Plate
- Align the new Husqvarna OEM 594935003 Carrier Plate with the trimmer head shaft. Ensure it sits flush and correctly oriented.
- Secure the carrier plate using the original fasteners. Tighten them firmly but do not overtighten, as this can strip threads or crack the plastic.
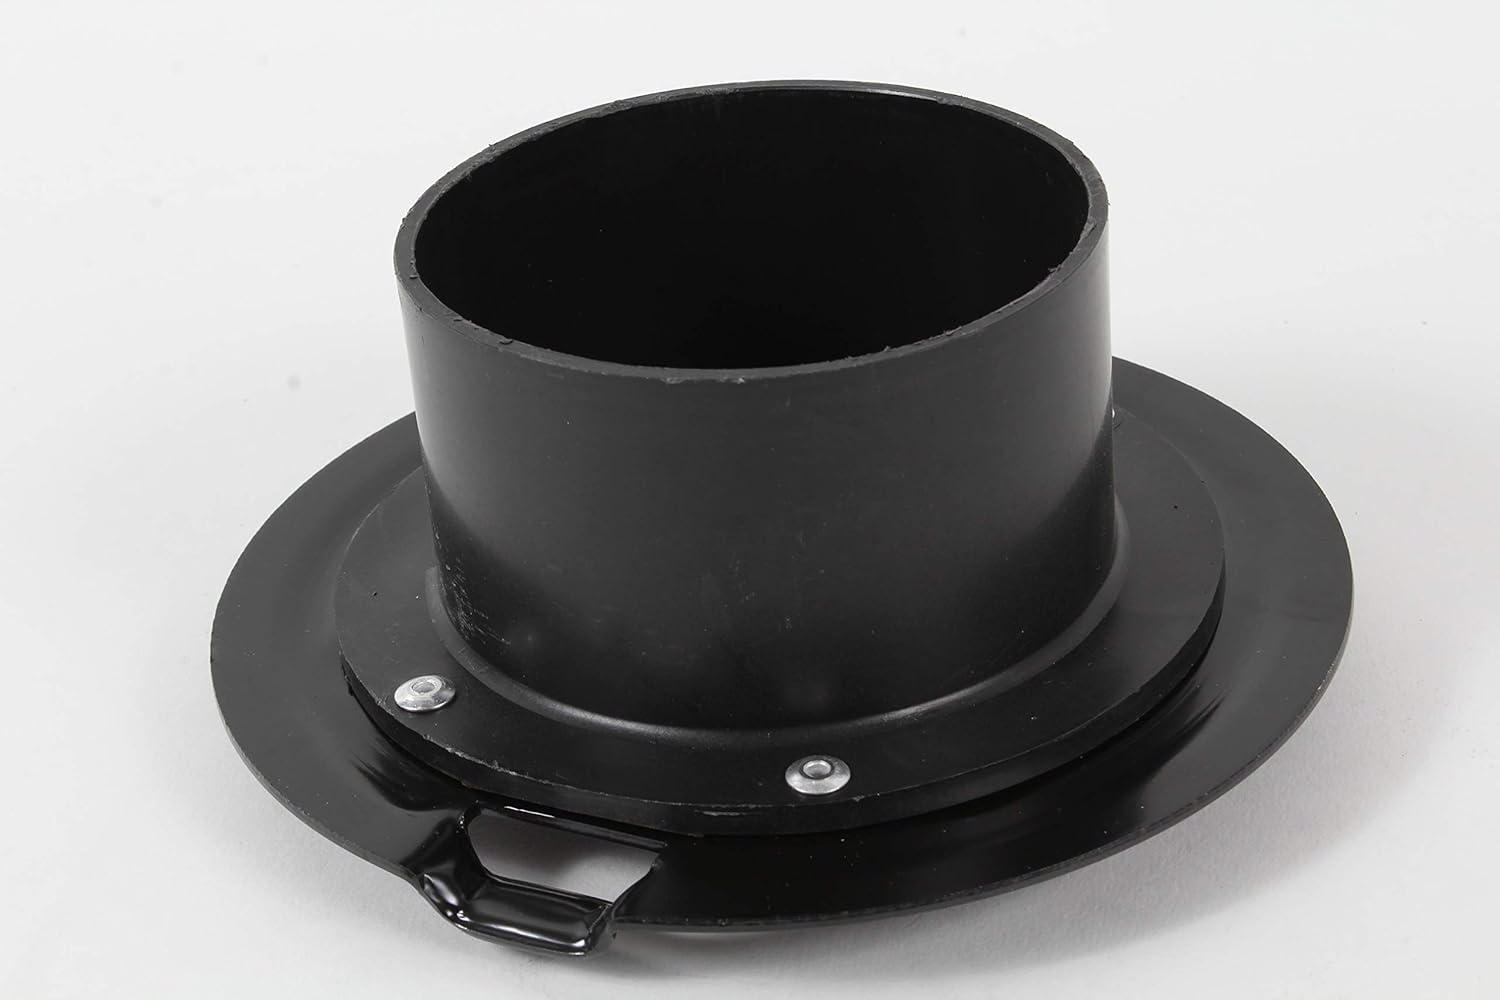
Image: Top view of the Husqvarna Carrier Plate, showing the central shaft opening and attachment points.

Image: Bottom view of the Husqvarna Carrier Plate, showing the underside structure and mounting features.
5.4. Post-Installation Check
- Once the carrier plate is securely installed, reassemble any other parts of the trimmer head (e.g., spool, cap).
- Gently rotate the trimmer head by hand to ensure all components move freely and without obstruction.
- Reconnect the power source (e.g., reattach spark plug wire, insert battery, plug in).
- Perform a brief test run in a safe, open area to confirm proper operation.
6. Operating
The carrier plate is an integral component of your trimmer head, responsible for holding and feeding the cutting line. Once installed, its function is passive, supporting the cutting mechanism. Ensure the cutting lines are properly loaded into the trimmer head according to your trimmer's specific instructions.
7. Maintenance
Regular maintenance helps prolong the life of your carrier plate and trimmer head.
- Clean Regularly: After each use, clean the trimmer head and carrier plate to remove grass clippings, dirt, and debris. This prevents buildup that can hinder performance or cause premature wear.
- Inspect for Damage: Periodically inspect the carrier plate for cracks, excessive wear, or deformation. Replace the part if any significant damage is observed.
- Check Fasteners: Ensure all fasteners securing the carrier plate remain tight. Loose fasteners can lead to vibration and accelerated wear.
- Proper Line Usage: Use only the recommended type and diameter of cutting line for your trimmer. Using incorrect line can put undue stress on the carrier plate.
8. Troubleshooting
If you encounter issues after installing the carrier plate, consider the following:
- Carrier Plate Breaks Prematurely: Ensure you are using the correct part for your model. Avoid hitting hard objects with the trimmer head, as this can cause impact damage. Verify that the cutting line is not excessively long or too thick, which can overstress the plate.
- Improper Fit: Double-check that the part number 594935003 (or 532180338) is indeed the correct replacement for your specific trimmer model. Refer to your trimmer's original manual or manufacturer's parts list.
- Vibration or Noise: Ensure the carrier plate is securely fastened and all components of the trimmer head are properly assembled. Check for any foreign objects lodged in the trimmer head.
9. Specifications
| Attribute | Value |
|---|---|
| Part Number | 594935003 (Replaces 532180338) |
| Manufacturer | Husqvarna |
| Product Dimensions | 17.75 x 10.13 x 17.75 inches |
| Item Weight | 9.9 ounces |
10. Warranty and Support
As a genuine Husqvarna OEM part, this carrier plate is manufactured to high standards. For warranty information or technical support, please refer to the official Husqvarna website or contact their customer service. Always retain your proof of purchase.
For further assistance, you may visit the Husqvarna Store on Amazon or consult your local authorized Husqvarna dealer.


