
Nemesis Audio NA-3KM
Nemesis Audio NA-3KM Car Stereo Amplifier Instruction Manual
Model: NA-3KM | Brand: Nemesis Audio
1. Product Overview
The Nemesis Audio NA-3KM is a high-performance 1-channel (monoblock) car audio amplifier designed to deliver powerful and clear bass. This amplifier is engineered for robust performance and reliability in automotive audio systems.
Key Features:
- RMS / MAX Power @ 1 Ohm: 1500W / 3000W
- RMS / MAX Power @ 2 Ohm: 950W / 1900W
- RMS / MAX Power @ 4 Ohm: 600W / 1200W
- Input Level: 0.2V – 5V
- Frequency Response: 8Hz – 180Hz
- Low Pass Filter (LPF): 40Hz – 180Hz
- Subsonic Filter: 5Hz – 50Hz
- Bass Boost Frequency: 30Hz – 80Hz
- Bass Boost Level: 0-12dB
- Total Harmonic Distortion (THD) at 4 Ohm load 30% Rated Power: <0.2%
- Signal to Noise Ratio: 70dB
- Best Efficiency: 85%
- Minimum Load: 1 Ohm
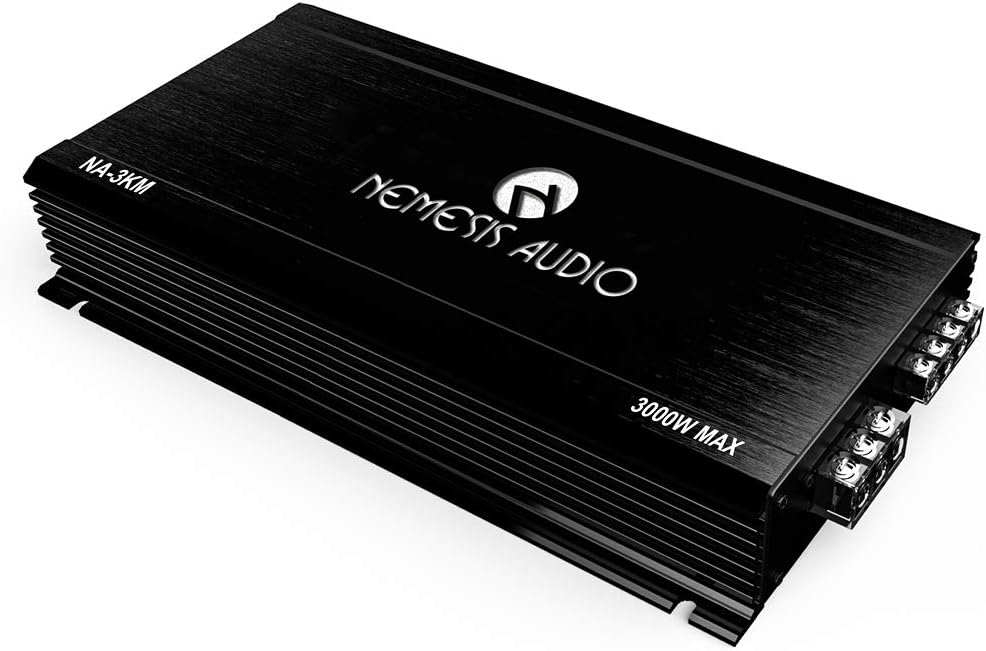
Figure 1: Nemesis Audio NA-3KM 3000W Max Power 1-CH/Monoblock Car Stereo Amplifier.
2. Setup and Installation
Proper installation is crucial for optimal performance and safety. It is recommended that installation be performed by a qualified professional. Always disconnect the vehicle's battery before beginning any installation.
2.1. Wiring Connections:
- Power (BATT+): Connect directly to the positive terminal of the vehicle's battery using a heavy-gauge power cable. An inline fuse (not included) must be installed within 18 inches of the battery.
- Ground (GND): Connect to a clean, unpainted metal surface of the vehicle's chassis. Ensure a solid connection for proper grounding.
- Remote (REM): Connect to the remote turn-on lead from your head unit. This wire signals the amplifier to turn on and off with your stereo.
- RCA Input: Connect RCA cables from your head unit's pre-amp outputs to the amplifier's RCA input jacks.
- Speaker Output: Connect your subwoofer(s) to the amplifier's speaker terminals. Ensure correct polarity (+ to + and - to -). This amplifier supports a minimum load of 1 Ohm.
2.2. Mounting:
Mount the amplifier securely in a location that allows for adequate ventilation and is protected from moisture and excessive heat. Avoid mounting on carpeted surfaces that can impede airflow. Ensure all connections are tight and secure to prevent vibration-induced issues.
3. Operating the Amplifier
Once installed, the amplifier requires proper adjustment to match your audio system components and personal preferences.
3.1. Gain Adjustment:
The gain control (Input Level) matches the amplifier's input sensitivity to the output voltage of your head unit. Start with the gain set to minimum. Play a familiar track at about 75% of your head unit's maximum volume. Slowly increase the amplifier's gain until you hear distortion, then back it off slightly. This ensures maximum clean output.
3.2. Crossover Settings:
- LPF (Low Pass Filter): This filter allows only frequencies below the set point to pass through to the subwoofer. Adjust the LPF between 40Hz and 180Hz to blend the subwoofer's output with your main speakers.
- Subsonic Filter: This filter removes extremely low frequencies that are inaudible and can cause damage to your subwoofer. Set the subsonic filter between 5Hz and 50Hz, typically just below your enclosure's tuning frequency.
3.3. Bass Boost:
The bass boost feature provides an adjustable low-frequency equalization. Use this feature sparingly and adjust between 0-12dB at frequencies from 30Hz to 80Hz. Excessive bass boost can lead to distortion and potential damage to your speakers or amplifier.
4. Maintenance
Regular maintenance helps ensure the longevity and optimal performance of your amplifier.
- Cleaning: Periodically clean the amplifier's exterior with a soft, dry cloth. Do not use harsh chemicals or abrasive cleaners.
- Ventilation: Ensure the amplifier's cooling fins are free from dust and debris. Good airflow is essential to prevent overheating.
- Connections: Occasionally check all wiring connections (power, ground, remote, RCA, speaker) to ensure they remain tight and free from corrosion. Loose connections can cause performance issues or damage.
- Environment: Avoid exposing the amplifier to extreme temperatures, direct sunlight, or excessive moisture.
5. Troubleshooting
If you experience issues with your Nemesis Audio NA-3KM amplifier, refer to the following common problems and solutions:
| Problem | Possible Cause | Solution |
|---|---|---|
| No Power / Amplifier Not Turning On | Blown fuse, loose power/ground/remote wire, faulty head unit remote output. | Check inline fuse and amplifier fuses. Verify all power, ground, and remote connections are secure. Test remote wire for 12V signal. |
| No Sound Output | Loose RCA cables, incorrect gain setting, speaker wires shorted or disconnected, amplifier in protection mode. | Check RCA connections. Adjust gain. Inspect speaker wiring for shorts or breaks. Check amplifier's protection indicator light. |
| Distorted Sound | Gain set too high, improper crossover settings, low input voltage, damaged speakers. | Reduce gain setting. Adjust LPF and Subsonic filters. Ensure adequate power supply to the amplifier. Inspect speakers for damage. |
| Amplifier Overheating / Protection Mode | Insufficient ventilation, impedance too low, prolonged high volume use, internal fault. | Ensure proper airflow around the amplifier. Verify speaker impedance matches amplifier's minimum load. Reduce volume. If problem persists, seek professional service. |
6. Specifications
| Feature | Detail |
|---|---|
| Brand | Nemesis Audio |
| Model Number | NA-3KM |
| Number of Channels | 1 (Monoblock) |
| RMS / MAX Power @ 1 Ohm | 1500W / 3000W |
| RMS / MAX Power @ 2 Ohm | 950W / 1900W |
| RMS / MAX Power @ 4 Ohm | 600W / 1200W |
| Input Level | 0.2V – 5V |
| Frequency Response | 8Hz – 180Hz |
| LPF (Low Pass Filter) | 40Hz – 180Hz |
| Subsonic Filter | 5Hz – 50Hz |
| Bass Boost Frequency | 30Hz – 80Hz |
| Bass Boost Level | 0-12dB |
| THD at 4 Ohm load 30% Rated Power | <0.2% |
| Signal to Noise Ratio | 70dB |
| Best Efficiency | 85% |
| Minimum Load | 1 Ohm |
| Dimensions (L x W x H) | 341 x 185 x 55mm (Approx. 15 x 9 x 3 inches) |
| Item Weight | Approx. 7 Lbs |
| Voltage | 5 Volts (Input Level range) |
| Mounting Type | Surface Mount |
| Certifications | CE, FCC, RoHS |
| UPC | 636655223329 |
7. Warranty and Support
For specific warranty information regarding your Nemesis Audio NA-3KM amplifier, please refer to the warranty card included with your product packaging or visit the official Nemesis Audio website. Warranty terms and conditions may vary.
If you require technical assistance or have questions not covered in this manual, please contact Nemesis Audio customer support through their official channels. Keep your proof of purchase for warranty claims.
Ask a question about this manual
Ask about setup, troubleshooting, compatibility, parts, safety, or missing instructions. Manuals+ will review the question and use this page’s manual context to help answer it.