Playz solarsystem
Playz Solar System Model Kit Instruction Manual
Model: solarsystem | Brand: Playz
1. Introduction
Thank you for choosing the Playz Solar System Model Kit. This kit provides a hands-on educational experience for children to learn about our solar system, planetary orbits, and astronomy. Please read this manual carefully before assembly and operation to ensure safe and correct usage.
Safety Information
- Recommended for ages 8 years and up. Adult supervision is recommended during assembly and painting.
- Keep small parts away from young children to prevent choking hazards.
- Do not look directly into the projector light.
- Ensure batteries are inserted with correct polarity. Do not mix old and new batteries.
- Dispose of batteries responsibly.
2. Package Contents
Your Playz Solar System Model Kit includes over 75 premium parts. Please verify all components are present before beginning assembly.

Image: The complete set of components included in the Playz Solar System Model Kit, laid out for inspection. This includes the base, motor, gears, planet arms, pre-painted planets, foam balls, paint set, brush, and instruction manual.
Included Components:
- Main Base Unit
- 4-Speed Orbit Motor Assembly
- HD Planetarium Projector (Sun unit)
- 8 Pre-painted Planets (Mercury, Venus, Earth, Mars, Jupiter, Saturn, Uranus, Neptune)
- 8 White Foam Balls for custom painting
- Paint Set and Brush
- Planet Arms and Connectors
- Screwdriver
- Detailed Instruction Manual
3. Setup and Assembly
Follow these steps to assemble your Solar System Model Kit. Refer to the detailed diagrams in the included manual for visual guidance.
Step-by-Step Assembly:
- Prepare the Base: Open the battery compartment on the underside of the main base unit using the provided screwdriver. Insert 4 AA batteries (not included), ensuring correct polarity. Close the compartment securely.
- Install the Motor Assembly: Carefully place the 4-speed orbit motor assembly into the designated slot on the base. Ensure the gears align properly.
- Attach Planet Arms: Connect the planet arms to the rotating mechanism on the base. Each arm is designed for a specific planet and orbital path.
- Mount the Planets: Attach the pre-painted planets to the end of their respective arms. Ensure they are securely fastened. You may also choose to paint the foam balls provided and use those instead.
- Position the Sun/Projector: Place the HD Planetarium Projector (Sun unit) onto the central pillar of the model. It should fit snugly.
Video: An unboxing and assembly guide for the Playz Solar System Model Kit, demonstrating how to put together the various components.
4. Operating Instructions
4.1. Activating Planetary Orbit
- Locate the power switch on the base of the model.
- Flip the switch to the "ON" position to activate the 4-speed motor. The planets will begin to orbit the sun at different speeds, simulating real planetary motion.
- To stop the motion, flip the switch to the "OFF" position.
Video: Demonstration of the Playz Solar System Model Kit in operation, showcasing the 4-speed motor and planetary orbits.
4.2. Using the HD Planetarium Projector
- The Sun unit doubles as a portable HD projector. To activate, ensure the main power switch on the base is ON.
- In a darkened room, point the projector towards a flat surface (wall or ceiling).
- Rotate the dial on the projector to cycle through images of 8 different planets.
- Adjust the focus by gently twisting the lens of the projector.
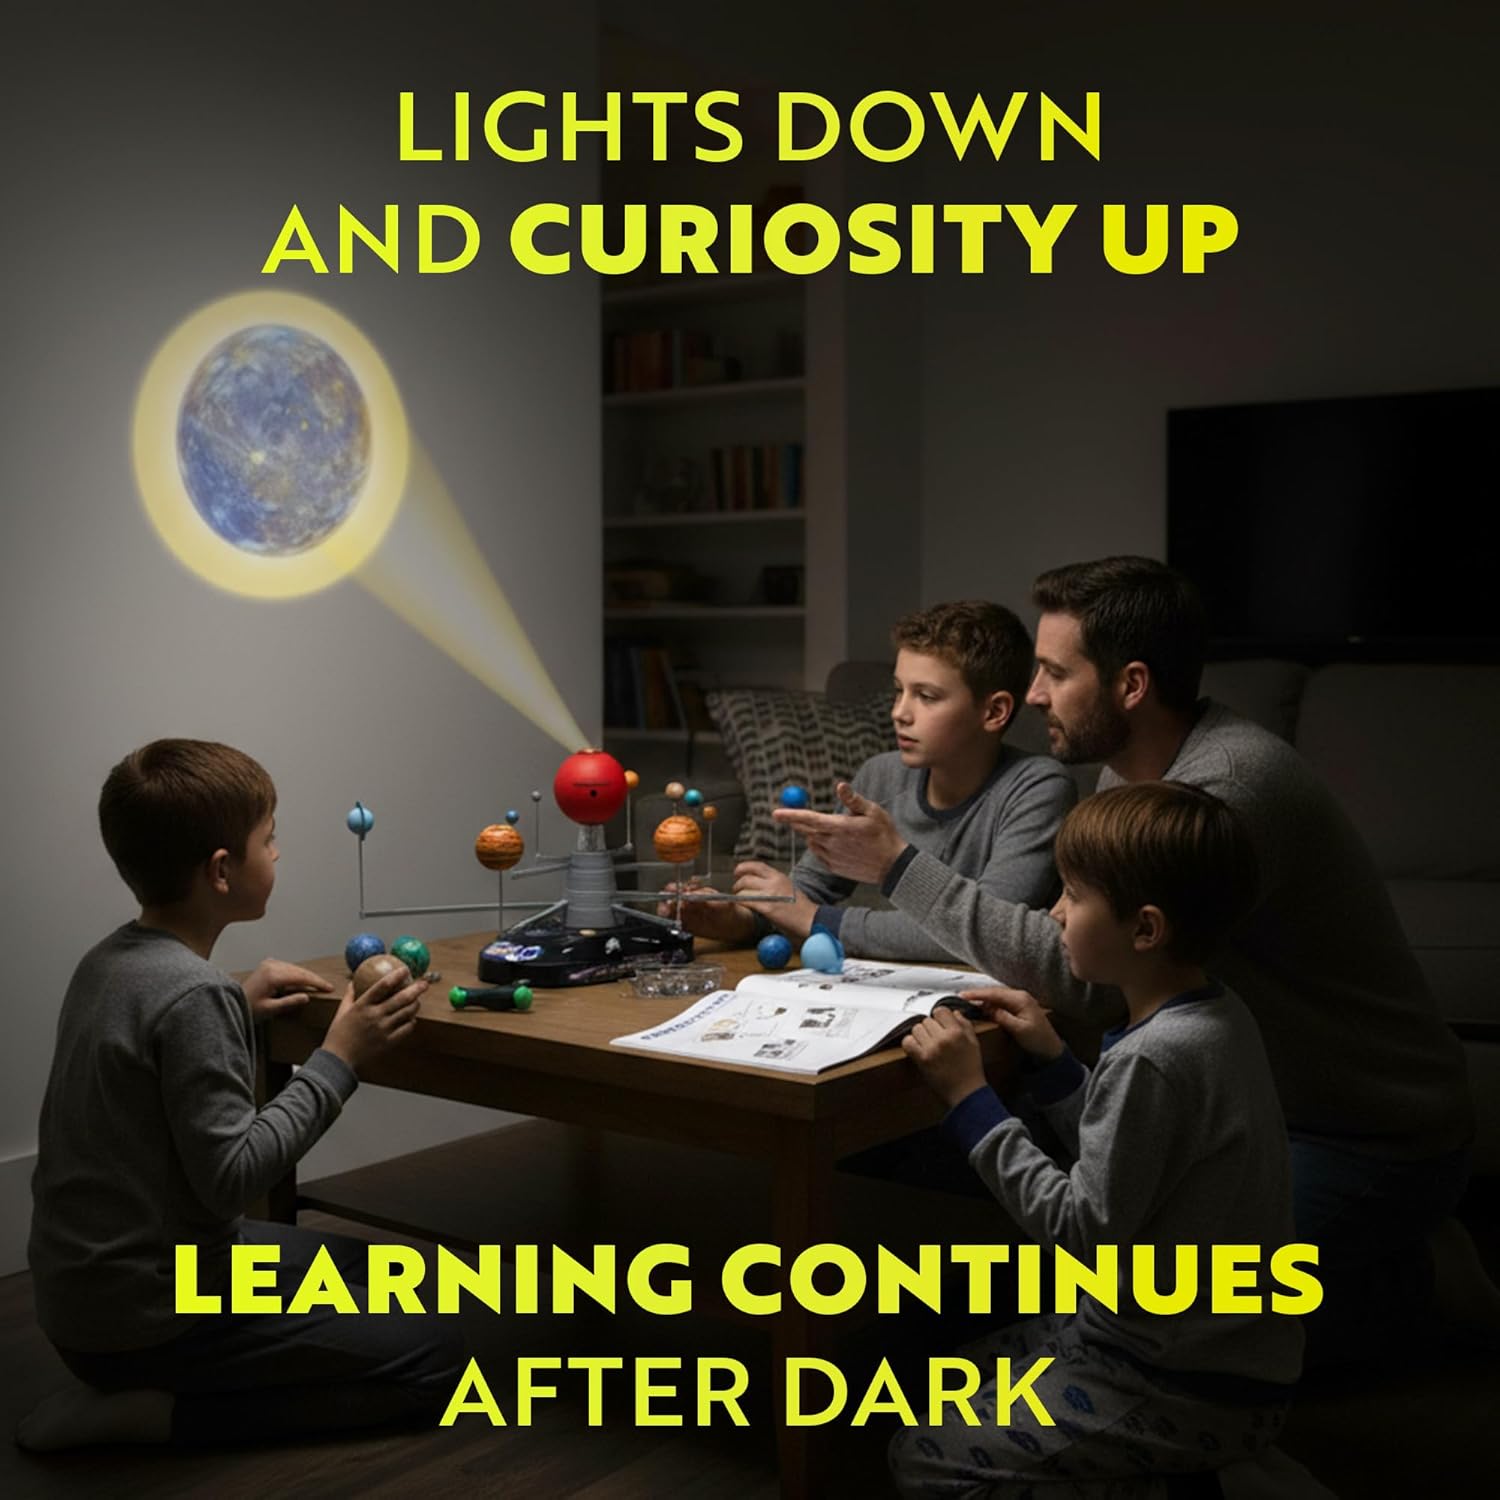
Image: A family gathered in a dimly lit room, observing the planet images projected onto the ceiling by the Playz Solar System Model Kit.
4.3. Customizing Planets with Paint
- Use the included white foam balls, paint set, and brush to create your own unique planet designs.
- Allow paint to dry completely before attaching custom planets to the model.

Image: Two children engaged in painting foam balls, customizing their own planets for the Playz Solar System Model Kit.
5. Maintenance
- Cleaning: Wipe the model with a soft, dry cloth. Do not use abrasive cleaners or immerse in water.
- Battery Replacement: When the motor slows down or the projector light dims, replace the 4 AA batteries. Always replace all batteries at once and use new, high-quality batteries.
- Storage: Store the kit in a cool, dry place away from direct sunlight when not in use.
6. Troubleshooting
| Problem | Possible Cause | Solution |
|---|---|---|
| Planets not orbiting. | Batteries are dead or incorrectly inserted. | Check battery polarity or replace with new AA batteries. |
| Projector light is dim or blurry. | Low batteries; lens needs adjustment. | Replace batteries. Gently twist the projector lens to focus. Ensure room is sufficiently dark. |
| Planets are not moving smoothly. | Gears are misaligned or obstructed. | Carefully check the motor assembly and ensure no parts are blocking the gears. |
7. Specifications
- Model: solarsystem
- Brand: Playz
- Power Source: 4 AA batteries (not included)
- Dimensions: 26" x 18" x 11" (assembled, approximate)
- Item Weight: 3.03 pounds
- Recommended Age: 8 years and up
8. Warranty & Support
Playz stands by the quality of its products. If you are unhappy with your purchase, please contact Playz customer support for a refund or assistance. Refer to the "TRUST OUR PLAYZ PROMISE" for details.
For further support or inquiries, please visit the official Playz website or contact their customer service department.
Video: A promotional video highlighting the features and educational benefits of the Playz Solar System Model Kit for kids.
Ask a question about this manual
Ask about setup, troubleshooting, compatibility, parts, safety, or missing instructions. Manuals+ will review the question and use this page’s manual context to help answer it.