NSKI JPS-30A
NSKI JPS-30A 6L Heated Stainless Steel Digital Ultrasonic Cleaner User Manual
Model: JPS-30A
1. Important Safety Instructions
Please read and understand all safety instructions before operating the NSKI JPS-30A Ultrasonic Cleaner. Failure to follow these instructions may result in electric shock, fire, or serious injury.
- Grounding: The unit must be connected to a grounded power outlet to prevent electric shock.
- Water Level: Always ensure the cleaning tank is filled with water or cleaning solution before plugging in the unit or turning on the heater. Never operate the heater or ultrasonic function with an empty tank.
- Handling: Do not touch the power plug with wet hands. This increases the risk of electric shock.
- Disassembly: Do not attempt to disassemble or repair the unit yourself. Refer all servicing to authorized personnel.
- Supervision: Do not leave the unit unattended during operation, especially when heating.
- Ventilation: Ensure adequate ventilation around the unit during operation.
- Power Disconnection: Always unplug the power cord before filling or emptying the tank, or performing any maintenance.
- Placement: Place the unit on a stable, level, and heat-resistant surface. Keep it away from flammable materials.
- Children and Pets: Keep the unit out of reach of children and pets.
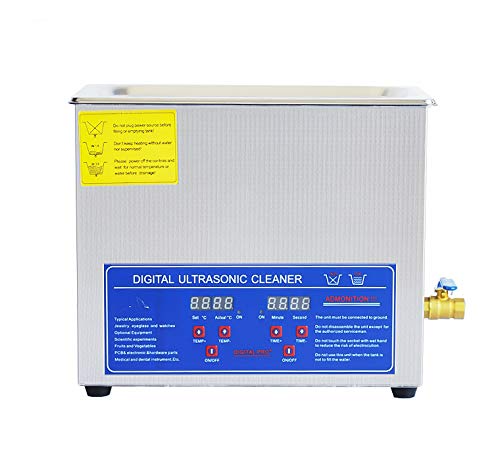
Image 1.1: Front view of the NSKI JPS-30A ultrasonic cleaner, highlighting the digital control panel and safety warning labels on the top left. The labels advise against plugging in before filling, heating without water, and touching the plug with wet hands.
2. Product Overview
The NSKI JPS-30A is a 6-liter heated stainless steel digital ultrasonic cleaner designed for professional and industrial applications. It utilizes 40KHz ultrasonic waves and adjustable heating to provide thorough cleaning for various items.
2.1 Components
- Main Unit: Stainless steel housing with integrated ultrasonic transducers and heating elements.
- Cleaning Tank: 6-liter capacity, made of SUS304 stainless steel.
- Lid: Stainless steel lid to cover the tank during operation.
- Cleaning Basket: Stainless steel mesh basket for holding items during cleaning.
- Digital Control Panel: For setting time and temperature.
- Drain Valve: Located on the side for easy drainage of cleaning solution.
- Power Cord: Detachable power cord.

Image 2.1: Overall view of the NSKI JPS-30A 6L ultrasonic cleaner with its stainless steel body and digital control panel.

Image 2.2: The stainless steel mesh basket, designed to hold items during ultrasonic cleaning.
3. Setup
- Unpacking: Carefully remove the ultrasonic cleaner and all accessories from the packaging. Inspect for any damage.
- Placement: Place the unit on a firm, level, and dry surface. Ensure there is sufficient space around the unit for ventilation.
- Connect Drain Valve (if detached): If the drain valve is not pre-installed, attach it securely to the outlet on the side of the tank. Ensure it is closed before filling.
- Fill Tank: Open the lid and fill the stainless steel tank with an appropriate cleaning solution or water. Ensure the liquid level is between the "MIN" and "MAX" marks (if present) or at least 2/3 full, covering the items to be cleaned. Do not overfill.
- Insert Basket: Place the cleaning basket into the tank.
- Connect Power: Plug the power cord into the unit's power inlet at the rear, then plug the other end into a grounded electrical outlet.
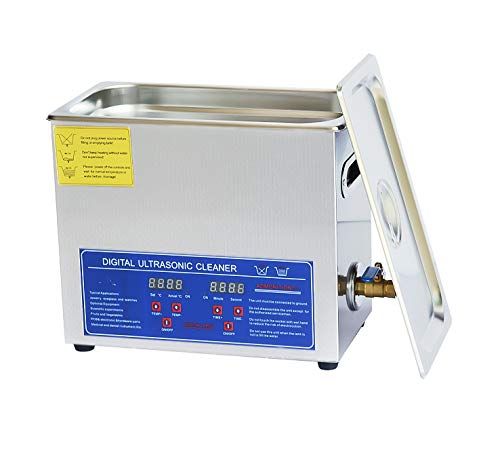
Image 3.1: Side view of the unit, showing the brass drain valve for liquid removal.
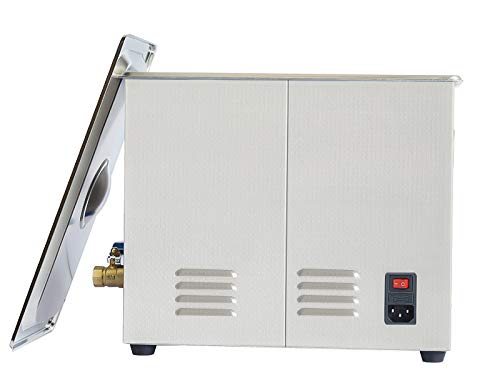
Image 3.2: Rear view of the ultrasonic cleaner, displaying the main power switch and the power cord inlet.
4. Operating Instructions
The NSKI JPS-30A features a digital control panel for precise time and temperature settings.
4.1 Control Panel Overview
The control panel typically includes:
- "Set °C" / "Actual °C" Display: Shows the set temperature and the current actual temperature.
- TEMP+ / TEMP- Buttons: Adjust the desired heating temperature (20-80°C).
- HEAT ON/OFF Button: Activates or deactivates the heating function.
- "Set Min" / "Second" Display: Shows the set cleaning time in minutes and seconds.
- TIME+ / TIME- Buttons: Adjust the desired cleaning time (1-30 minutes).
- ULTRASONIC ON/OFF Button: Activates or deactivates the ultrasonic cleaning function.
Image 4.1: Detailed view of the digital control panel, showing temperature and time displays, and control buttons.
4.2 Cleaning Procedure
- Prepare Items: Place the items to be cleaned into the cleaning basket. Ensure items are not overcrowded and are fully submerged in the cleaning solution.
- Set Temperature (Optional):
- Press the HEAT ON/OFF button to turn on the heating function.
- Use the TEMP+ and TEMP- buttons to set the desired temperature (e.g., 40°C for general cleaning, up to 80°C for stubborn grime). The "Actual °C" display will show the current temperature.
- Allow the unit to pre-heat until the desired temperature is reached.
- Set Cleaning Time:
- Use the TIME+ and TIME- buttons to set the desired cleaning duration (1-30 minutes). The "Set Min" and "Second" displays will show the countdown.
- Start Ultrasonic Cleaning: Press the ULTRASONIC ON/OFF button to start the ultrasonic cleaning process. The unit will begin emitting ultrasonic waves.
- Monitor Process: The unit will operate for the set duration and automatically stop when the timer reaches zero.
- Remove Items: Once cleaning is complete, turn off the unit (if not already off) and carefully remove the basket with the cleaned items. Rinse items with clean water if necessary and dry them thoroughly.
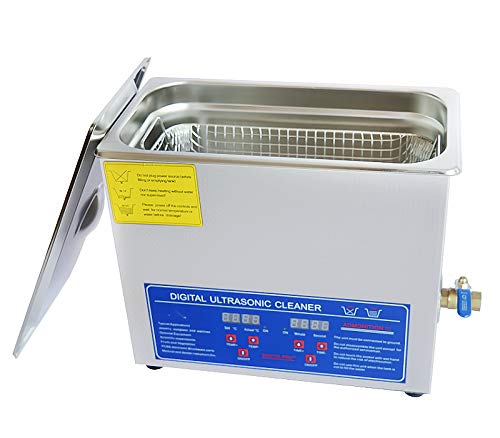
Image 4.2: The ultrasonic cleaner with its lid open, revealing the stainless steel cleaning tank and the mesh basket in place, ready for items.
5. Maintenance
Regular maintenance ensures optimal performance and extends the lifespan of your ultrasonic cleaner.
- Drain Solution: After each use, or when the solution becomes visibly dirty, unplug the unit and open the drain valve to empty the cleaning solution into a suitable container.
- Clean Tank: Rinse the tank with clean water. Use a soft cloth to wipe down the interior and exterior of the unit. Do not use abrasive cleaners or scourers.
- Descaling (if necessary): If mineral deposits build up in the tank, use a mild descaling agent specifically designed for stainless steel, following the product's instructions.
- Storage: Ensure the unit is completely dry before storing. Store in a cool, dry place away from direct sunlight.

Image 5.1: Top-down view of the empty stainless steel cleaning tank, showing its smooth interior for easy cleaning.
6. Troubleshooting
| Problem | Possible Cause | Solution |
|---|---|---|
| Unit does not power on. |
|
|
| Ultrasonic function not working. |
|
|
| Heating function not working. |
|
|
| Poor cleaning results. |
|
|
7. Specifications
| Feature | Specification |
|---|---|
| Model | JPS-30A |
| Ultrasonic Frequency | 40 KHz |
| Main Material | Stainless Steel SUS304 |
| Capacity | 6 Liters |
| Time Control | Digital (1-30 minutes) |
| Temperature Control | Digital (20-80°C) |
| Power Supply | AC100-120V, 50/60Hz or AC220-240V, 50/60Hz (Specific voltage depends on region/model variant) |
| Ultrasonic Power | 180W |
| Heating Power | 200W |
| Outline Dimension | 330 x 180 x 270 mm (L x W x H) |
| Tank Size | 300 x 150 x 150 mm (L x W x H) |
| Net Weight | 5.5 KG |
| Gross Weight | 6 KG |
8. Warranty and Support
Specific warranty information for the NSKI JPS-30A ultrasonic cleaner is not provided in the product details. Please refer to your purchase documentation or contact the retailer/manufacturer directly for warranty terms and conditions.
For technical support, service, or replacement parts, please contact NSKI customer service or your authorized dealer. Keep your purchase receipt and model number (JPS-30A) handy when contacting support.
Ask a question about this manual
Ask about setup, troubleshooting, compatibility, parts, safety, or missing instructions. Manuals+ will review the question and use this page’s manual context to help answer it.