1. Introduction
This manual provides essential instructions for the installation, operation, and maintenance of your Liftmaster CSL24U / CSL24UL Slide Gate Opener Kit. This kit is designed for automated slide gate access control and includes a battery backup, two remotes, an 828LM Internet Gateway, a KPW250 Wireless Keypad, and a keypad pedestal.
Important Safety Note: For proper functionality and safety, this system must be installed only by an authorized Liftmaster technician.
2. Setup
Proper setup is crucial for the safe and efficient operation of your slide gate opener. Ensure all components are present and undamaged before beginning installation.
2.1 Kit Components Overview
- CSL24U / CSL24UL Slide Gate Opener Unit with Battery Backup
- Two 811LM Remotes
- 828LM Internet Gateway
- KPW250 Wireless Keypad
- 42" Aluminum Pedestal for Keypad
- Safety Sensors (as pictured)
2.2 Main Gate Opener Unit

Image: The main Liftmaster CSL24UL slide gate opener unit. This unit houses the motor, control board, and battery backup system for automated gate operation.
The CSL24U/CSL24UL unit is the core of your gate automation system. It should be securely mounted on a stable foundation adjacent to the gate, ensuring proper alignment with the gate's rack system. The integrated battery backup provides continued operation during power outages.
2.3 KPW250 Wireless Keypad

Image: The Liftmaster KPW250 wireless keypad, featuring a numeric input panel for secure access.
The KPW250 wireless keypad allows for secure, code-based access to your property. It should be mounted in a convenient, accessible location, typically on the provided pedestal, ensuring clear line of sight or signal transmission to the gate opener unit.
2.4 Keypad Pedestal

Image: A 42-inch aluminum pedestal designed for mounting the wireless keypad at an optimal height for user access.
The 42-inch aluminum pedestal provides a sturdy and appropriately-heighted mounting solution for the KPW250 wireless keypad. Install it firmly into the ground or a concrete base near the gate entrance.
2.5 828LM Internet Gateway

Image: The Liftmaster 828LM Internet Gateway device shown alongside a smartphone displaying the MyQ app interface for remote control.
The 828LM Internet Gateway connects your gate opener to your home network, enabling remote monitoring and control via the MyQ app. Connect it to your router and follow the MyQ app instructions for pairing with your gate opener.
2.6 811LM Remotes
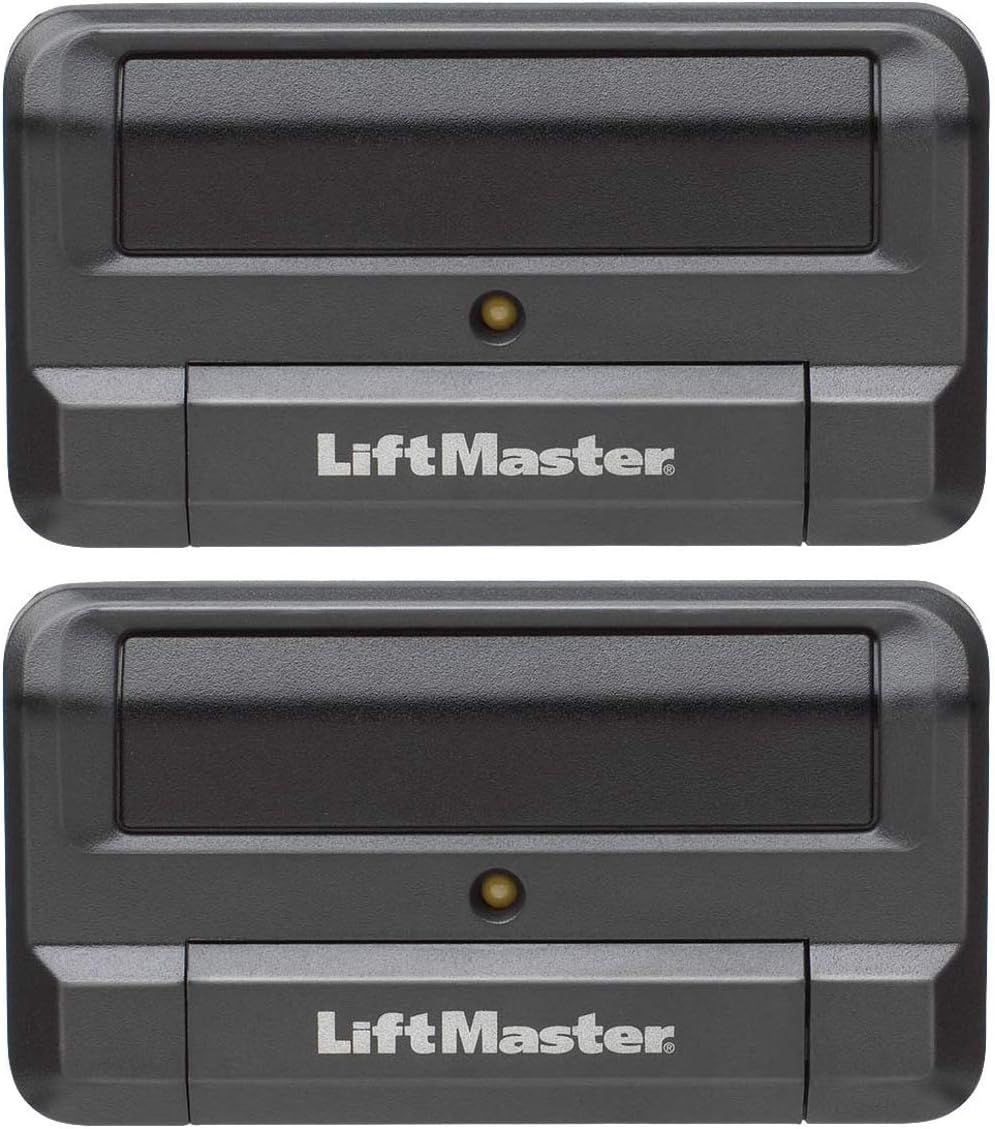
Image: Two Liftmaster 811LM remotes, used for wireless control of the gate opener.
The two 811LM remotes provide convenient wireless control of your gate. They must be programmed to the gate opener unit according to the instructions provided with the opener's control board.
2.7 Safety Sensors

Image: A pair of Liftmaster safety sensors, designed to detect obstructions in the gate's path.
Safety sensors are critical for preventing accidents. Install them across the gate's path to detect any obstructions. Ensure they are properly aligned and wired to the main unit as per the detailed installation guide.
3. Operation
Once installed and configured by an authorized technician, your Liftmaster gate opener offers multiple ways to operate your slide gate.
3.1 Using the Remotes (811LM)
- Press the designated button on your 811LM remote to open or close the gate.
- Pressing the button again during gate movement will stop the gate. A third press will reverse its direction.
- Ensure you have a clear line of sight to the gate for safe operation.
3.2 Using the Wireless Keypad (KPW250)
- Enter your programmed access code on the KPW250 keypad.
- Press the '#' key after entering the code to activate the gate.
- The gate will open or close based on its current state.
3.3 Using the MyQ App (via 828LM Internet Gateway)
- Ensure your 828LM Internet Gateway is connected to your home network and paired with the gate opener.
- Open the MyQ app on your smartphone or tablet.
- Select your gate opener from the device list.
- Use the app interface to open, close, or monitor the status of your gate remotely.
4. Maintenance
Regular maintenance ensures the longevity and reliable operation of your Liftmaster gate opener. Always disconnect power before performing any maintenance.
4.1 General Maintenance Tips
- Cleanliness: Keep the gate opener unit and surrounding area free from debris, dirt, and insects.
- Gate Track and Wheels: Periodically inspect and clean the gate track and wheels. Lubricate moving parts as recommended by the gate manufacturer.
- Safety Sensors: Ensure safety sensors are clean and free from obstructions. Test their functionality regularly by placing an object in the gate's path.
- Battery Backup: The integrated battery backup should be checked periodically. Consult your authorized technician for battery health checks and replacement schedules.
- Professional Inspection: Schedule annual inspections and maintenance with an authorized Liftmaster technician to ensure optimal performance and safety compliance.
5. Troubleshooting
This section addresses common issues you might encounter. For complex problems, always contact an authorized Liftmaster technician.
| Problem | Possible Cause | Solution |
|---|---|---|
| Gate does not move. | No power, safety sensors obstructed/misaligned, remote/keypad battery dead, motor issue. | Check power supply. Clear and align safety sensors. Replace remote/keypad batteries. Contact technician if motor is unresponsive. |
| Gate opens but does not close. | Safety sensors obstructed, obstruction in gate path, limit switch issue. | Inspect safety sensors and gate path for obstructions. Contact technician for limit switch adjustment. |
| Remote/Keypad not working. | Dead battery, out of range, programming issue. | Replace batteries. Move closer to the gate opener. Re-program remote/keypad as per instructions or contact technician. |
| Internet Gateway (828LM) not connecting. | Network issue, gateway not powered, pairing issue. | Check internet connection and router. Ensure gateway is powered. Re-attempt pairing via MyQ app. |
| Missing transmitter/receiver for edge sensor. | Some kits may require additional components for specific edge sensor types. | Verify your kit contents against the packing list. If components are missing or required for your specific setup, contact your authorized Liftmaster dealer or technician. |
6. Specifications
Key technical specifications for the Liftmaster CSL24U / CSL24UL Slide Gate Opener Kit.

Image: A chart illustrating the slide gate rating, indicating a capacity of 1,500 lbs for a 50 ft gate.
| Feature | Detail |
|---|---|
| Model Numbers | CSL24U, CSL24UL |
| Gate Capacity | Up to 1,500 lbs and 50 ft (refer to rating chart for specifics) |
| Power Source | 24V DC (with Battery Backup) |
| Included Remotes | Two 811LM Remotes |
| Internet Connectivity | 828LM Internet Gateway (MyQ compatible) |
| Keypad | KPW250 Wireless Keypad |
| Keypad Mounting | 42" Aluminum Pedestal |
| Item Weight | Approximately 320 pounds (main unit and accessories) |
| Package Dimensions | Approximately 45 x 45 x 45 inches |
7. Warranty & Support
Your Liftmaster CSL24U / CSL24UL Slide Gate Opener Kit comes with a manufacturer's warranty. For specific warranty terms and conditions, please refer to the documentation provided with your product or contact an authorized Liftmaster dealer.

Image: An "Authorized Distributor" badge for Liftmaster, confirming that a manufacturer's warranty is included when purchased from an authorized source.
7.1 Technical Support
For technical assistance, installation queries, or service, it is highly recommended to contact an authorized Liftmaster technician. They possess the necessary expertise and tools to ensure your system operates safely and correctly.
You can find authorized dealers and service providers through the official Liftmaster website or by contacting Liftmaster customer service directly.